
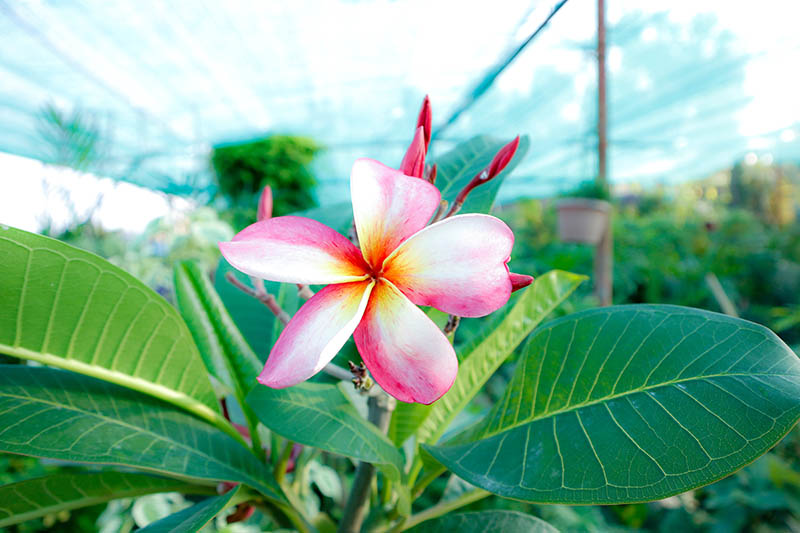
A plumeria is a small, tropical tree with fragrant flowers. While it does produce seeds occasionally, starting from there can be unpredictable, so most people prefer to start from a cutting, which leads to better results. If you are thinking about growing this plant in your home but aren’t sure how to work with a cutting, keep reading as we list several tips and tricks to follow.

Before You Get Started
We recommend getting all your tools and supplies together first so you can complete the project in one go. Fortunately, you won’t need much and will likely have most of the items already.
Tools and Materials
- Coarse sand
- Potting soil
- Perlite
- Rooting hormone
- 1-gallon pots
- Heating pad (optional)
- Wooden skewers
- Pruning shears
- Rubbing alcohol
- Clean towel
The 12 Expert Tips on How to Root Plumeria Cuttings
1. Choose Your Cuttings
Choose the branches that you will use to create your cuttings. Pick healthy limbs that are 12–18 inches long. Those with several growing points on the end of the branch will produce a bushier plant, while those with a single growing point will be slimmer and more flower-like. Select your cuttings in spring or early summer for the best results.
2. Clip Your Cuttings
Clip the branches using a pair of sharp, clean pruning shears at a 45-degree angle. A sharp blade will minimize the risk of damaging the plant when you cut, and you can clean the blade between cuts using rubbing alcohol and a clean towel to help reduce the risk of transmitting pathogens to the plant or the cuttings.
3. Remove Leaves
Take off all leaves except those at the top of the cutting. Removing the leaves minimizes moisture loss and helps the cutting focus its energy on creating new roots, making it more likely to survive. However, don’t break off the leaves, or you might damage the cutting. Instead, cut them about ½ inch from the branch. If present, you will also want to remove any inflorescence that might prevent it from rooting.
4. Dip in Rooting Hormone
With the leaves removed, immediately dip the cut end of the cutting into the rooting hormone, as the longer you wait, the less it will help. Follow the instructions on your container to create the solution, which usually requires mixing a powder with water.
5. Dry the Cuttings
Once the cutting has root hormones on them, it’s time to dry it out. For roots to form, the cutting will need to callus, so place it in a warm, dry place out of direct sunlight. Make sure there is plenty of air circulation, and check the ends daily to ensure that they aren’t becoming soft. If one does become soft, trim to where it’s firm. Allow the cuttings to dry until the cut ends become hard, which usually takes 1–2 weeks, depending on the ambient temperature.
6. Prepare the Pots
You will want to plant each of your cuttings into a 1-gallon pot. To prepare the pots for soil, place 1–2 inches of small rocks or pebbles at the bottom to help them drain better and prevent standing water.
7. Prepare Your Soil

Once you callus the cutting, you can store them for several months. However, planting them sooner will yield better results. When you’re ready, prepare your soil by mixing equal parts of non-fertilized potting soil with perlite.
8. Fill the Pots
Fill the pots with the soil that you made, and moisten it so it holds together but doesn’t become soggy.
9. Plant the Cuttings
Make a hole that’s 3–5 inches deep and slightly wider than the diameter of your cuttings. Insert your cutting, and gently press the soil up against it. Keep it upright by placing wooden skewers or thin sticks around it and using string to tie them.
10. Provide Water and Sunshine
Place your pots in a warm and sunny location in your home. Water the plant directly at first, then use a spray bottle to mist the cuttings frequently to keep the soil moist but not soggy, watering only occasionally.
11. Add Heat

Since the plumeria is a tropical plant, adding a heating pad below the pot to warm the soil can help it grow faster. If you don’t want to use a heating pad, try placing the plant in an area where the floor naturally gets warm from sunlight and will transfer heat to the soil.
12. Wait
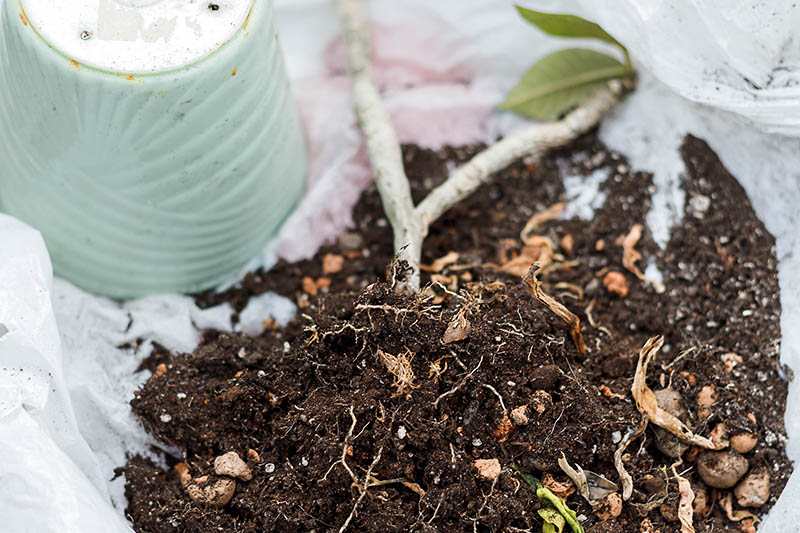
Once your cutting develops new leaves, you know that the roots are growing, and the more leaves, the more roots. Your plumeria cuttings should form good roots in 45–90 days, depending on the environment, with higher temperatures leading to faster growth.

Other Tips and Tricks
- Your cuttings should consist of recent growth from this or last season.
- Avoid taking green cuttings or those with flower buds.
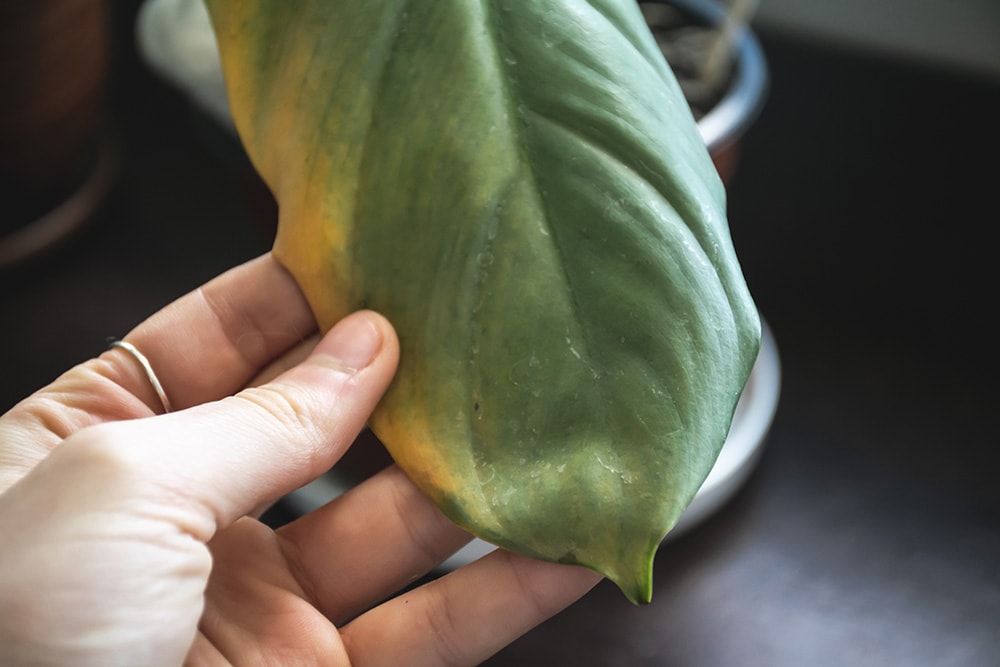
- If your cutting looks wrinkled, soak it overnight in 1 gallon of warm water and ½ cup of hydrogen peroxide.
Summary
Rooting plumeria cuttings is not difficult. The most important part is selecting nice branches without flowers at least 12 inches long from a healthy tree. Drying the clipping out is a tedious step that can take up to 2 weeks, but once it’s over, you can create your potting soil and plant the cuttings, and in a few more weeks, you will see your new trees start springing to life.
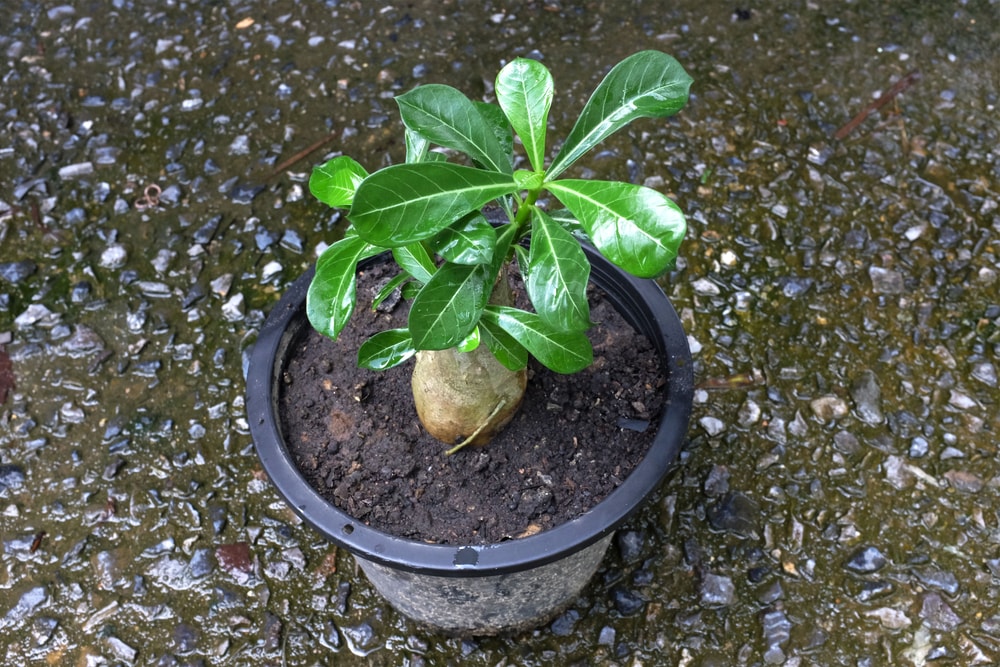
Featured Image Credit: NANTAWAN-PATAMAROT-Shutterstock
Contents
