
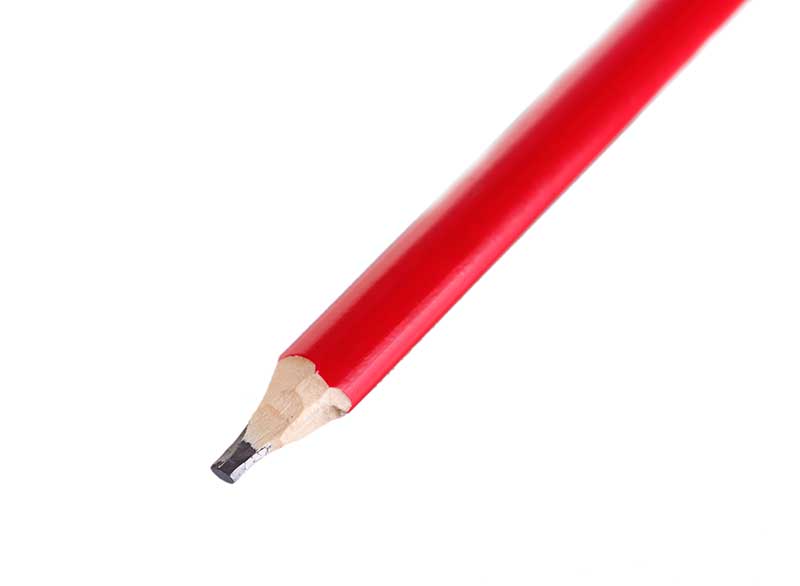
Carpenter pencils are an essential tool on any construction site or workshop with their trademark rectangular shape and atypically shaped pencil lead. Once your fresh pencil gets low on lead, you may be wondering how you can sharpen it.
As it turns out, there are a few easy ways you can get the job done. You can combine them, too, for the best results, which is what this guide will show you. Let’s skim down below for the details after a quick look at the benefits of carpenter’s pencils.

Benefits of Carpenter’s Pencils
There are several very good reasons that carpenter’s pencils are ubiquitous on construction work sites everywhere, and we’ve arranged them on a bulleted list below for a better view.
- Easy to hold from multiple angles when working in cramped areas
- Pencil lead can be used to make rough strokes on uneven brick or wood, or make smooth legible words on smoother surfaces
- Rectangular shape means the pencil won’t roll away from you, which is especially essential on sloped roofs
- Extremely durable pencil lead won’t break as easily as regular old pencil lead
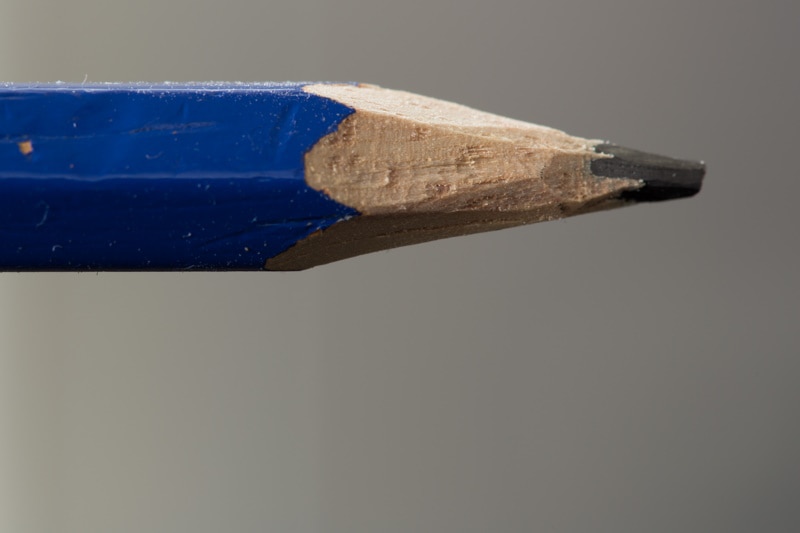
Sadly, carpenter’s pencils have the same pitfall as every pencil: they dull down and get unusable. To prevent this, keep your carpenter’s pencil pointy-sharp with our step-by-step guide.
The 3 Easy Steps to Sharpen a Carpenter Pencil
You’ll only need your carpenter pencil and a razor utility knife with a fresh blade.
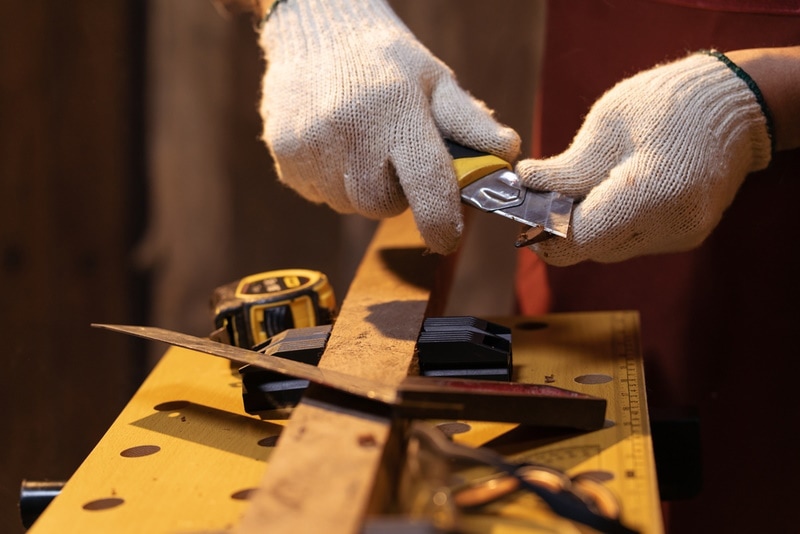
1. Grip the Pencil Firmly
Yes, you can grip the pencil wrong. If you rush and just slice at the pencil, chances are high that you’ll cut your thumb or fingers. Hold the pencil near the middle with your non-dominant hand with as many fingers as you can—three is pretty good. For extra stability, we suggest using a table. As you slice the pencil, the table will help maintain the correct sharpening angle.
2. Peel Away Wood
Taking your razor knife in your main hand while holding the pencil with your hand—against the table is a safe way to do it, but it’ll take longer to sharpen the pencil because you’ll have to rotate it as you go.
At a 45-degree angle and about ¾ of an inch down from the end of the pencil, point your knife away from you and safely away from your other hand. Start by narrowing the thinner sides and work your way into the chunkier middle parts. Expose a bit of graphite on one part, then the next, and so on as you work your way around to make things uniform.
3. Hone the Pencil Lead
Many people just aim to get more usable graphite when they sharpen their carpenter’s pencil, but sharpening the graphite will help keep it in shape for longer. The process is much the same as the previous step but more delicate. Use tiny, minute strokes of the blade close to the tip of the graphite, aiming out and away.
Keep rotating the pencil as you do this, as this is where working without a table is more effective. Consider doing the previous step with a woodworking table or bench and honing the tip with just your hands for the best results.
Conclusion
Carpenter pencils are a great tool for not just carpentry, but roofing, siding, woodwork, and much more. When they get dull, just break out a new knife blade and slice, slice, slice. Always keep the sharp edge point away from any body parts, pets, or other people as you work.
Featured Image Credit: Africa Studio, Shutterstock
Contents
