
Amaryllis flowers produce large colorful blooms in mid-winter when there are few other flowers blooming, making them a great choice for anyone who enjoys taking care of plants all year round. However, many people are unsure how to store the amaryllis bulbs after the blooms die off so they can keep producing flowers for many years. If this sounds like your situation, keep reading as we list several great tips and tricks that you can use to keep the bulbs healthy.

Before You Begin
Before you get started, it can be helpful to gather all the tools and supplies that you will need so you won’t have to go searching for them later.
Tools and Materials
- Gardening shears or sharp knife
- Gardening spade
- 1-gallon clay pots
- Sharp scissors
- Flowering fertilizer
How to Store Amaryllis Bulbs (8 Tips)
1. Trim Your Stalks
Once your amaryllis flowers have died off, usually in late winter, it’s time to prepare your bulbs for storage. The best way to start is by trimming the flower stalks until they are 1–1.5 inches above the bulb. Use a clean, sharp pair of gardening shears or a knife, but don’t cut off any leaves, only the flower stalks. Place the plant in a sunny spot to help the amaryllis photosynthesize.
2. Dig Up the Bulbs
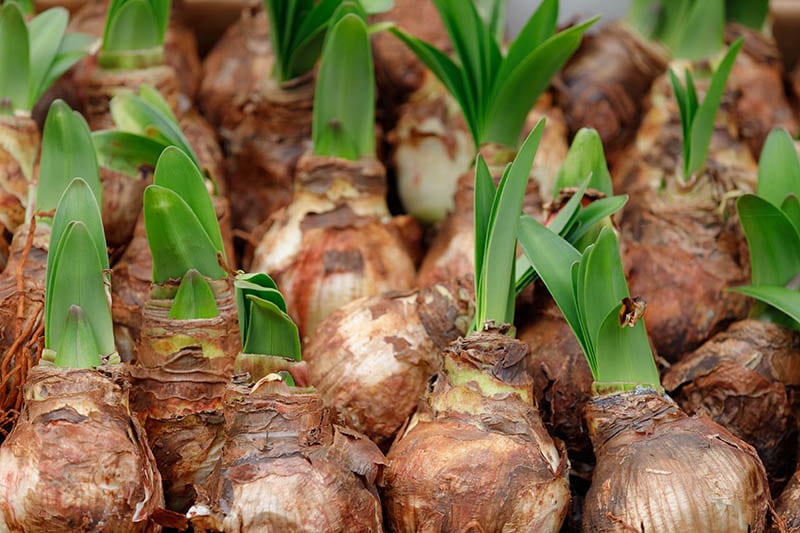
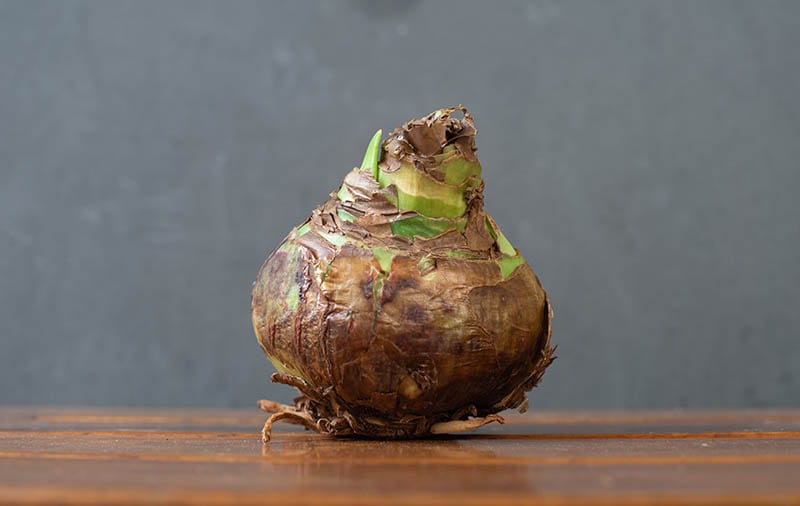
If your amaryllis is in a pot, you can leave it in the sun and skip this step. However, if it’s in the ground outside, you must dig it up carefully using a gardening spade. Work slowly and carefully so you don’t damage the roots as you remove the bulb from the ground. While the bulb is out of the ground, it is a good time to inspect it for white or black mold spots, which might signify that the bulb is rotting and not worth storing.
3. Plant the Bulbs
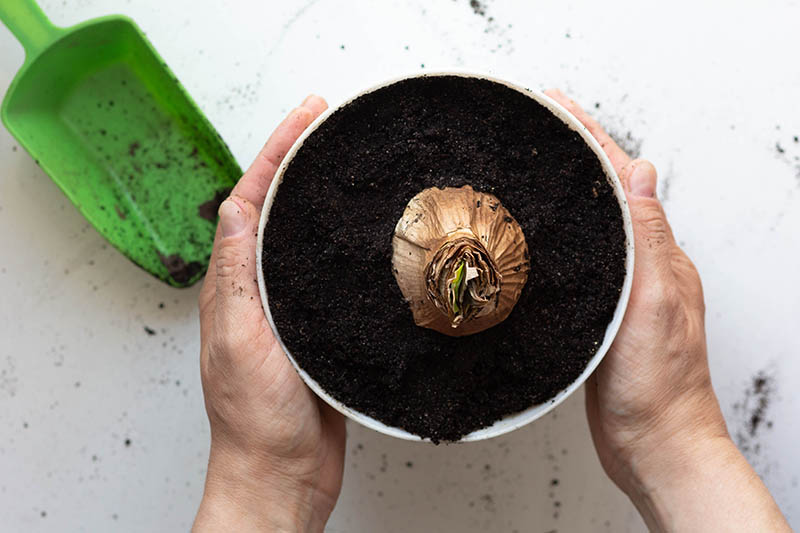
If your amaryllis is already in a pot, you can skip this step. Plant each bulb in a 1-gallon pot with the roots facing down, leaving the top 1/3 of the bulb exposed to help prevent root rot.
4. Let the Bulbs Rest
Move all the pots with amaryllis bulbs to a cool, dark, and dry area of your home. A basement is a great choice as long as the temperature will not drop below 40 degrees Fahrenheit, or the bulbs will be damaged. Let the bulbs rest and go dormant to prepare for the next growing season. You don’t need to water them or fuss with the soil for 4–12 weeks.
5. Bring It Back to Life

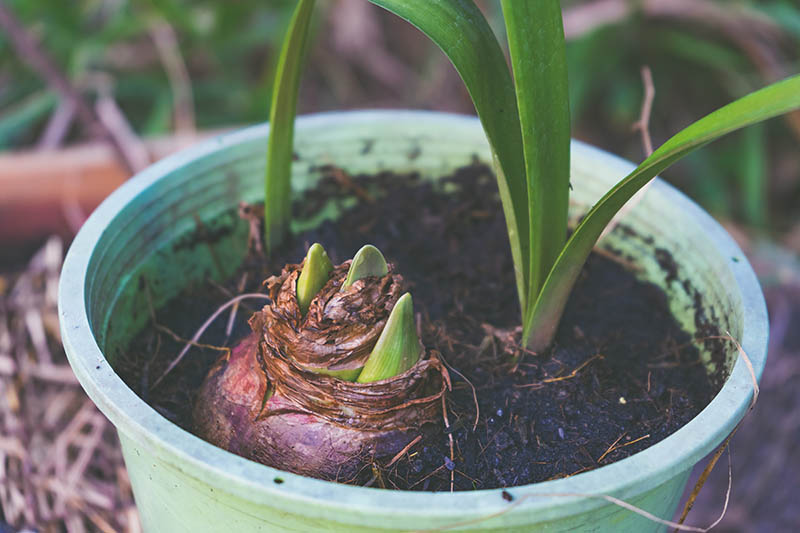
When you are ready for your amaryllis to start growing and bloom, move the pot to an area in your home where it will receive at least 8 hours of full sunlight each day and give it a good watering to see new growth in a few days. If you are going to leave it in a pot, you can bring them out in early October. If you want to put it in the ground, you will plant it in the spring after the last frost.
6. Trim the Leaves
If you see any yellow leaves coming from the bulb, use a sharp pair of scissors to remove them to about 0.5 inches above the bulb. Don’t worry if you have to cut off all of the leaves, as they will grow back.
7. Replace the Top Layer of Soil or Replant It
If you are going to keep your amaryllis in a pot, it’s a good idea to use a gardening spade to remove the top 2 inches of dirt and replace it with fresh topsoil with 1 tablespoon of fertilizer mixed in. This will help it start to bloom. If you are planting it in the ground, use your gardening spade to dig a hole large enough to fit the bulb, leaving the top 1/3 exposed.
8. Water It
Water your amaryllis bulbs once per week, but be careful not to overwater, or the roots can start to rot. They will quickly grow and bloom, but once the flowers die off, it will be time to start the process again.

Other Tips and Tricks
- Many people have better success with amaryllis flowers indoors because it is easier to maintain a stable temperature that they enjoy.
- Make sure the soil is well-draining, as root rot sets in easily. Use light and fluffy topsoil and pots with plenty of drain holes, so no moisture builds up.
- Deadheading or pinching off the dead flowers as soon as they die will help keep your amaryllis producing new flowers for longer.
- The amaryllis will lean toward the sunlight, so turning it every few days can help prevent it from leaning too much in one direction.
- Don’t replant your amaryllis unless you need to, as disturbing the roots can kill the plant.
Conclusion
Storing amaryllis bulbs is not difficult, and it only requires you to keep them in a dark, cool, and dry area of your home for 4–12 weeks to give them a chance to go dormant and get ready for the next growing season. Before storage, you will need to trim the stalk and carefully dig up the bulbs if they are in the ground. When it’s time for them to grow, you will need to water them regularly and provide plenty of sunlight.
Featured Image Credit: Wut_Moppie, Shutterstock
Contents
