

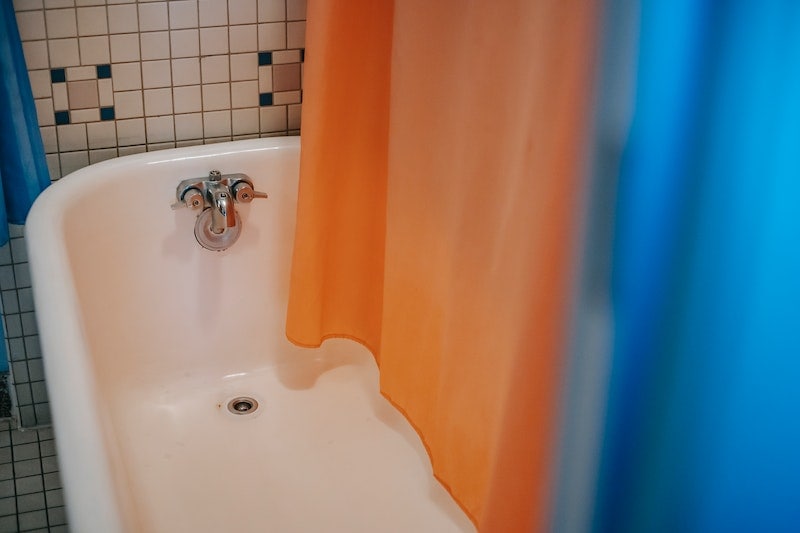
Maintaining the value of your home entails keeping the bathrooms clean and functional. Since the bathroom is more vulnerable to moisture damage than other rooms, waterproofing your shower is a vital task. Waterproofing will provide a barrier preventing moisture and water from seeping into the walls and doors. Whether you are renovating or building a new home, waterproofing your shower is a necessary process that needs to be done correctly.
Waterproofing your shower can be a dependable way to reduce moisture, and in this article, we provide some tips and tricks on how to do just that.

Before You Start
When waterproofing, it is essential to understand the layers that prevent moisture from seeping behind your gorgeous tiles.
- Substrate: The substrate is what your tiles are attached to. Substrate materials include cement, concrete, vinyl flooring, drywall, plywood, and tile backer board.
- Waterproof Membrane: This material will provide waterproofing and is applied to your substrate.
- Uncoupling Membrane: The uncoupling membrane is intended to prevent tile and grout cracks by absorbing expansion stress.
- Tile Adhesive: Adhesive is the glue that will hold the tiles to the substrate. Sometimes cement can be used, but the adhesive is generally stronger.
Keep in mind that the waterproof membrane, not the tiles, is what truly protects the walls beneath from water damage, but some tiles are water resistant which will help keep the water out.
Supplies You Will Need
- Tile
- Tile grout
- Shower pan
- Waterproofing membrane
- Primer
- Backboard
- Seam tape
- Grout sealer
- Silicone caulk
How To Waterproof a Shower in 9 Steps
A few waterproofing options can be used to waterproof your shower. The system that was traditionally used was a copper or rubber shower pan liner that allowed the water to slowly seep through the mortar joints, collecting in the pan liner to protect the flooring underneath. This system wasn’t foolproof since excess moisture would collect due to the eventual sloping of the liner and would lead to mold growth.
The waterproof membrane is now typically used, and various types can be installed beneath the tile to prevent moisture from penetrating the substrate. The main types of waterproofing membranes are sheet membranes, liquid membranes, foam wallboards, and foam shower bases.
Most sheet membranes use “peel and stick” technology and are adhered directly to the backer board and shower surface. Liquid membrane is the quickest and easiest to install and is essentially waterproof paint applied the same way as interior house paint. A flexible layer is formed once the membrane dries.
To provide structural stability, tile backers and foam wallboards are installed. They are used for waterproofing as they are made of extruded polystyrene foam.
1. Prep the Surface
Remove the existing tiles, wall, and sill, and vacuum up the debris. If you choose to wash it, you will have to wait longer for it to dry. A scutching hammer works well as it makes it easy to remove tiles and adhesive and roughens up the surface, which helps the waterproofing product and adhesive to hold together better.
Make sure there is no leftover adhesive or dust and debris. Otherwise, you won’t be able to place your tiles correctly.
2. Mark the Area that Will be Waterproofed
Measuring is a step you should never skip and can help ensure you don’t miss any areas. Measure your shower stall and use a pencil to mark your dimensions on the backing board. Apply a strip of painter’s tape along the markings to indicate where you will apply your waterproofing.
3. Priming
The purpose of a waterproofing primer is to ensure that the substrate is completely sealed and ready to receive a coating. It is also crucial for providing better adhesion between your substrate and waterproofing membrane. Your substrate must be clean and dry, and in good condition. Paint the primer with a block brush and smooth the surface. Wait for it to dry completely before moving on.
4. Install Membrane
Liquid Membrane
Apply the membrane the same way you would apply interior paint with a roller but go slowly, using a small amount to prevent it from running down the wall. When using liquid membranes, at least two coats should be applied. The liquid membrane you purchase should have instructions that indicate how much time you should wait between coats, but most of the time, it is 24 hours, with another 24 hours before you can use the shower.
Liquid membranes should typically last up to 10 years if installed correctly before they need to be resealed. Another simple way to waterproof your shower walls is to use self-adhesive waterproofing sheets.
Sheet Membrane
This membrane can also provide an additional layer of waterproofing between layers of liquid waterproofing.
You will need to cut your sheets to size to fit the wall, so begin by measuring and trimming the membrane to fit the flat sections of the wall using a craft knife. Once your membrane is the correct size, mark the sections where the shower head, tap knobs, and valves will go. Cut a large X-shaped slit in the marked areas so the fixtures can easily fit through without losing the waterproofing surface. Then, cut the membrane into long strips to fit the corners where the shower walls meet.
Place the membrane in Position
Carefully position the membrane by starting at the top and using your hands to make sure it is stuck down. Once it is all in position, use a flat trowel to smooth out any bubbles or creases.
5. Add Extra Waterproofing to the Top Edge of Your Shower
To avoid missing any surface area, add an extra layer of waterproofing to the top edge of your shower. This is an area where sprayed water can accumulate, and silicone caulking can also add waterproofing to the shower’s edge.
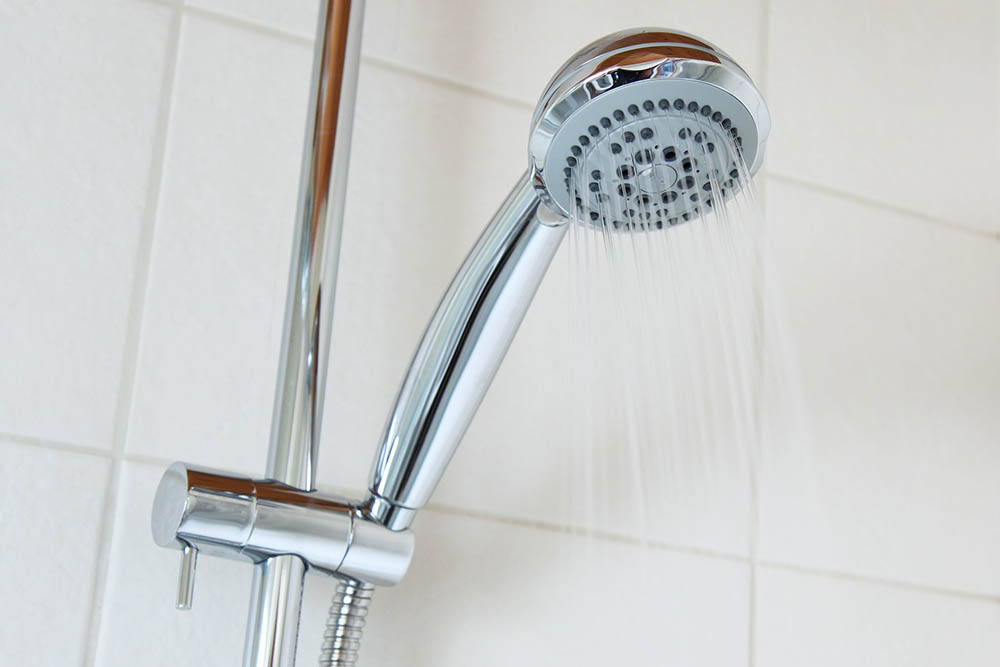
6. Allow the Waterproofing to Fully Dry
It is important to allow your waterproofing to dry before using the shower. Open the windows for proper ventilation, and if you have fans available, they can help speed up the process. The drying time will depend on the waterproofing, the adhesive, and the size of your shower. While drying, it is important not to touch the materials as it can cause the waterproof coating to wear down or come loose. A great tip is to start the process in the late afternoon or evening and continue the following day.
7. Caulk Cracks and Holes
Silicone caulk is great for sealing cracks and holes and provides extra waterproofing, especially for seams in a shower. Your caulking should be checked annually and re-caulked when necessary.
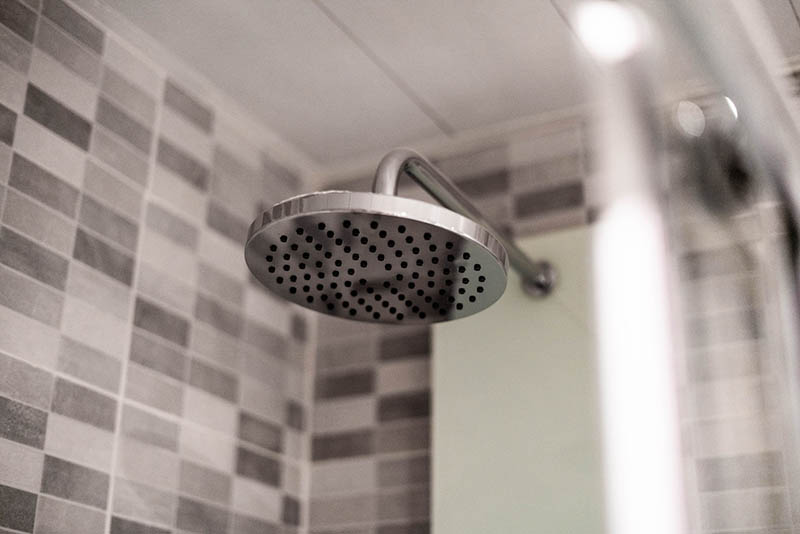
8. Use Water Resistant Tiling Materials
Once you have successfully waterproofed your shower, it is time to tile. Tiles do not provide waterproofing, but some materials are water resistant which can aid in preventing moisture buildup.
Inorganic materials such as metal, stone, plastic, ceramic, or porcelain tiles are the best materials to use in a shower because they aren’t affected by moisture and can resist mildew, mold, and rot.
9. Hire a Professional Plumber
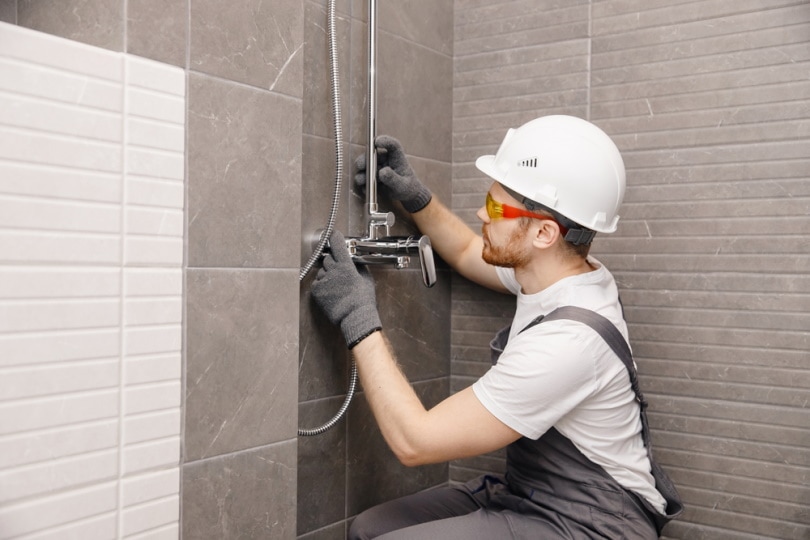
Waterproofing your shower isn’t as complex as some renovation projects, but if it’s too much to handle, it’s best to ask for help. Having a professional plumber do your installation will give you peace of mind and confidence that it is done correctly, and you won’t have to worry too heavily about leaks.

Final Thoughts
Waterproofing is essential when building or remodeling a shower, and when done correctly, it can save you a lot of money in the long run by preventing rot and damage caused by moisture build-up. While completing projects like this yourself can also save you money, and there are products available to make it easier, it is important that it is done properly. We provided some tips to help you along the way, but if you are not 100% confident in your abilities, it won’t hurt to call in a professional.
Featured Image Credit: Andrea Davis, Pexels
Contents
