

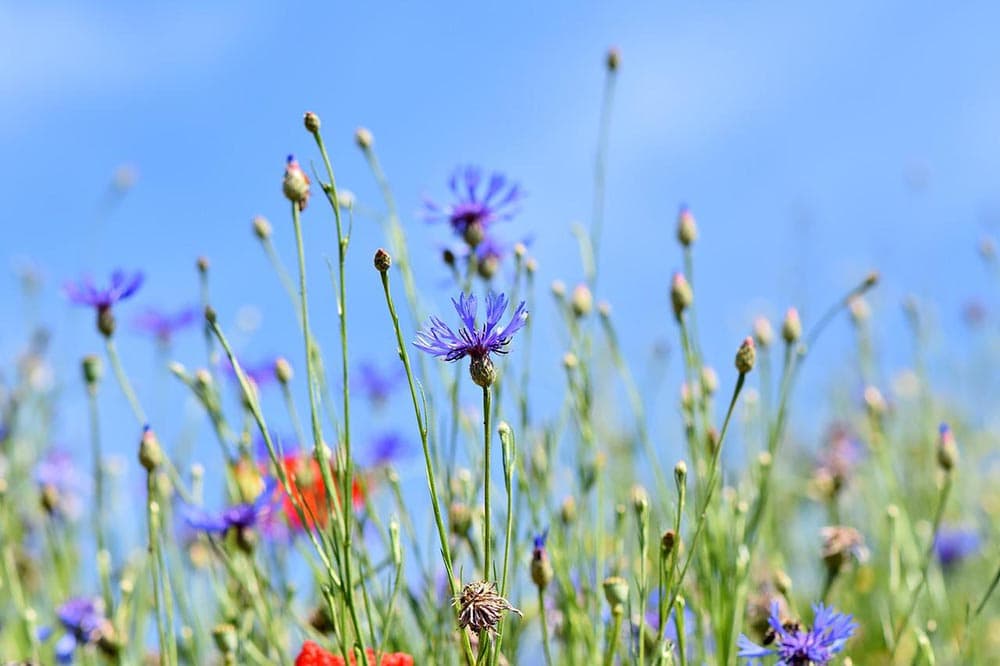
A perennial garden is a bit of work and money up front, but, once it’s established, the beauty pays off year after year. And if you plan it right, you’ll be able to enjoy blooming plants and flowers all season long.
While you can plant perennials anytime, most should be planted in the spring or fall in most climates. This way, the plant grows in sync with nature’s natural cycles.
Some perennials like hyacinth bulbs need the winter to chill the bulbs to stimulate their growth, so fall planting is ideal. On the other hand, planting other perennials in the spring gives them a chance to establish roots before the summer heat arrives—this lessens the maintenance required for most plants regarding their watering.
With spring and fall planting schedules in mind, this article will go through the general steps to planting a perennial garden. Keep in mind that some perennials may have specific instructions, so go with whatever is on the package or included with the plant when you buy it.

The 7 Steps on How To Plant Perennials
Here are some universal steps to planting a perennial garden:
1. Decide on the Plants You Want
The first step in planting a perennial garden is deciding on and purchasing the plants you want for the garden. If you’re ambitious, you can start most perennials from seeds over the winter in planters and transplant them in the summer. But if you’d rather save yourself on some of the work, you can purchase established plants from a local nursery or garden center.
2. Plan the Garden Layout
Once you’ve decided on the plants, it’s time to plan the garden layout. The easiest way to do this is to place the potted plants throughout the garden to visualize how it looks. When you’re doing this, keep in mind the different colors and designs that the blooms will be. In addition, try to think about the varying times the plants will bloom at different times to give you an idea of how the garden will look throughout the growing season.
Pro tip: Put plants with similar watering needs in the same area of the garden. This will make the watering way easier in the future.
3. Prepare the Dirt
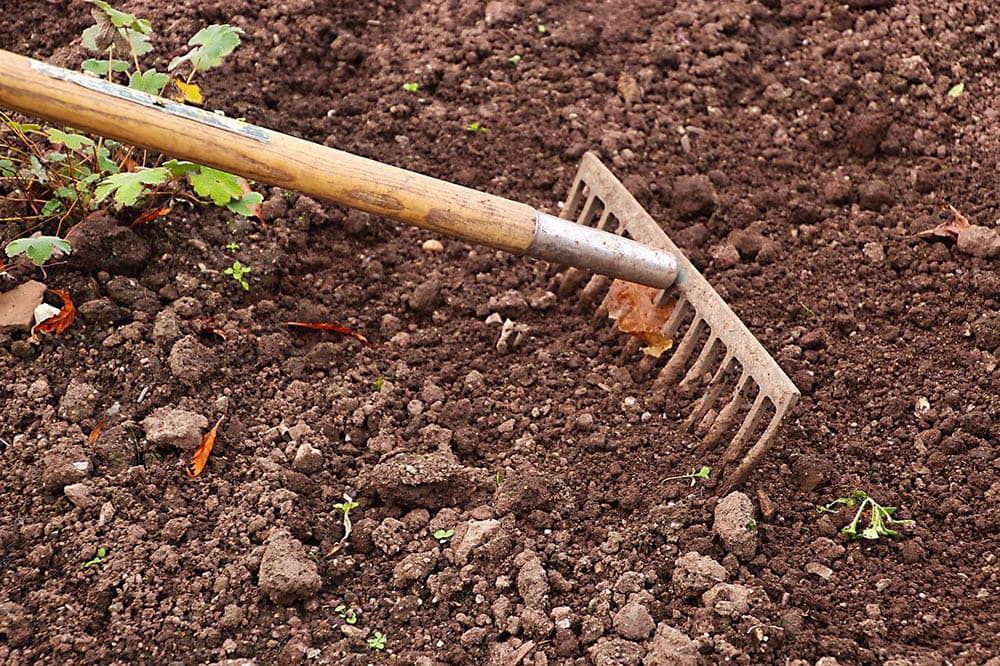
Preparing the area you’re planting involves some hard work. You have to till the soil where you will plant and add organic matter (compost) to the soil. This helps bring the quality up. The more compost you add, the healthier your perennial garden will likely be.
You can actually do this up to a season before you plant if you really plan ahead. If you do it ahead of time like this, you can mix in more and more compost to enrich the soil to the max.
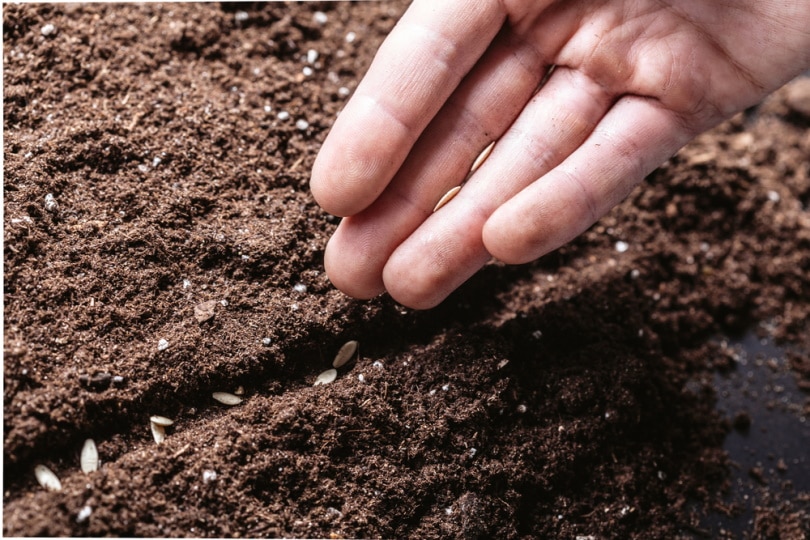
4. Plant, plant, plant
Now the fun begins. Dig holes according to each perennial’s needs and where you plan on putting them. Usually, this is as simple as digging a hole twice the size around and as deep as the planter the plant is in. As a rule, perennials are fairly tough plants, so you shouldn’t have to worry too much about damaging them during the transplant.
Pro tip: Sometimes, the roots get bunched up to the form of the planter. If this happens, “tease” the roots or break them up a bit, so they have an easier time establishing themselves in the soil.
5. Backfill and Water
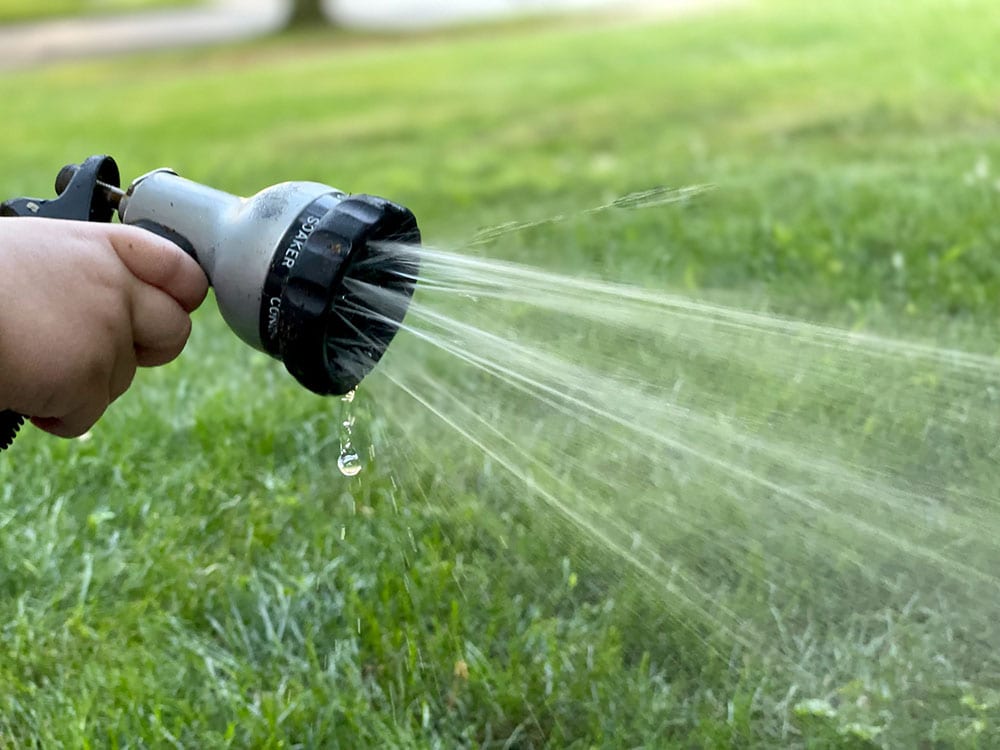
Now that the plants are in the ground backfill with the excavated soil mixed with some fertilizer. At approximately the halfway point of backfilling, give the plants a light watering to help settle the soil. Continue filling and lightly pack the soil to keep plants in place—using your hands is the best bet, so you don’t do it too hard. Once the plants are in the ground, water them well to settle the soil and kickstart their root establishment.
6. Add Mulch
Continue steps four and five until you have all the plants in the ground. Then it’s time for mulch. Adding two to three inches of mulch over the soil’s surface is ideal for most gardens. Primarily this helps keep weed growth under control. But if you use a mulch that breaks down over time like a bark mulch, it also contributes to soil health in the long run.
7. Continue Caring for Your Perennials
Now that most of the work is done, it’s time to enjoy your new garden. Each plant will have slightly different long-term needs, but primarily the only thing you’ll need to worry about is watering as they need it and possibly adding a little fertilizer to certain plants. Also, you can add more mulch as it breaks down.
Closing Thoughts
If you’ve prepared the soil properly, you won’t have to wait long for the fruits of your labor. As a rule, perennials establish themselves and begin thriving very quickly. How much of the year you get to enjoy new colors and smells depends on how you lay out the garden and the types of perennials you choose.
- See also: 23 Perennials That Grow in Shade (With Pictures)
- See also: How And When to Plant Daffodil Bulbs? What You Need To Know!
Featured Image Credit: MabelAmber, Pixabay
Contents
