

After a long winter, you may be excited to get your pool going again, but you might be unsure of exactly what steps are necessary to get it ready for swimming.
After several months lying dormant, your pool can look like it will never be swimmable again, but it only takes a few steps to get it back in tip-top shape.
We’ll go over each of these steps in detail and explain why they need doing and what tools you need to complete them. We’re confident that after completing each of these steps, your pool will be ready to open for the summer.
 The 7 Simple Steps to Opening Your Pool
 The 7 Simple Steps to Opening Your Pool
Here is the list of seven steps we’ve compiled as a checklist to help get your pool ready for the swimming season.
1. Remove the Winter Cover
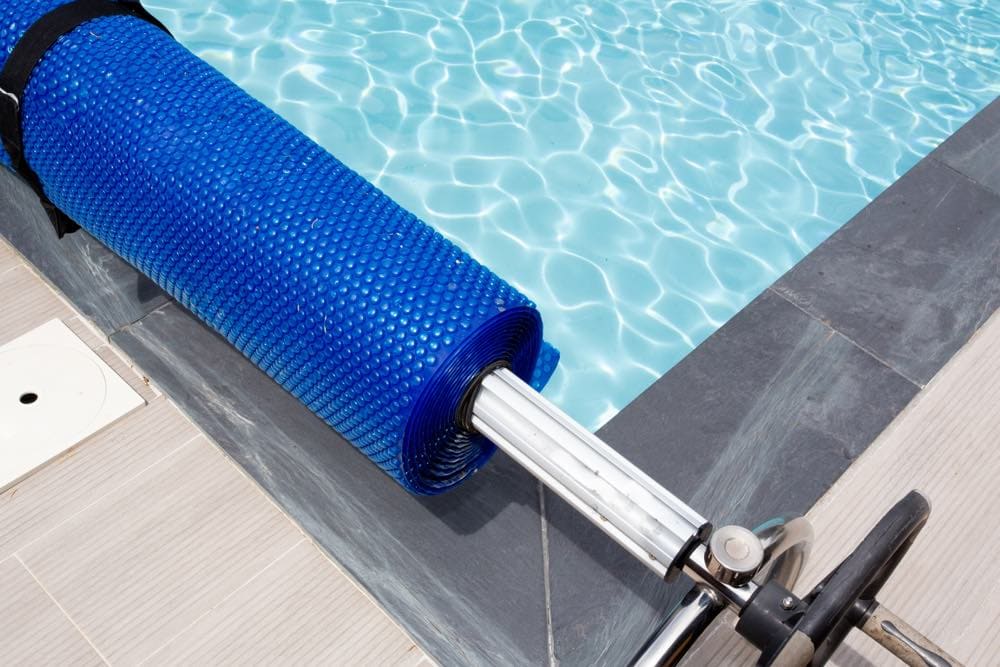
First, we will need to remove the winter cover, but don’t just rip it off just yet. Before you take the cover off, remove any water with a pump. There are also more than likely a lot of dead leaves and other sludge you’ll need to remove, too. Use the hand skimmer with an extendable pole to help you accomplish removing the debris.
Once you get as much of the water, dirt, and leaves off the cover as you can, carefully take the cover off the pool. Try not to spill any dirty water into the pool water beneath. When you get the cover off, hose it down on both sides and use a deck brush to scrub it clean before allowing it to dry. After you allow it to dry, fold it, and store it away for the summer.
2. Add Fresh Water to the Pool
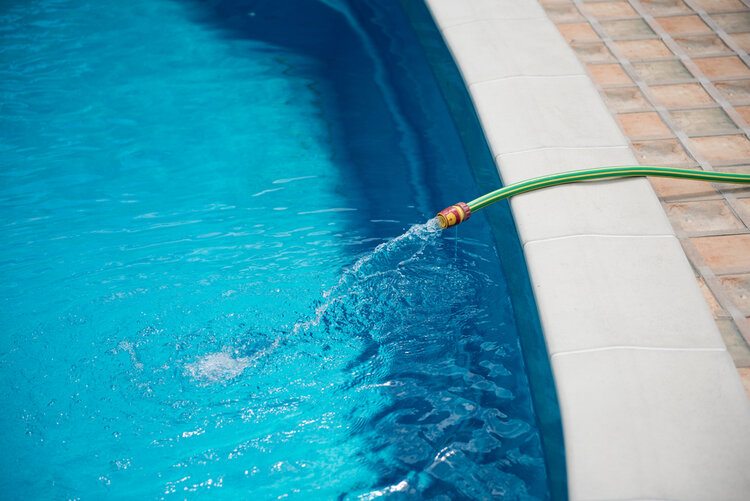
If you closed your pool correctly and the cover was not compromised, there’s a good chance the water in the pool is still clear. If debris was allowed to fall into the pool water over the offseason, you’ll need to get out as much as you can with a hand skimmer and extendable pole.
You will most likely need to add water to the pool, however, to get it back up to an optimal swimming level. As the water returns to the operating level, check the liner for small pin holes that may be present, especially if it is more than ten years old.
3. Hook Up the Pump and Filter
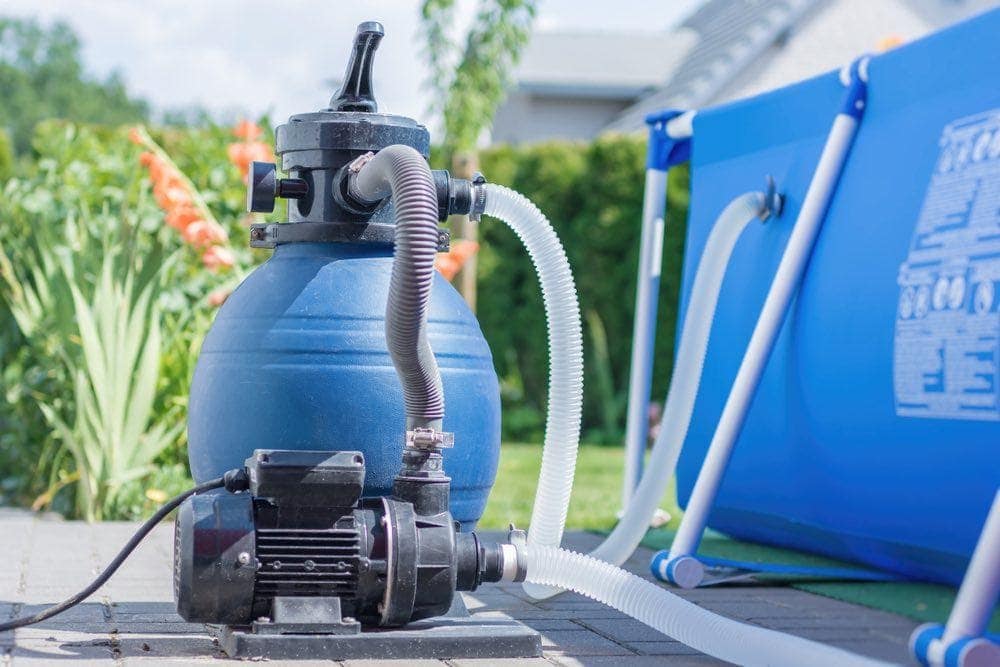
Hopefully, you didn’t leave the filter in the pump and all the hoses and connected over the winter months. If you did, you need to carefully inspect every inch of your filter system to make sure there’s no damage from ice. Otherwise, this is the time to attach your pump, filter, and hoses to your pool. If your sand is more than seven years old, you may consider replacing it with fresh sand.
Even if you did store everything correctly, you want to check over every part of the filter system to look for cracks or wear and replace anything that looks like it could fail. Once everything has been inspected and is in place, you can run the filter pump to make sure there are no leaks. The filter will begin cleaning out the water that has been sitting.
4. Set Up the Ladder
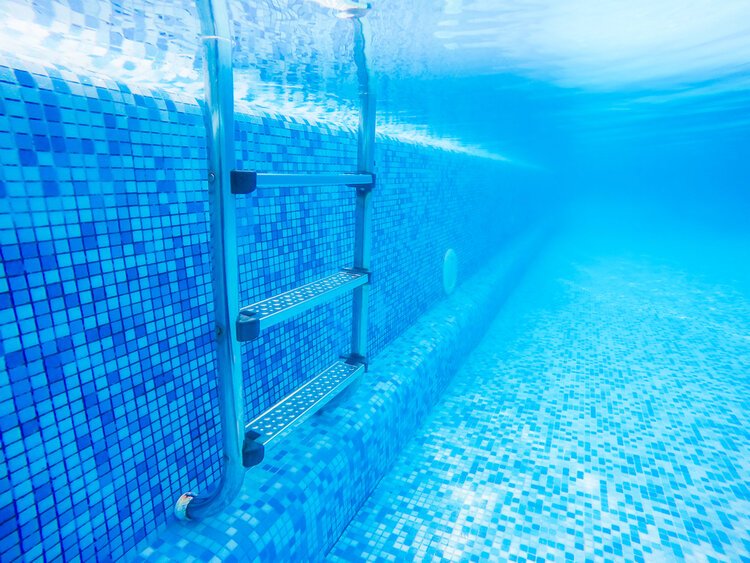
With the filter is running, you can begin to set up the ladder and any other equipment you might need, like handrails, etc. If you install them now, they will already be in place when it’s time to get in to scrub the walls and floor.
5. Check and set pool chemistry
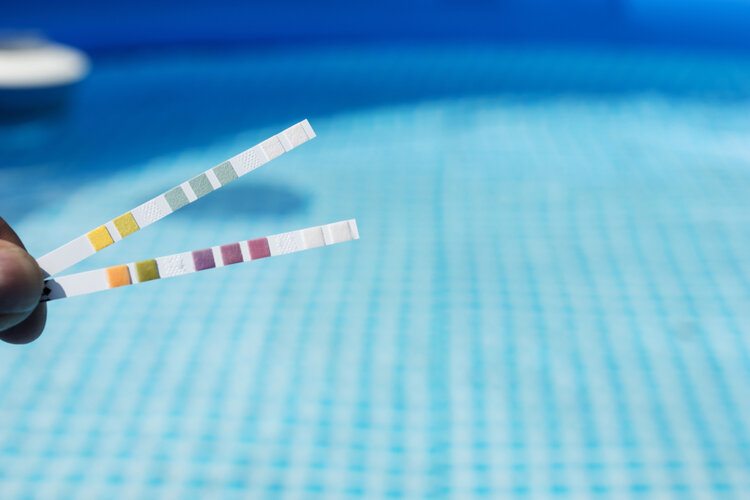
With the filter running, you can also check your pool chemistry using test strips. You can expect your chlorine levels to be nonexistent, but you still want to know the pH level, the water hardness, and if any stabilizer remains in the water so you can start to take steps to correct them. Once you get your pH and stabilizer balanced, you can add chlorine to the water.
6. Brush and Vacuum
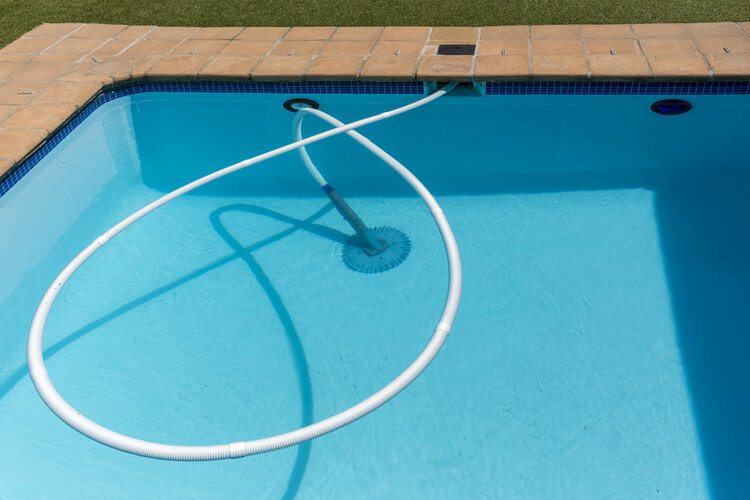
As you begin to raise the chlorine level in the pool, it will also be time to brush the sides and floor using a pool brush. Vacuum the pool as well to get as much debris out of the pool as possible. We recommend repeating this step at least twice to make sure you get all bacteria and algae off the walls and floor.
7. Shock
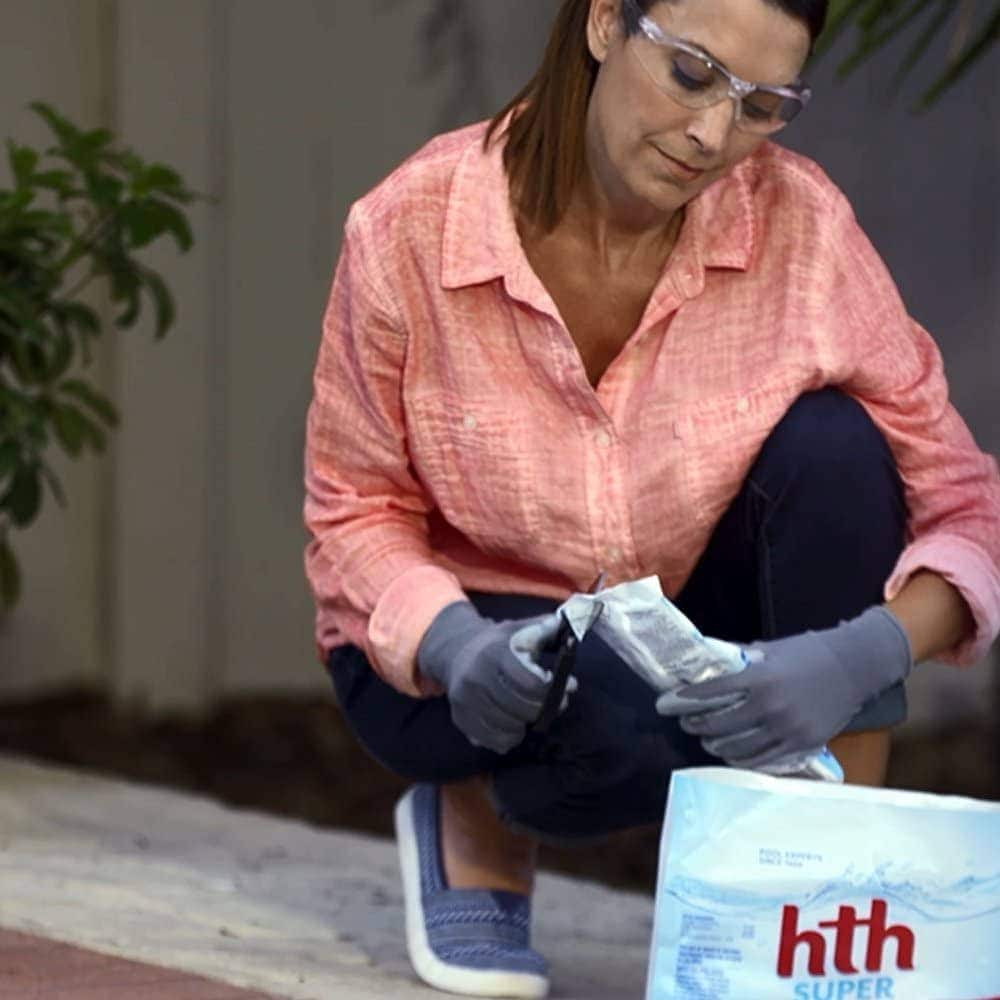
Once you’re confident you’ve removed all the loose material from the walls and floor, you can shock your pool. Once the chlorine level returns to normal, you can swim in your pool. The shock will get rid of any remaining bacteria and clear out any chloramines that formed while you were scrubbing the pool.
In Conclusion
As you can see, getting your pool ready for the swimming season is not very difficult. There are only a few steps required, and only one of them requires any real elbow grease when you need to scrub the walls and floor. Of course, if you didn’t close the pool correctly at the end of last season, or if your winter cover got a hole in it and allowed leaves and other material to fall into the water, your water may be brown or green and require additional treatments of chlorine to become clear again.
If this short guide has helped you get your pool ready for summer, please share it on Facebook and Twitter.
Featured Image Credit: Jae Salavarrieta on Unsplash
Contents
