
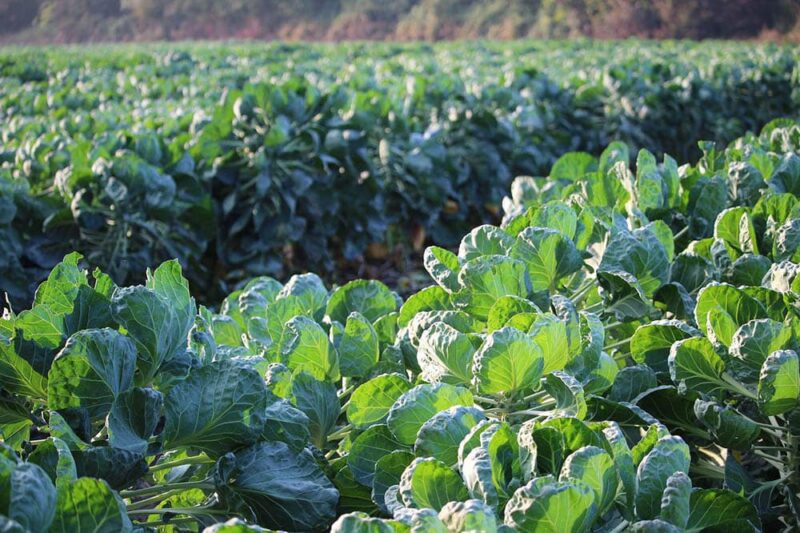
Brussel sprouts divide opinion when it comes to their popularity on the table, and while they are often seen in stores, they are less often seen in home gardens because they have a reputation for being somewhat difficult to grow.
Brussel sprouts can take 4 months or more before they are ready to harvest, although some varieties are ready in as little as 80 days. They taste better after a frost or two but don’t let this reputation put you off. With some careful management, you can enjoy a good harvest of great-tasting vegetables ready for fall or early winter.

Choosing the Best Cultivars
The exact type of brussel sprouts you decide to grow will be determined by growing conditions. Long Island Improved Brussel Sprouts are popular in the North because they are better equipped to deal with the cold weather. The Rubine is popular for its red color, but it can take 100 days or more to fully mature.
At the other end of the temperature scale, the Jaded Cross can cope with the higher temperatures of the South, but southern growers can also choose species like the Diablo and Tasty Nugget.
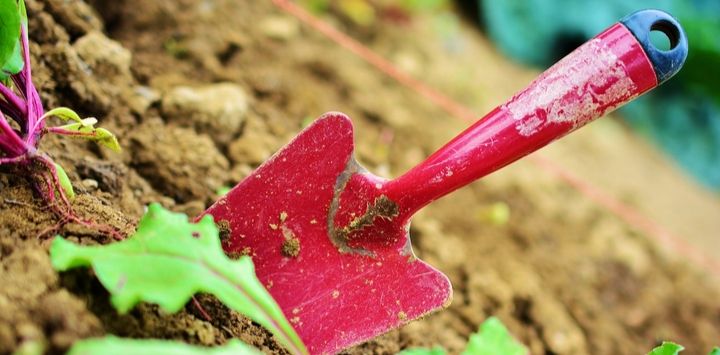
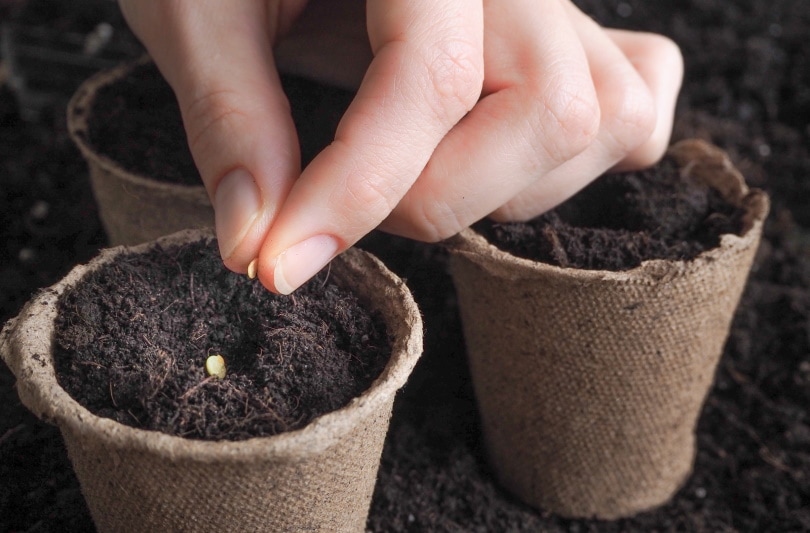
Sowing Seeds
There are two ways of growing Brussels sprouts: from seeds or seedlings. This vegetable is considered easy to grow from the seed and can be started outdoors or indoors.
The key is to determine the date of the first projected frost and the total time it will take for your sprouts to be ready for harvesting. The aim is to harvest them after the first or second frost of fall because this will give the sprouts a boost in flavor. However, you don’t want to have to leave them out as the temperatures plummet or when there is a lot of rain because this can ruin your crop.
Typically, you should aim to start planting around June, but you can work out the exact date according to your local climate and expected temperatures.
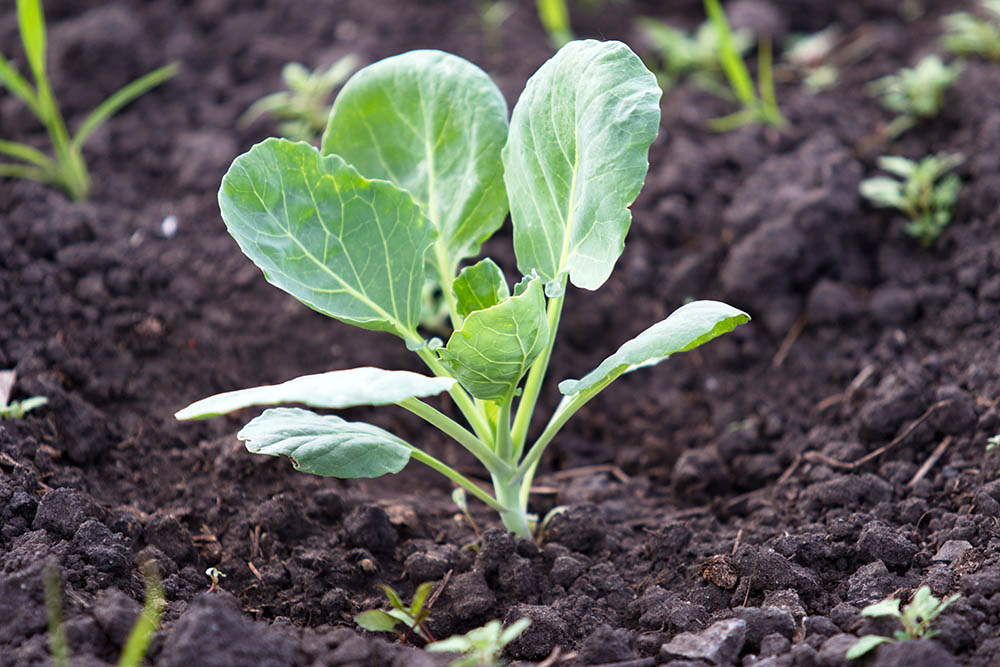
Growing From Seedlings
You may also be able to find brussel sprout seedlings at your local garden center, and these are even easier to grow because the initial hard work has been done for you.
When transplanting plants, you will need to dig a hole that is slightly larger than the pots the vegetables are currently in and leave about 20 inches between each transplant. If the transplant is in a compostable pot, you can place the whole thing in the ground, otherwise try to ensure that the plant sits at the same level compared to the soil, as it did in the original pot.
Although sprouts will tolerate some shade, they prefer and benefit from full sun, so try and avoid positions up against walls or under trees.
A layer of mulch will help the veggies retain moisture and will also prevent weeds from growing too readily around the sprouts.
Pruning and Care
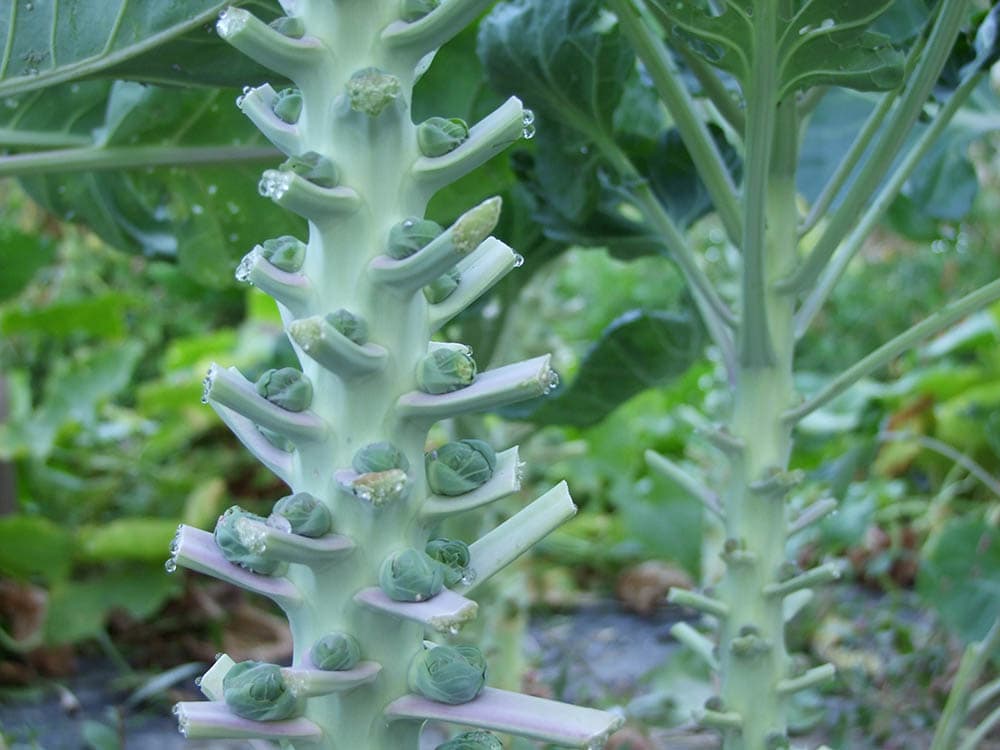
Some pruning will help produce bigger sprouts and improve your crop’s health. Leave the lower leaves alone unless you absolutely have to remove them, for example, because of disease or fungi infestation. Still, some growers insist that removing these lower leaves enables the plant to concentrate its efforts on growing the sprouts themselves.
Topping the plant, which requires removing the top of the plant, can increase the size of the sprouts. Top the plants 1–2 months before they will be ready for harvesting.
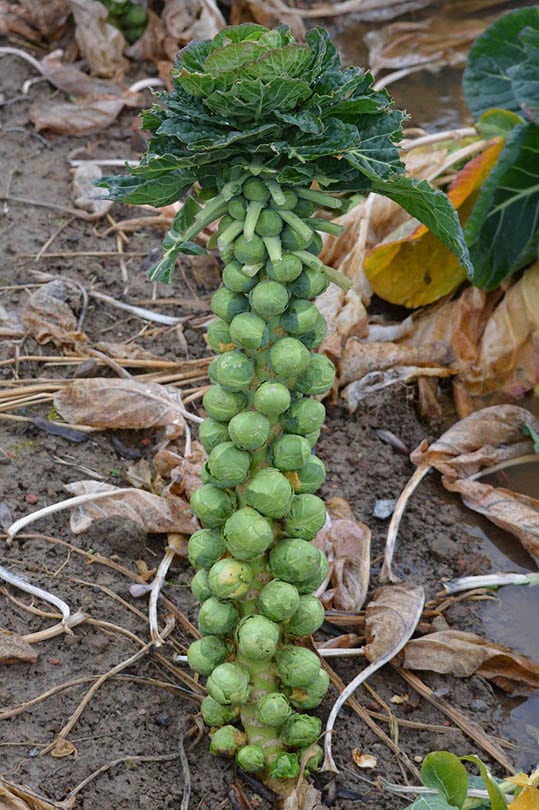
Once the plants have reached their full height, you can build 6 inches of soil up around the base of the plant to help prevent thin stalks from folding over under the weight of heavy heads, but this isn’t necessary with some cultivars, like Tasty Nuggets.
Pest and Disease Control
There are a lot of insects that love sprouts, potentially more than we do. Aphids, caterpillars, slugs, and snails are especially keen on these little vegetables and will feed on the leaves. Remove any weeds and move the sprouts to a new area every year to help reduce the likelihood of these insect infestations. You can also try and encourage birds to come to the plot because they will eat many of the insects that you are trying to get rid of.
Sprouts are prone to a variety of diseases, including leaf spot, mildew, and clubroot. Good maintenance will help stave off some of these, but there is a chance you will come up against them at some point, especially if you continue to plant brussel sprouts in the same spot every year. Try to rotate their position at least every 2 years.
Harvesting
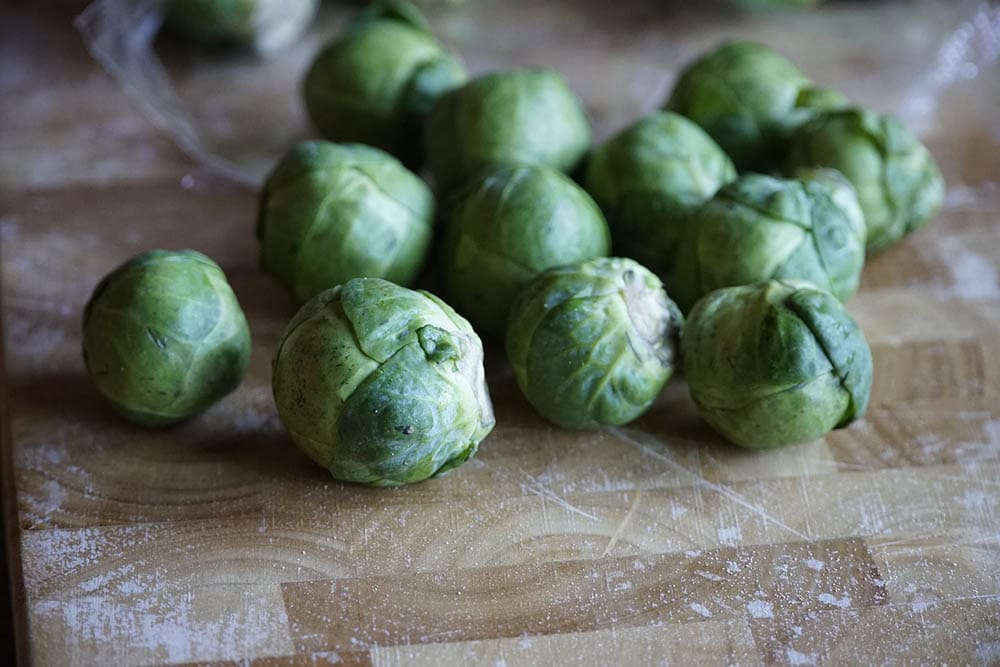
For the best flavor, try to harvest sprouts after the first frost when they are compact, hard, and a deep green color—assuming that you’ve planted a green-colored cultivar. Check for the ideal size and structure for the cultivar you have planted. When it is time to reap the rewards of your growing, twist or cut the heads off, ensuring that you do so before they turn yellow.
Storage
Sprouts can last about 2 weeks in the fridge, but if you have a particularly large harvest, there are ways to preserve them so that they last longer. If you plant on freezing your harvest, blanch them in boiling water for 3–4 minutes before placing them in ice water. Dry them, seal them in plastic bags, and then freeze them. You can also pickle the sprouts so that they will keep for longer.

Final Thoughts
Brussel sprouts divide the opinion of diners. Some love them, some hate them, but with careful planning, they can make a great addition to your kitchen garden and take approximately 3–4 months from seed to harvest.
Although they will benefit from some light pruning, the sprouts are quite easy to manage throughout the growing season, and with so many cultivars to choose from, you can find one that best suits your growing conditions and your personal preferences. Just make sure that their harvest occurs just after the first frost because this will yield the best flavor.
Featured Image Credit: FlorinBirjoveanu, Pixabay
Contents
