Can You Grow Strawberries Indoors? Tips, Tricks, and How-To Guide
-
Pete Ortiz
- Last updated:
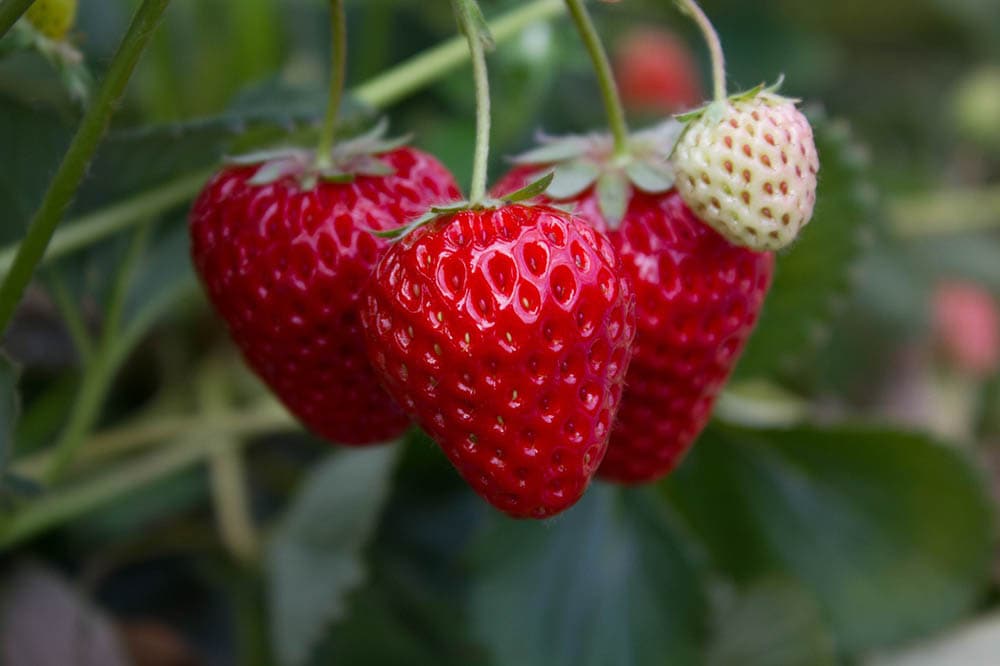
Bright, juicy, and full of heart-healthy antioxidants, strawberries are an all-around sensory delight and a joy to grow for those with a green thumb. They’re also versatile plants, equally comfortable in a pot on the kitchen counter as they are growing in the great outdoors.
If you’re looking for more culinary plants to compliment your indoor herb garden, the dainty flowering and vibrant reds of strawberries can be a gorgeous addition to your space. No matter where you live, an indoor setup will let you easily keep a consistent supply growing at any time of year. Keep reading to learn tips, tricks, and processes to get started on a successful indoor strawberry garden today!
Strawberry Growing Needs
- Soil: Well-drained, sandy/loam, rich, slightly acidic/neutral
- Sunlight: 6–8 hours of direct sunlight
Tools and Materials
- Potting soil
- Organic matter (humus, compost, peat moss)
- Pots with drainage holes
- Balanced control release (or “slow-release”) fertilizer
- Strawberry seedlings or starters
How to Grow Strawberries Indoors
1. Choose Your Strawberry Plants
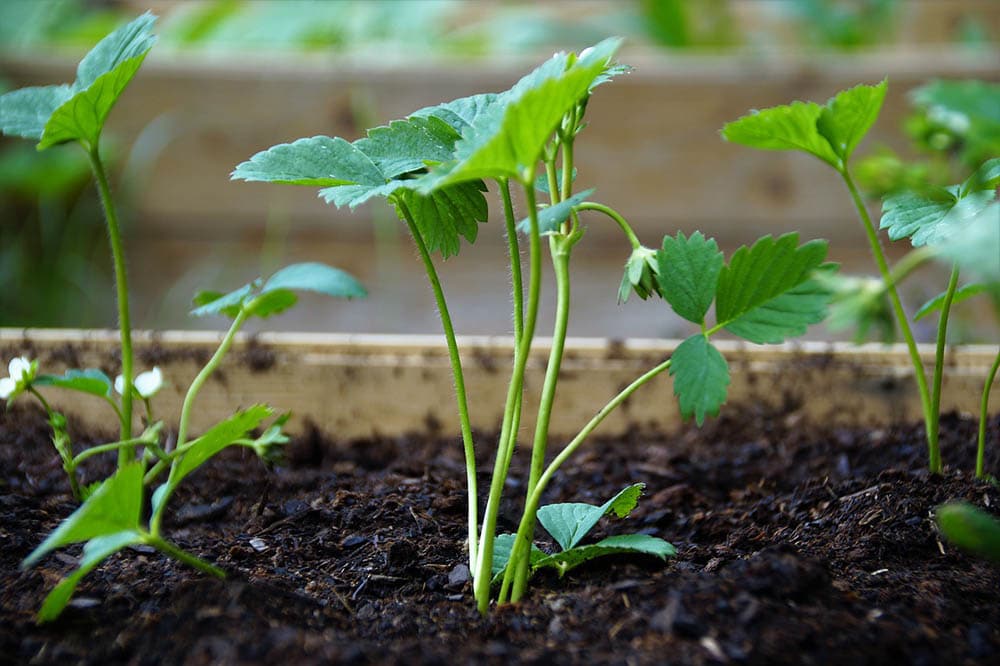
Before beginning your indoor strawberry garden, you’ll need to decide what kind of strawberries you should plant. Strawberry varieties fall into three categories:
- June-bearing: Plants yield one large harvest annually, generally around June
- Ever-bearing: Plants yield two crops, one in early summer and one in late summer
- Day-neutral: Plants that continuously produce from mid-June to late fall
When looking for indoor strawberry plants, it’s best to stick to day-neutral or ever-bearing varieties. They produce few runners, so they’re excellent low-maintenance options for limited indoor space, and the multiple harvests offer a better annual crop.
Day-neutrals are some of the best strawberries to grow indoors because they bear fruit at all times of the year and are more adaptable to limited daylight and artificial lighting. Rather than ranging out, they grow in small clumps, perfect for setting into individual pots on a windowsill. They often produce small fruit, so you can include a mix of June-bearing and ever-bearing varieties to keep a steady supply of various-sized strawberries.
Best Strawberries to Grow Indoors
- Alpine strawberry (also called woodland or wild strawberry), a small yet powerfully sweet and fragrant day-neutral
- Seascape strawberry, a short day-neutral plant that produces large, firm fruits
- Portola strawberry, an adaptable ever-bearer that offers big, bright berries
- San Andreas strawberry, a vigorous day-neutral yielding enormous fruits
2. Choose Your Location
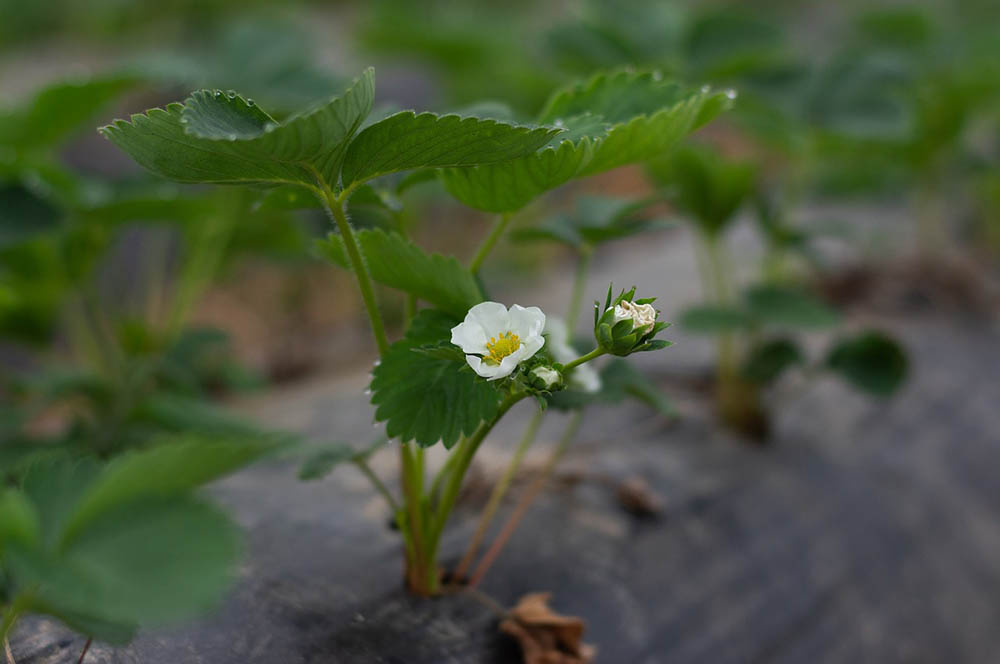
Strawberries need at least 6–8 hours of sunlight and room to grow. Plan an area that will allow you to space your plants at least 12–18 inches apart. A long windowsill is an ideal spot for space and sun. You can also hang plants in individual containers or place them in strawberry pots.
A south-facing window will provide the most sunlight, but you need to keep the plants away from heat sources to prevent damage. Avoid placing them near stoves, air conditioners, and heating vents.
Ample light is essential, so you will have to use artificial LED or fluorescent lighting if natural sunlight is scarce. Your artificial light should be able to deliver the equivalent of 6+ hours of daylight. If you’re growing your plants under artificial lights, they’ll need at least 12–14 hours of light every day.
3. Prepare Soil in Your Pot
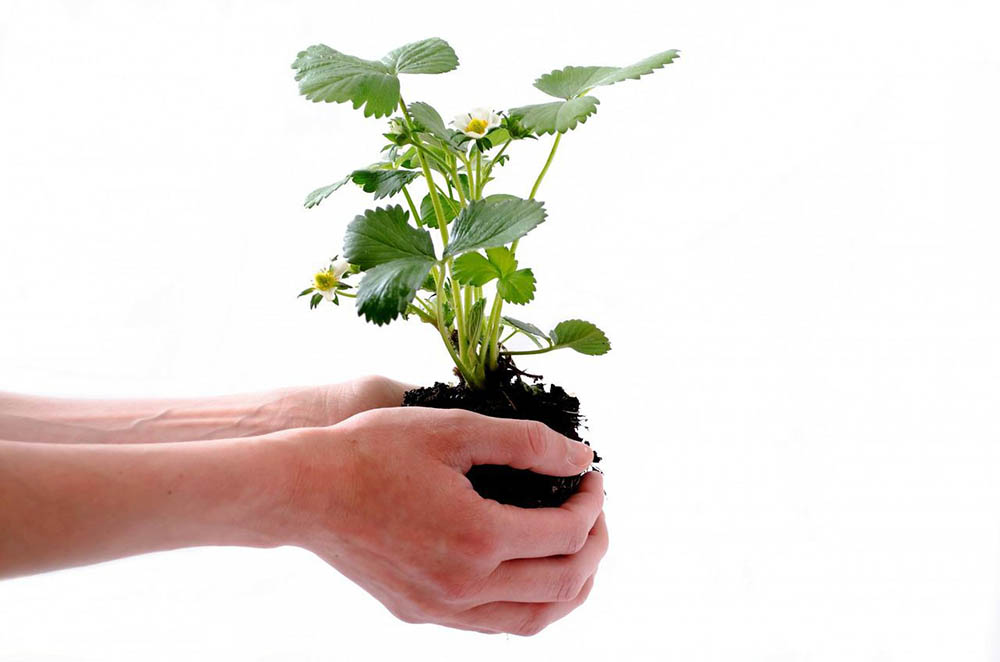
Strawberry plants have shallow roots, so you will only need a container about 6–8 inches deep. Make sure that whatever bucket, tub, or pot you use has drainage holes in the bottom to keep the plants from drowning.
You want well-drained loamy soil with rich organic matter for your indoor strawberry plants. Use organic potting soil with sand and perlite to help with drainage. Mix potting soil with organic matter, such as compost, sphagnum peat, or humus in a 50/50 blend. Adding organic filler supplies nutrients and manages the soil’s pH in the desirable 5.3 to 6.5 range.
Add a slow-release fertilizer to the potting soil if there isn’t any already. Use a balanced 10-10-10 mix to deliver equal amounts of nitrogen, phosphorus, and potassium to your plants.
4. Pot Your Plants
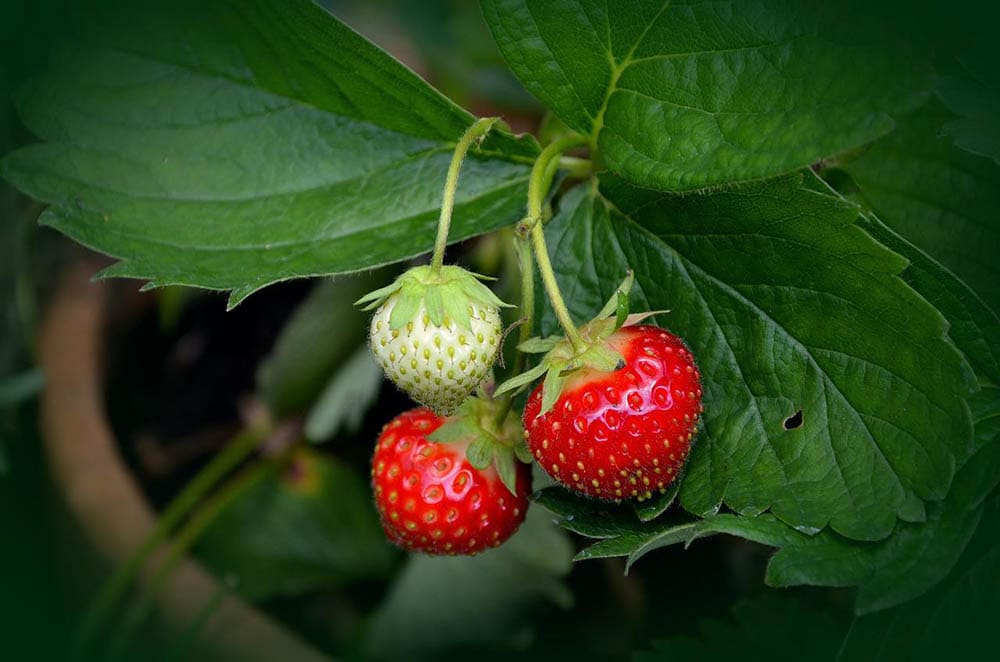
Before planting your strawberry plants, trim away any runners and dead leaves. If you’re using bare-root dormant strawberry plants from a nursery or seed catalog, soak the roots for 20–60 minutes in water. Rehydrating them will get them out of their dormancy and prepare them for planting.
If the roots are especially long, trim them back to about 4–5 inches. Plant your strawberry plants with the roots spread out below the soil and the crown lying even with the top of the soil. Gently pat the soil to firm it without compacting it.
Strawberries don’t need much soil depth, but they need individual plots to grow. If you’re using one container for several plants, it can have soil levels as shallow as 5 inches. But it must allow for at least 12 inches of distance between plants, as overcrowding can cause growth and mold issues.
5. Care for Your Plants

If given proper care, a transplanted indoor strawberry plant can start yielding fruit in as little as 4–6 weeks. To ensure the fastest and healthiest yield, you must focus on your plant’s temperature and sunlight exposure, watering schedule, and greenery growth.
Strawberries can tolerate cold and hot climates, but they thrive in temperatures between 68°F–75°F. Provide at least 6 hours of sun but don’t be afraid to give them a break in the shade if they get too hot.
Keep the soil moist but not wet. Once established, strawberries are like slightly dried soil, so you can go a few days before watering them again. Check the top layer of soil daily with your hand and add water if the top inch is dry.
When the plants begin to grow flowers, add organic fertilizer once every 2–3 weeks.
Pruning
Pruning is crucial to contain the strawberry plant and encourage fruit growth. To help the plant establish a healthy root system and yield more abundant crops, trim or pinch off the blooms for the first six weeks after planting.
Trim off any runners as well. Runners steal energy from root and fruit development, and since there’s no need for them in a limited indoor container, it’s best to remove them whenever you see them. Fortunately, many indoor day-neutrals, such as Alpine strawberries, don’t grow many runners, so you may not have to worry too much about maintenance.
Hand-Pollination
You will need to pollinate the plants since you won’t have wind or bees doing it for you. Strawberries self-pollinate to a degree, but they still need help. To hand-pollinate the flowers, use a Q-tip or small brush and gently sweep the pollen from the outer edge of the flower to the pistil in the middle.
6. Harvest the Berries
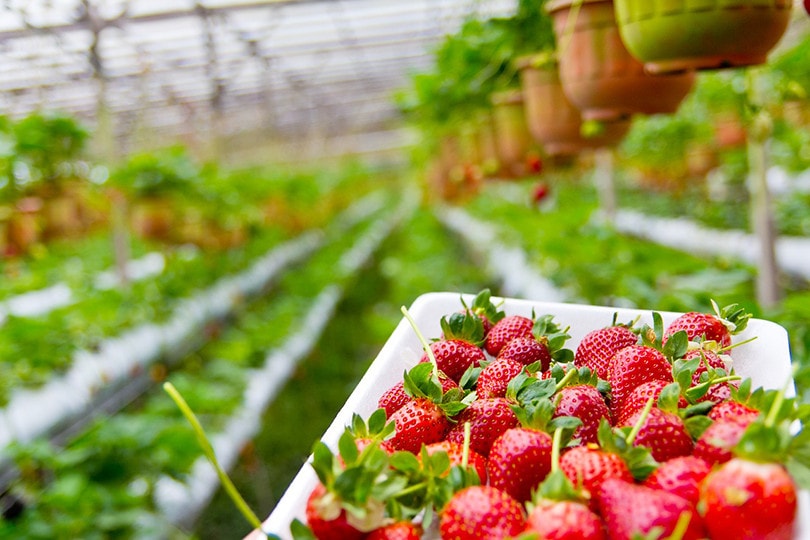
After blossoming, strawberries are usually ready for harvest in 4–6 weeks. Once they become a bright red with little to no green around the top, you can start picking. Harvest your berries and enjoy them right away in your favorite desserts, salads, cereals, and more!
Planting Strawberry Seeds
Growing strawberries from seeds is a more labor-intensive process than growing them from seedlings or runners, but many purists find it far more satisfying. Grown from seeds, you can expect your plants to germinate in 2–4 weeks and start producing ripe fruit in about 5–6 months under ideal conditions.
If you’re using a seed packet, follow the directions on the packaging. In some cases, you can freeze the seeds for a few weeks to prepare them for planting. Freezing simulates the winter season, so when you take them out and they warm to room temperature, the seeds start to get ready for growth as if it were springtime.
Once you’re ready to plant your seeds, follow these steps to get a blooming plant.
1. Fill Your Containers
Fill your pots with at least 4 inches of prepared soil and organic matter to get them ready for the seeds. You can also use seed trays to start your strawberry plants before moving them to larger pots when they sprout.
2. Sprinkle Seeds on Top of the Soil
Sprinkle seeds in the soil and follow the package directions to ensure you don’t bury them too deep. The most straightforward approach is to put the seeds on top of the soil and add a thin layer of soil or peat moss over them. Give each seed at least a few inches of space to keep their roots from encroaching on one another.
3. Keep Soil Moist and Warm
As you wait for the seeds to germinate, the soil needs to remain moist but not soggy. Check the soil daily and water it gently as needed to ensure it stays consistently damp. Meanwhile, keep the soil warm to encourage faster germination.
If the soil is kept in good condition, seedlings will emerge in about 2–3 weeks. Thin them as needed if you aren’t moving them to another pot later, as you don’t want them to become overcrowded.
Final Thoughts
When you’re ready to move on from herbs, strawberry plants are a fantastic next step in your indoor growing adventures. They don’t need a ton of space and they’re willing to grow in a variety of conditions, making them low-maintenance enough for growers of all skill levels.
The pride you’ll take in growing your plants and the exceptional flavors of organically grown fruits will make every strawberry fill you with satisfaction. Follow these steps and tips to grow strawberries indoors, and you’ll be sure to enjoy a bountiful and delicious crop with minimal effort.
Related Read:
- The 28 Best Strawberry Varieties for a Home Garden
- How to Make Potting Soil For Strawberries in 5 Steps – Know Before You Grow!
Featured Image Credit: allisonfaithsulock, Pixabay
Contents


