

Sticking tiles on the wall and removing them whenever you want is convenient. But is it a good idea? Yes, using peel and stick tiles in a shower is a good idea in most cases, especially if they are premium waterproof tiles. Water-proof peel-and-stick tiles can withstand dampness, and since they are also cost-friendly, they will come in handy when dressing up specific areas of your bathroom.
This post will cover whether you can use peel-and-stick tiles in a shower and whether they can handle moisture. If you are a DIY enthusiast, you will also learn how to install peel-and-stick tiles. In addition, you will learn their pros and cons, plus how long they last, so you can decide whether to use them in your bathroom. Let’s get started.
Click Below to Jump Ahead:

Can You Use Peel and Stick Tiles in a Shower?
Typically, using peel and stick tiles in a shower is okay. But remember that the tiles’ mounting glue is not waterproof and will loosen over time due to the bathroom’s moisture accumulation. So, if you cover your shower floors with peel-and-stick tiles, they will quickly crumble. However, you can use them for your shower walls.
Before choosing peel and stick tiles, here are some factors to consider:
Suitable Peel and Stick Tiles
Peel-and-stick tiles are ideal for backsplashes and come in various styles, so you can always shop for brands explicitly made for bathrooms. You should be cautious of products made for showers if their specifications indicate they cannot tolerate high moisture levels. Ensure that you get a peel-and-stick tile that will be successful in the bathroom over the long run.
Peel and Stick PVC Tiles
Among the best materials you can choose for your peel-and-stick tiles are the ones made from PVC. You will love them because the front of the material is waterproof and is easily washable despite the adhesive side’s susceptibility to water.
Select a Finish Design
Peel and stick tiles are available in a wide range of finishes:
- Vinyl
- Glazed and glossy
- Metallic
- Faux leather
- Stone
To preserve the appearance of your finish, you should not add a sealant on your peel-and-stick tiles. Also, choosing a suitable finish design will enhance the appearance of your tiles but will not improve their water-proof ability.
The 6 Steps for Installing Peel and Stick Tiles for Shower Walls
When installing peel-and-stick tiles for your shower walls, you can use our step-by-step guide:
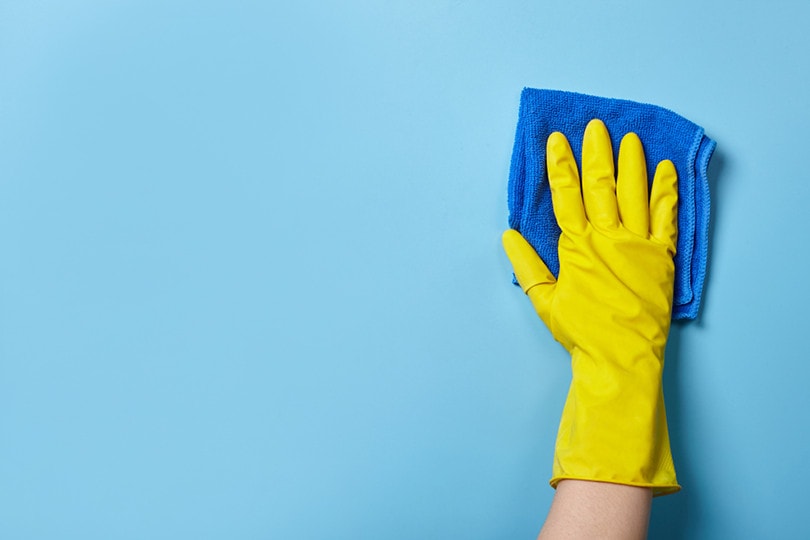
1. Clean the Surface
You must put the tiles on a clean, dry surface free from dust and debris if you want the peel-and-stick tiles to last longer. Before cleaning the surface with water or a cleaning solution, ensure it is completely dry. With a dry surface, you can now bring in your tools.
2. Gather Your Tools
Before you start mounting the tiles, here are some of the tools you will need:
- Sealant
- Scissors
- Tape measure
- Marker and pen
- New paint brush
- Caulk gun with silicone caulking
3. Draw Your Dimensions
Measure the surface area of your shower to ensure you have enough tiles for your work. Use a marker to show where you will mount your tiles.
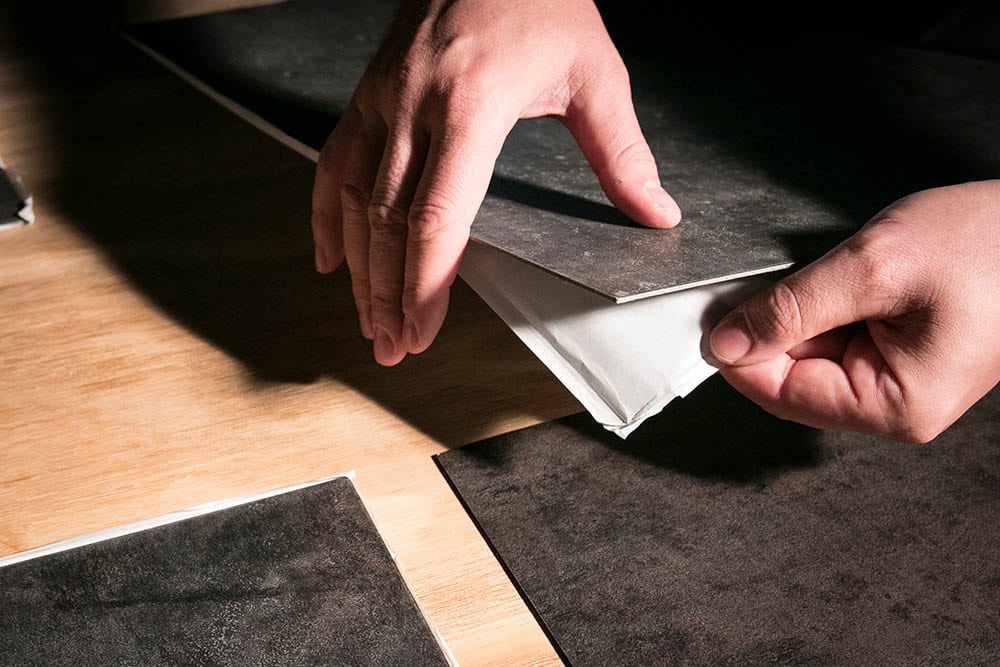
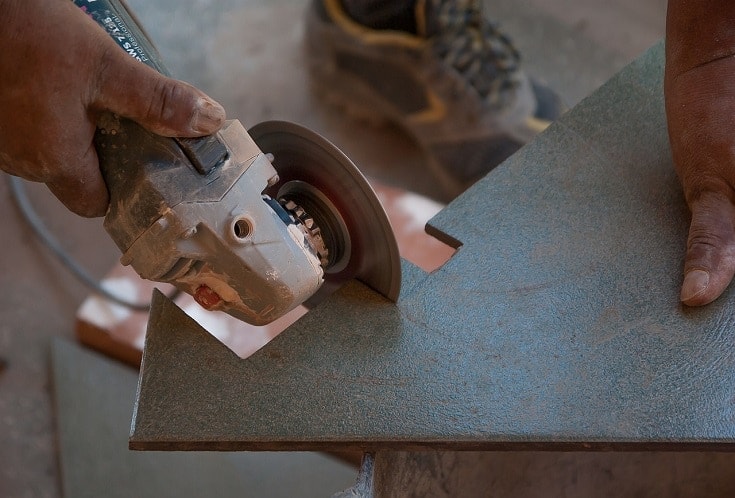
4. Cut the Tiles
You will need someone’s help placing the tiles on your markings without ungluing them. Then cut the sticky tiles while trimming them at the corners to suit the shower walls. Using your marker, label the areas of the tile you need to make your cuts, then lower the tiles and make the cuts.
5. Mount the Tiles
First, remove the tiles one at a time using the outlined areas by the marker as a guide. Begin at the top and move down for every column. If your cuts were a little off, this is the time to make some adjustments. Afterward, apply silicone caulk over the borders, where the tile joins the surface.
6. Seal the Sticky Tiles
After installing the tiles and ensuring the caulking is dry, you can seal the peel-and-stick tiles. Apply the sealant using the new paintbrush. As you seal, ensure that you cover an entire section before moving on to the next column so that no surface is left untouched.
Wait till the sealant dries. Once done, your shower walls will be as good as new!
What are the Advantages of Using Peel and Stick Tiles in a Shower?
- They are easily removable
- They are simple to clean and maintain
- They do not require professional installation
- They are budget friendly in comparison to porcelain tiles
- There are many colors, shapes, sizes, and designs to choose from
- Installing them is easy, does not require special tools, and is not messy
- They are waterproof and resistant to stains, mildew, and moisture
- High-quality adhesive materials hold the tiles so that they do not loosen quickly
What are the Disadvantages of Using Peel and Stick Tiles in a Shower?
- The glue loosens over time
- They are not durable in the long run
- They quickly fall if not properly installed
- They do not fully resemble traditional tiles
How Long Do Peel and Stick Tiles Last?
Peel-and-stick tiles are fairly short-lived. When using them in the shower, they can usually last 3–7 years. However, they can last up to 25 years for other areas of the house. They will not even last 5 years if you expose them to lots of water and traffic and will likely peel off after only 6 months if you do not correctly install them or neglect to take care of them.

Final Thoughts
If you are on a budget and want to refurbish your shower walls, installing peel and stick tiles is a fantastic idea. In addition to saving money, you will save time. Remember not to mount them on your shower floor because they will likely not last very long. Also, consider how long you need them to last. Although they are waterproof, regular exposure to your bathroom’s moisture is not good for them.
Featured Image Credit: Benjamin Clapp, Shutterstock
Contents
