How to Clean Grout Stains Easily in the Bathroom & Kitchen
-
Pete Ortiz
- Last updated:
Luckily, grout is relatively easy to clean. Just by using household products, cleaning supplies, and a bit of muscle, you will be able to restore your grout to the color at once was.
In this article, we offer six different techniques for cleaning your grout. These techniques have different strengths, allowing you to find a solution that best fits the severity of stains and grime on your grout. Let’s get to it.
What You’ll Need
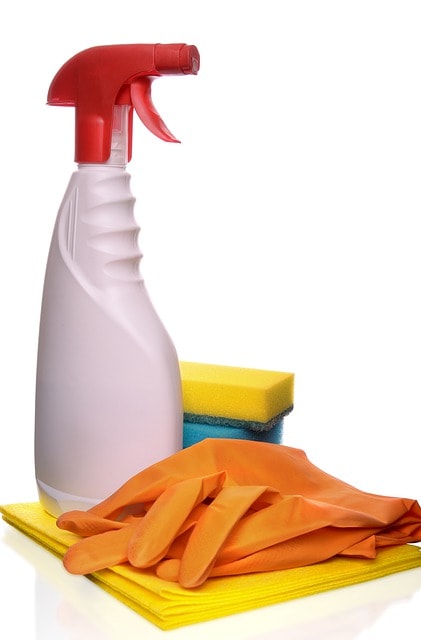
As with any other cleaning job, it’s important to remember that you need to put your safety first. Even with the mildest of cleaning supplies, the solution can affect your breathing and health. For this reason, always wear protective gear, such as a face mask and gloves. We add these items to the supply list so you don’t forget!
Later, we will go over six grout cleaning options, letting you pick and choose which technique you like the best. Below is a list of all of the materials for every method. Once you know which method you prefer, only get the items that match the method.
- Baking soda
- Broom for sweeping
- Gloves
- Grout cleaner
- Hydrogen peroxide
- Mask
- Oxygen bleach
- Spray bottle
- Stiff-bristled brush
- Vinegar
- Warm water
Getting Started
Before diving right into your cleaning process, there are a couple of things you need to do first to get started.
Sweep Floors
Begin by thoroughly sweeping all of the areas you intend to clean. You don’t want to be scrubbing the grout when there is loose dirt, mud, dust, food, or anything else on the floor. Sweep one or two times to ensure a clean floor. You may also want to run a vacuum to ensure all loose debris is picked up.
As you are sweeping, don’t neglect the baseboards. Baseboards get a lot of dirt and dust around them. You might not notice them during a regular sweep, but you are likely to notice the dirt and gunk as you’re cleaning the grout. The same goes for corners. Get any dust and cobwebs out of there, too.
Testing the Solution
Additionally, don’t just throw a solution on all of the grout without testing it first. Make sure that your solution matches well with your home by testing it out in a hidden spot. For example, test a little bit of the solution on the grout behind your toilet when cleaning the bathroom. This will let you know if you need a new solution without causing an eyesore or forcing you to redo all of the grouting.
How to Clean Grout Stains
Here are six of the most popular techniques for cleaning your grout. We have listed these techniques from mildest to strongest. For more intensive stains, you’ll want to select a stronger solution.
1. Plain Water and a Stiff-Bristled Brush
- Broom
- Gloves
- Mask
- Spray bottle/bucket/cup
- Stiff-bristled brush
- Warm water

If your grout is not very dirty, you can use warm, plain water and a stiff-bristled brush. Simply get warm water in a bowl and purchase a brush at a home improvement store. Pour or spray some of the warm water over the lines and scrub the brush in circular motions. Let dry.
2. Equal Parts Vinegar and Warm Water
- Broom
- Gloves
- Mask
- Spray bottle/bucket/cup
- Stiff-bristled brush
- Warm water
- Vinegar
Another gentle solution that is a bit more powerful than the first is made with equal parts vinegar and warm water. This is great for dirt and mild stains. Simply mix equal parts of vinegar and warm water in a spray bottle. Spray the solution on the grout, allowing it to stand for five minutes. Scrub the solution with a stiff brush in circular motions.
3. Baking Soda Paste and Vinegar
- Baking soda
- Broom
- Gloves
- Mask
- Spray bottle/bucket/cup
- Stiff-bristled brush
- Warm water
- Vinegar
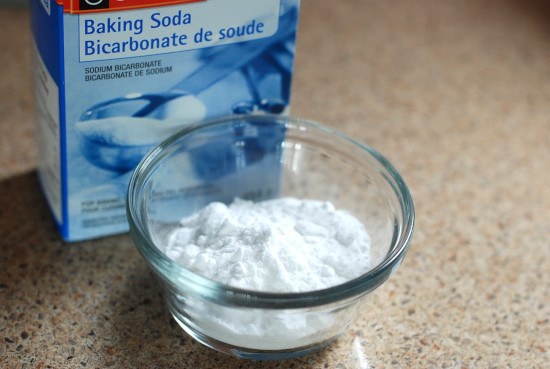
A moderate-strength solution involves a baking soda paste and vinegar. Simply mix baking soda with a little bit of water to create a paste. Set the paste along the grout lines and immediately spray with vinegar. Let the solution sit there until it stops foaming. Whenever the foaming ceases, scrub the grout lines with a stiff-bristled brush. Finish by rinsing with plain water.
4. Hydrogen Peroxide
- Baking soda (optional)
- Broom
- Gloves
- Hydrogen peroxide
- Mask
- Spray bottle/bucket/cup
- Stiff-bristled brush
- Warm water
Moderate to harsher stains will require hydrogen peroxide. You can purchase this at just about any drugstore or supermarket. You can either pour the hydrogen peroxide straight on the grout lines, or you can make a baking soda paste by mixing the baking soda with hydrogen peroxide. Scrub and rinse with water.
5. Oxygen Bleach
- Broom
- Gloves
- Mask
- Oxygen bleach
- Spray bottle/bucket/cup
- Stiff-bristled brush
- Warm water
Oxygen bleach is suitable for tough stains and grimy grout. This cleaner is often sold in powdered form. For the powdered form, you will need to mix it with water to create a paste. Allow the paste to sit for 10 to 15 minutes. Scrub thoroughly and rinse with clean water.
6. Commercial Product
- Broom
- Gloves
- Mask
- Product
- Any other items listed in the product instructions
The most severe grout stains will require a commercial product. These products will remove mold and mildew, as well as pick up any dirt and mud. Commercial products will either have a spray and wipe or scour with brush method. Follow the directions thoroughly.
A Note on Rinsing
You probably noticed when you were reading all of these options that we mentioned to rinse with water at the end. Rinsing with water is crucial. The dirt and grime will resettle into the grout if you don’t rinse it thoroughly. Not to mention, you don’t want animals or children to play in these solutions.
Even if you feel like you are running short on time, do not neglect rinsing away the solution with warm, clean water. Neglecting this step can be potentially dangerous and render your efforts pointless.
In Conclusion
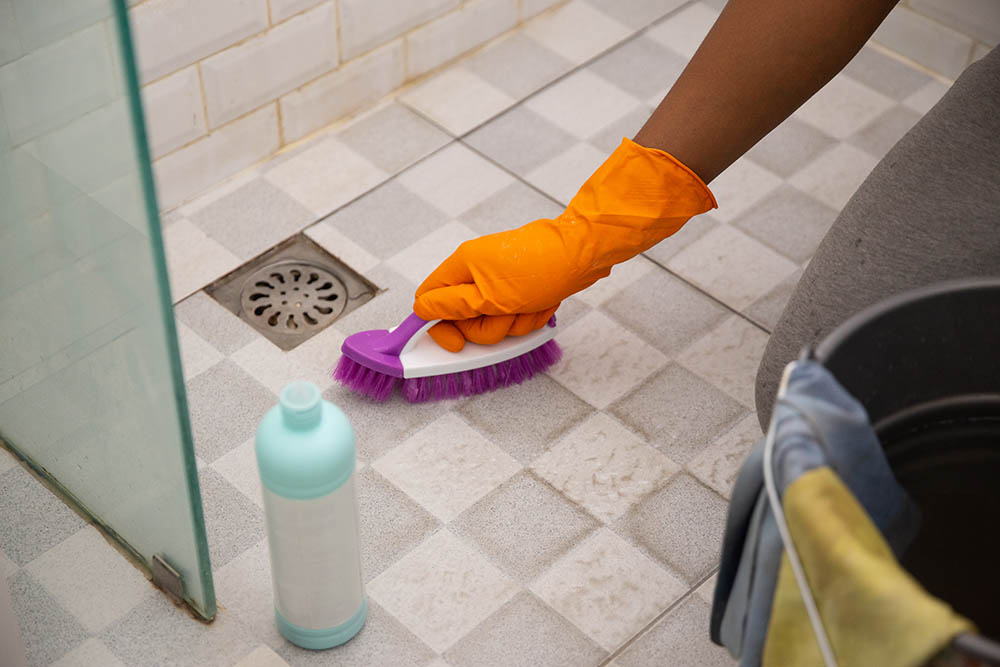
Restore your grout by removing any mold, mildew, and grime. Though all methods will require you to put in a little muscle, the end result will definitely be worth it. So long as you practice safety precautions and rinse all solutions thoroughly with water after, your floor will be beautiful once again.
See also:
Featured Image Credit: Alina Bitta, Shutterstock
Contents


