
Garlic is widely used in many recipes and is a staple ingredient in most households around the globe. It is one of the oldest known crops, with a history dating back thousands of years. Not only is it used in a variety of foods, but it has also been used throughout history as a medical plant.
With the uses of garlic being so widespread, why not try and grow and harvest some yourself? It doesn’t matter if you live in an apartment or have plenty of acreage out in the country, you can certainly grow your own garlic, and we are here to show you how.

Getting Started
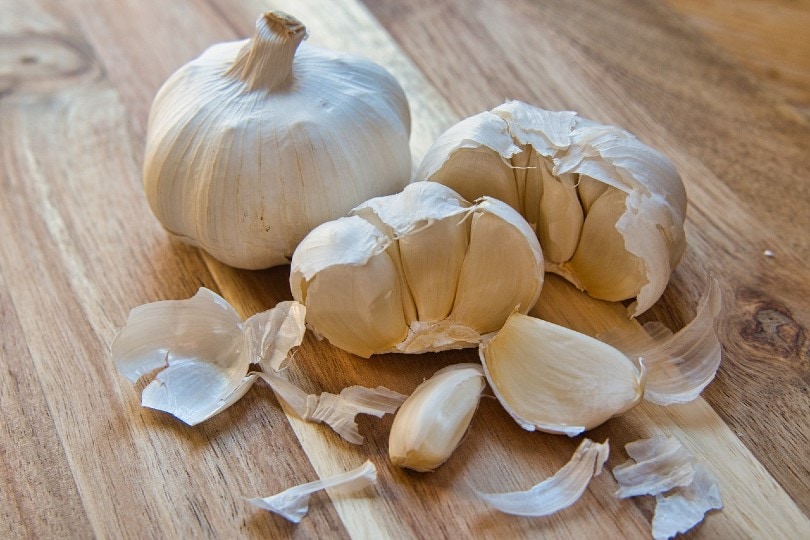
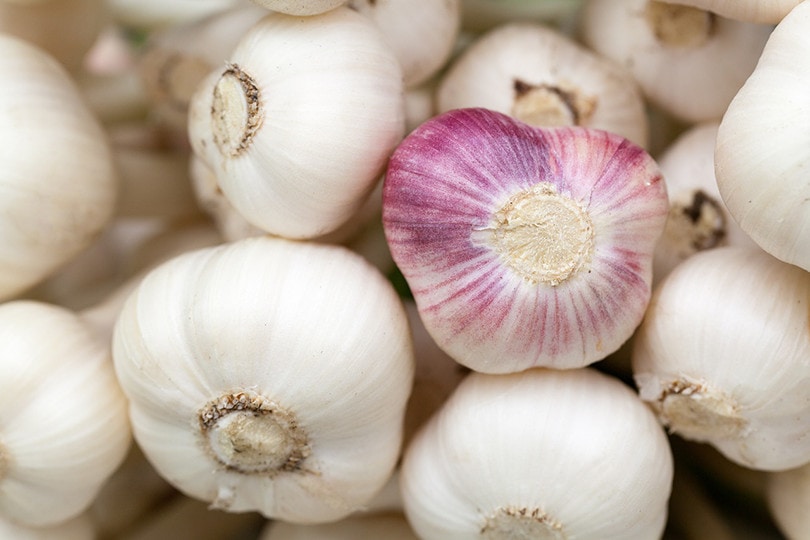
Garlic is one of 700 species within the genus Allium, the same family as onions, scallion, shallots, and leeks. To get started with garlic, you will first need to pick which type of garlic you plan on growing. Garlic can be broken down into two different varieties, hardneck and softneck. The variety is based on the development of flower stalks, clove formation, and overall hardiness.
Hardneck Garlic
Hardneck garlic has fewer but larger cloves compared to softneck garlic. Hardnecks develop a longer flowering stem, called scapes. The scapes will develop bulbils at the top, which should be cut in early summer to prevent them from absorbing energy from the plant and resulting in smaller heads when it’s time to harvest.
Hardneck garlic types have a single row of cloves and are much more cold-weather hardy than softnecks. They do not store very well and tend to start going downhill within four to six months after they’ve been harvested. Hardneck garlic does peel more easily and tends to be more flavorful overall.

Softneck Garlic
Softneck garlic varieties do better in warmer climates and are not as hardy as hardnecks. They have many cloves of varying sizes per head and if stored properly, can last from nine to twelve months after harvest.
Softneck types do not develop a flowering stalk, leaving their stems softer and much more flexible without the need for trimming bulbils like the hardnecks.
Buying Garlic to Plant
Once you decide between hardneck and softneck garlic (or if you opt to have a go at both,) now you need to make the purchase. It is highly recommended that you purchase garlic directly from a local garlic farmer or a reputable online vendor.
It’s important to note that though some vegetables can be started with grocery store versions, grocery store garlic is often treated with chemicals to prevent sprouting and inhibit overall growth. In addition, your grocery store garlic variety may not be ideal to grow in your region.
Planting more than one variety at a time can help enhance your chances of a successful harvest, as it can be a trial and error with some varieties being at risk for disease or not flourishing as hoped.
When and How to Plant and Harvest Garlic
The key to successfully growing your own crops is to get to know the plant well and what type of conditions it needs to thrive and successfully produce. You need to know the ins and outs of when to plant, how to plant, and when to harvest, otherwise, you could wind up empty-handed in the end.
When to Plant Garlic
Garlic is often planted during the fall between September and November and then harvested the following summer, typically sometime between June and August.
If you are in an area that is prone to heavy frost, make sure to plant your garlic cloves approximately 6 to 8 weeks before the ground freezes during the first frost. Garlic thrives best if it is given a dormancy period of 4 to 8 weeks during cold weather that is steadily below 40 degrees Fahrenheit.
In milder to warm climates, you can wait to plant garlic as late as February or early March. This will result in much smaller bulbs once they are ready for harvest in the summer.
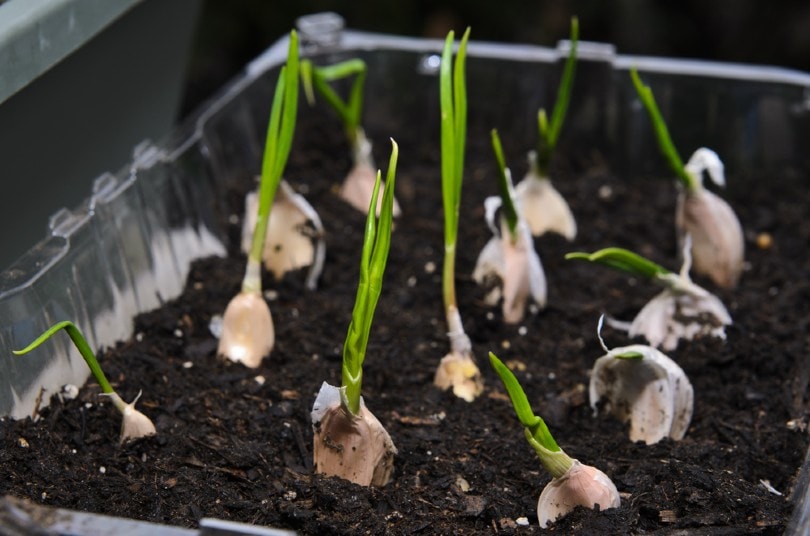
Once the dormancy has ended in the early spring, it will begin quickly producing foliage and then bulbs. The rapid growth occurs during the spring before the hot summer weather conditions halt growth. Once it turns to summer, the garlic will be ready to harvest. Now, let’s look at a step-by-step guide for planting and harvesting:
12 Steps to Plant, Grow, and Harvest Garlic
- Depending on your region and your personal preference, select the most opportune time for planting. As mentioned above, garlic should be planted sometime during the fall months between September and November.
- Try to select the largest, healthiest-looking cloves that show no sign of disease. The larger the clove, the larger the bulb will be when the time for harvesting comes.
- Break apart the cloves from the bulb several days before planting, and keep the husk in place on each clove that has been separated.
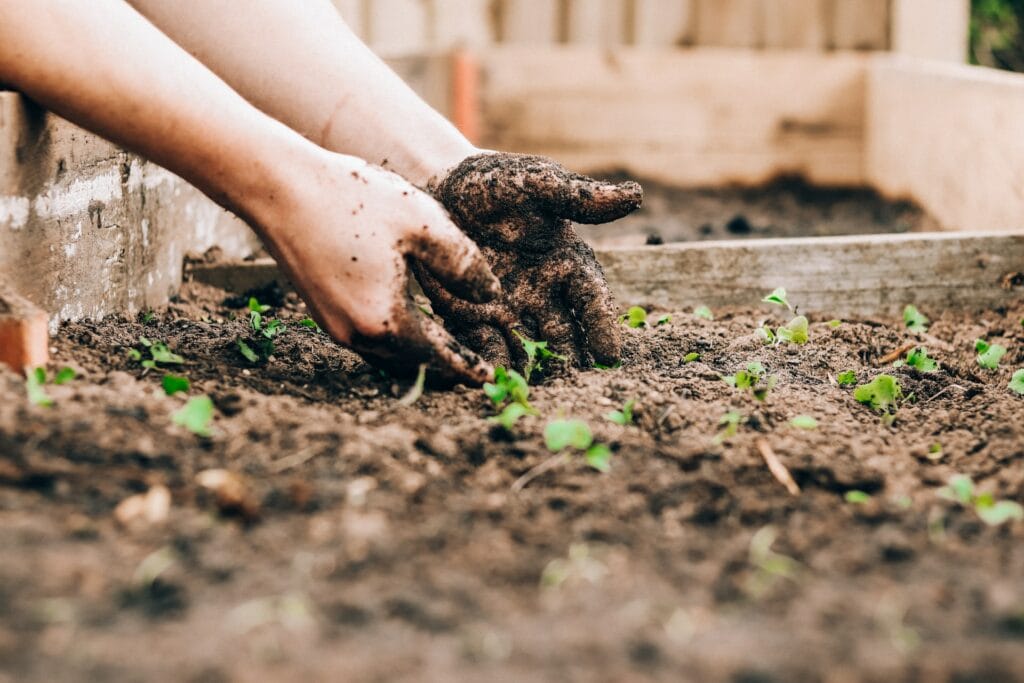
- Prepare the soil by loosening it to a depth of at least 8 inches or more. Garlic does best in well-drained, moisture-retentive soil with pH ranging from 6.0 and 7.0. You can add to soil quality by mixing in granular organic fertilizer, well-rotted manure (never fresh), or some compost.
- Plant the cloves anywhere from 4 to 8 inches apart and 2 inches deep, in an upright position with the wider rood side facing down and the more pointed end facing directly up.
- Plant your garlic in rows that are spaced approximately 6 to 12 inches apart.
- Once planted and covered with soil, water the soil gently to allow it to settle. If you choose, you can cover the soil with a 4 to 6-inch layer of straw to help roots establish before the first frost.
- At this point, you allow nature to take its course. Once springtime comes around, keep your garden weeded well. Watering is not necessary unless there is an ongoing drought, in which case water very sparingly. Garlic doesn’t thrive well in super-moist soil.
- You should start seeing foliage during the springtime and they will be ready for harvest sometime between June and August, most commonly during late July. If you are in a warm climate and planted in the spring, calculate your approximate harvest date based on the days to maturity schedule of the specific garlic variety you used.
- You do not want to harvest too early and end up with small, underdeveloped bulbs. To tell whether garlic is ready to harvest, check for the yellowing of foliage for most varieties (not all.) Harvest is ideal when the tops just begin to yellow and fall over, but before they completely dry out.
- When it’s time to harvest, dig up a sample bulb to see if it’s truly ready. If it’s ready, the head will be divided into plump cloves and the skin covering the bulbs will be thick, dry, and paper-like.
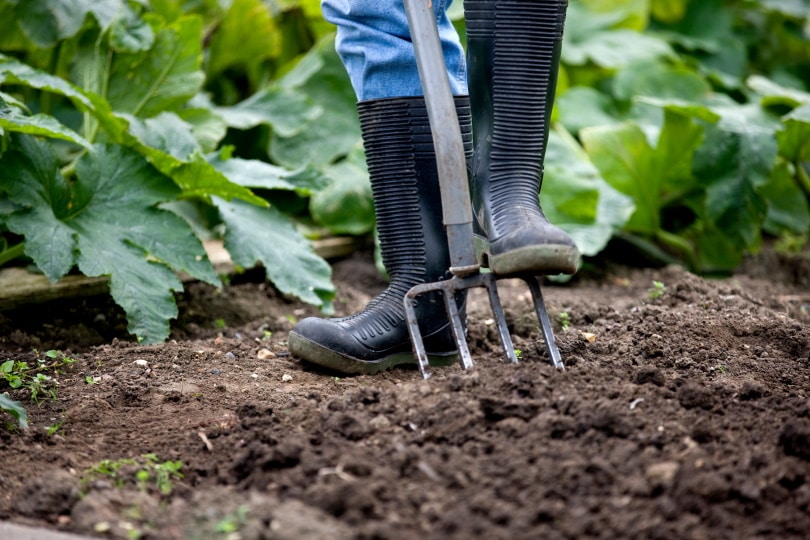
- To harvest, carefully dig up the bulbs by using a gardening fork. Don’t use your hands to yank on the stems, you want to avoid causing damage to both the roots and the root plate. Brush off any excess soil but keep the foliage intact. Garlic does not need to be cured, as it is immediately edible but many do choose to cure it so that it can be successfully stored for several months.
Tips for Growing Garlic Indoors
Garlic doesn’t grow as well under artificial light, so it’s not as common to grow it indoors but people certainly do so with success. For the most part, indoor garlic is used for the scapes and greens rather than waiting up to 6 months or more for the bulbs. Scapes are popularly used in soups, salads, or even grilled and eaten as is or mixed into a stir fry.
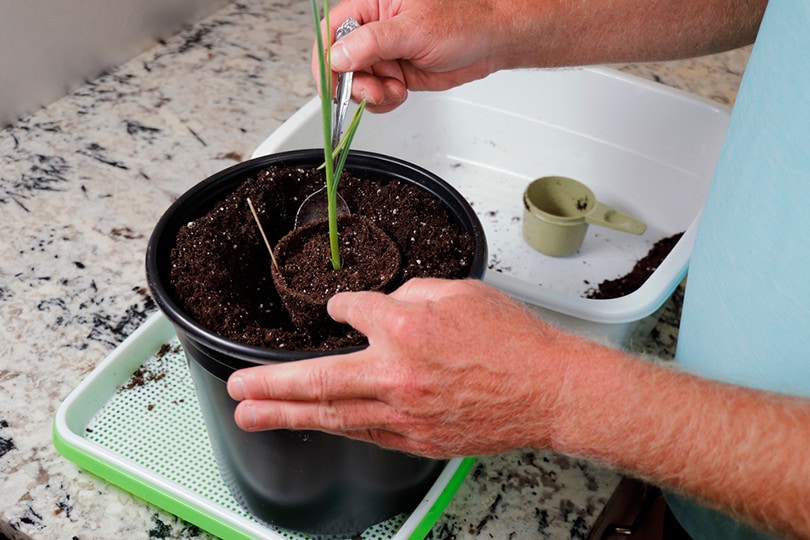
Choose the Right Pot
You will want to use a clay pot that is at least 6 inches deep with drainage holes in the bottom. Plant at least 6 inches apart if bulbs are your ultimate goal. You want to use a potting mix, not garden or topsoil.
Provide Natural Sunlight
Whether you plan on growing scapes or bulbs, you will need to provide your garlic with natural sunlight. Place your pots in a sunny location that gets at least 6 hours of regular sunlight per day. South or southwest-facing windows are highly recommended.
Chill the Bulbs
To grow complete bulbs, you need to put them through an artificial dormancy, especially for hardneck varieties. You can chill the bulbs in the refrigerator for several weeks to give them the dormancy period before planting. You are not likely to have much success if you skip this step.
Plant the Bulbs
Once the dormancy period is up, plant the bulbs in a pot and keep the temperature between 60 and 80 degrees Fahrenheit. You don’t have to worry about humidity, as garlic naturally grows in more arid conditions in Central Asia. Water sparingly, enough to keep the soil somewhat moist but never wet.
If you are going by the fall planting schedule, consider moving your garlic outdoors during the summer so that the summer sun and heat can finish up maturing the bulbs.
Curing and Storage
Most people choose to cure garlic once it has been harvested, this will allow your garlic to be stored successfully for months, sometimes up to 1 year.
- See also: How and When to Plant Hyacinth
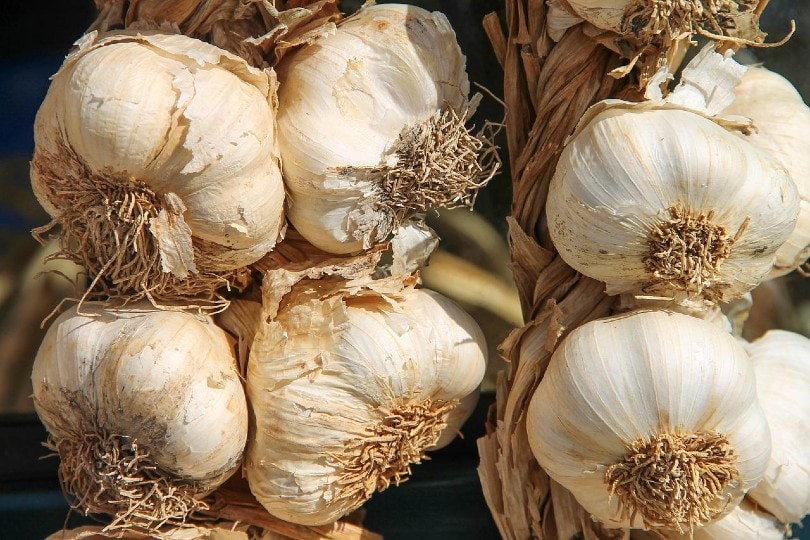
How to Cure Garlic
- Leave the stalks and roots on the bulbs during harvest and throughout curing.
- Bundle and tie together several stems of garlic
- Hang bulb-side down in a cool, dark place or lay it flat on a raised screen without layering it.
- Allow the bulbs to cure for three to four weeks before moving the pantry.
Ways to Store Garlic
- Keep the entire garlic bulb whole until it is time for use and store it at room temperature.
- Garlic can also be stored in the refrigerator in the crisper drawer to maintain freshness.
- To add to the longevity, you can even place garlic in a freezer-friendly bag or container.
- You can store garlic anywhere from 4 to 12 months depending on the variety you used.
- Make sure to check the specific variety for more accurate storage information.
Conclusion
Garlic may take 8 to 9 months from planting to harvest, but it is a relatively low-maintenance crop that takes care of itself and thrives if given a winter dormancy period. A yield of garlic can produce enough to last you until the next harvest and can be stored anywhere from 4 to 12 months if properly cured and stored.
- Related read: How and When to Plant Ranunculus? What You Need to Know!
Featured Image Credit: JeepFoto, Shutterstock
Contents
