
Garlic is surprisingly easy to grow indoors, even during winter, and if you’re the kind of person that throws several cloves into every meal, growing it is cheaper and more convenient than remembering to pick it up every time you visit the grocery store. It’s also satisfying to know that you have grown produce yourself, even if it is only something reasonably small like a garlic bulb. Below we have outlined the basic steps, and added a few tips, to give you the best chance of growing good quality garlic in your home.

Can You Grow Garlic Indoors
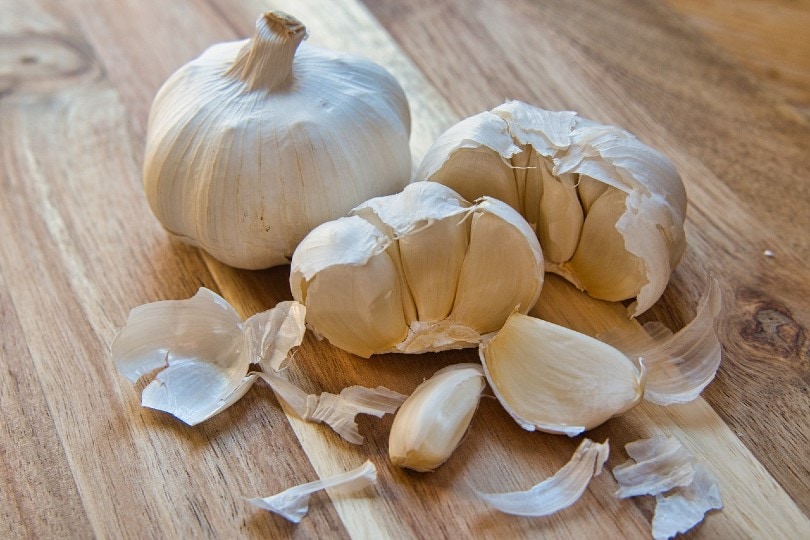
1. Choose Your Garlic
Choosing the right garlic cloves to grow from is an important first step. You can’t and shouldn’t use any garlic that you buy from the shop. If garlic has been chemically treated, it is unlikely to grow, so if you are going to use garlic bought from the store, ensure it is organic and try to find cloves that already have green cloves sprouting from the bulb: this is a sure sign that they will yield growth. Alternatively, you can buy bulbs from garden centers. You won’t need too many bulbs because a single clove will yield a bulb of garlic.
2. Choose an Appropriate Container
Garlic grows under the surface of the soil, and you will need to allow a depth of approximately 8 inches. You will also need to plant the bulbs approximately 2 inches apart. The pot or planter should offer some drainage at the bottom because this will allow excess water to run off and prevent the garlic from rotting and spoiling. You can place a saucer or tray under the planters.
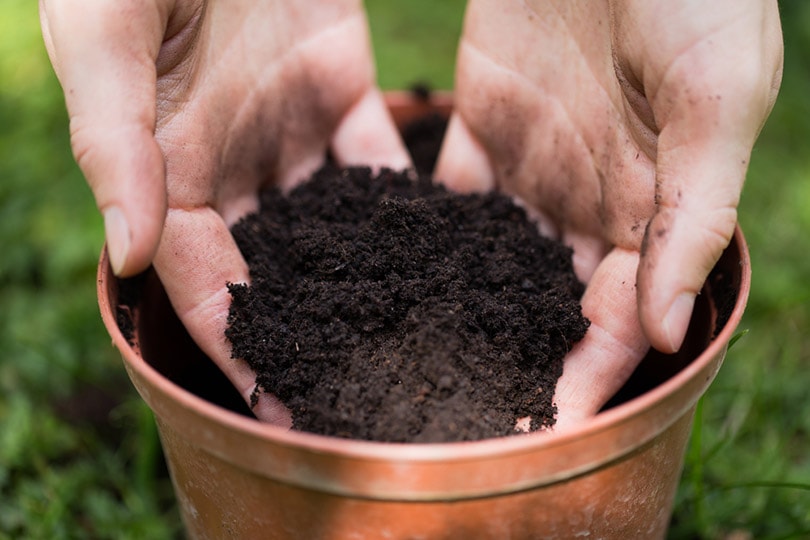
3. Make a Soil Mix
You can make your own soil mix that is suitable for growing garlic, by mixing one part horticultural sand with three parts potting soil. This will provide the right level of drainage while ensuring that the garlic bulbs are able to grow.
4. Choose a Good Fertilizer
You will want to add fertilizer at least when you first plant the garlic. Fertilizer helps ensure good growth by providing the appropriate nutrients. Garlic will consume a lot of fertilizer if given the opportunity and most growers agree that fertilizing roughly every two weeks gives the best results. Use meal or fish fertilizers because these give a good amount of nitrogen and are safe to eat.
5. Give Them a Little Room
When planting the garlic, ensure that they have at least two inches between them, preferably three inches. If you only have a small planter, plant fewer cloves. Allow some room around the planter so that the plants are able to get fresh air as they grow, too.
6. Place the Planter in Direct Sunlight
Garlic benefits from getting at least six hours of direct sunlight a day. Check your kitchen windowsill. This is a good place to grow garlic and herbs because you won’t forget about them, and they are on hand when it is time to harvest and use them. The kitchen window also often benefits from space and direct sun. If you have a sunroom, this is potentially another good spot for your garlic planters.
7. Maintain a Moist Soil
The soil should be moist but not too wet. You can easily test whether it is time to water your garlic using your finger. Alternatively, you can buy planters that automatically water the plants, typically from the underneath. These need filling initially and then refilling when they are empty, and they do mean that you won’t have to worry about watering every couple of days. How often you need to water your garlic depends on factors like the depth and drainage level of the soil, as well as the temperature in your house and the amount of sunlight the garlic gets.
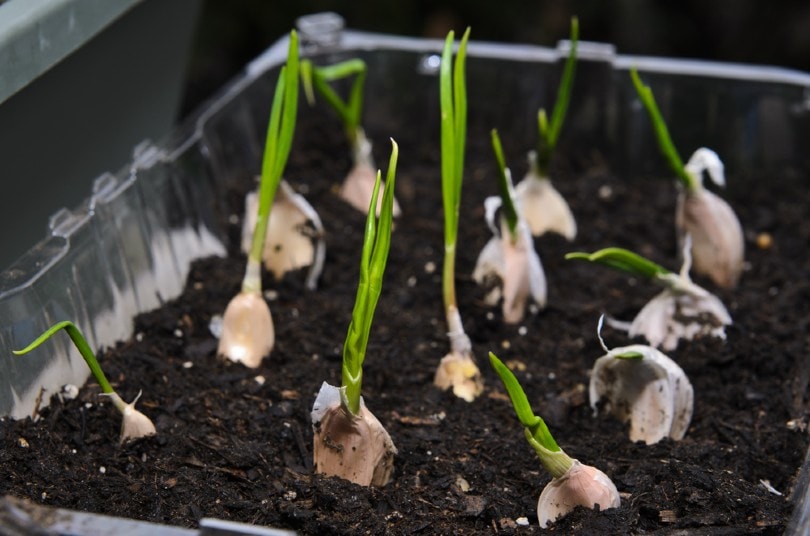
8. Cut the Leaves at First
For the first six months of your garlic’s life, cut the green shoots that appear above the surface. You can cook and eat these or put them in a Ziplock bag and store them in the freezer until you want them. If you leave the leaves on at this stage, the plant will put more of its effort into growing the leaves. If you cut the leaves off, the plant can concentrate its effort on growing the bulb under the soil.
9. Stop Cutting the Leaves After 6 Months
After about six months, you can stop cutting the leaves and allow them to grow. By this point, the bulb should have reached its full size, so the leaves do not need to be cut back.
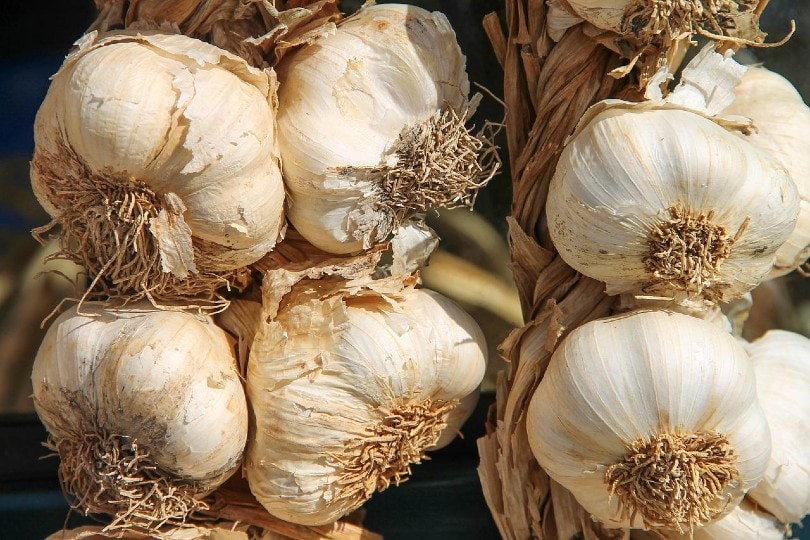
10. Harvest and Cure When The Leaves Brown
Once the plant reaches about 8 months, the leaves will turn brown and die. This means that it is time to harvest your garlic bulbs. Pull them out of the soil, remove any dirt that is hanging on, and then hang the cloves to cure. They need to be hung somewhere dry and that has good air circulation. Once the bulbs are completely dry, you can separate the cloves and use the garlic in your cooking.
Conclusion
Garlic can add a little excitement to almost any dish and it is a widely used culinary addition. It is also a surprisingly easy plant to grow yourself. It can be grown indoors, although it does require plenty of direct sunlight and does take up to 10 months to mature enough to be ready to eat. However, it doesn’t really require any more attention than fertilizing and watering, and it can yield great, fresh garlic to add to your culinary masterpieces.
Featured Image Credit: Anrita1705, Pixabay
Contents
