

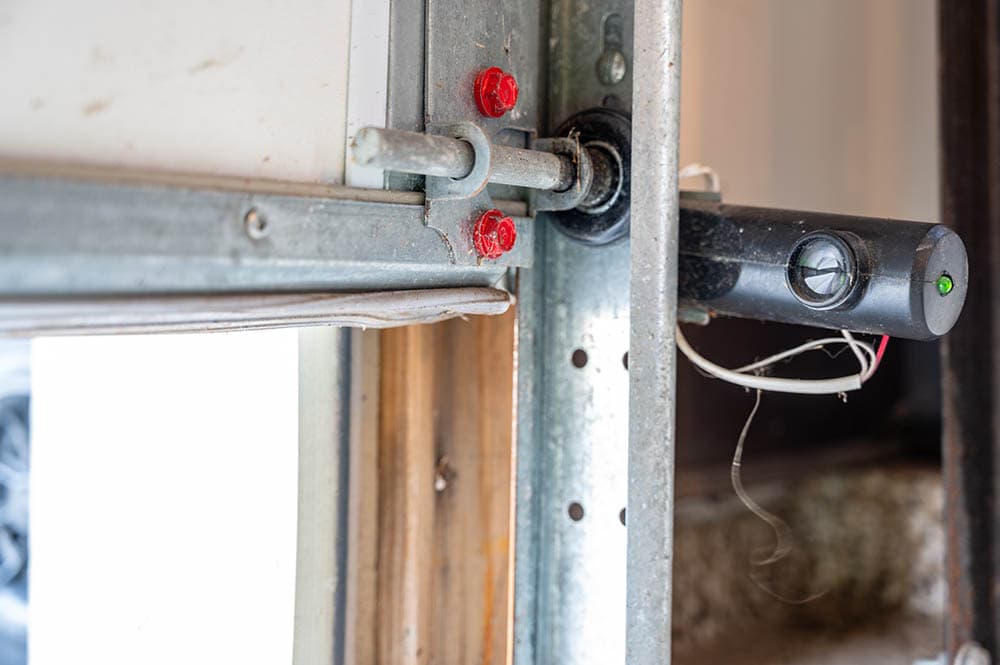
Modern garage doors work seamlessly with sensors so that the garage door can open and close safely without smushing anything underneath. If the garage door sensors are out of alignment, your garage door will not shut properly.
Even if you have no experience with garage doors or other handiwork, you should be able to align garage door sensors pretty easily. In just eight steps, you can get your garage door sensors back in alignment. Learn how by scrolling down.

Tools You’ll Need
You won’t need many tools to realign your garage door sensors. Just get the following items.
- Electricity-resistant gloves
- Screwdriver
- String
- Leveler
- Scissors
The 8 Steps to Align Garage Door Sensors
1. Disconnect Power Supply
The first step for aligning your garage door sensors is safety. Disconnect the power supplies so that you don’t accidentally electrocute yourself while working with the sensors. If the sensors are plugged into an outlet directly, turn off their switch. You can also trip the fuse for your garage using the house’s breaker box.
Even though the power supply is turned off, make sure you wear your electricity-resistant gloves. This will ensure that you are safe in case anything goes wrong.
2. Loosen Screws Holding Sensor Brackets
Grab your screwdriver to loosen the mounting brackets holding your garage door sensors in place. More than likely, you just need to turn the screwdriver in a counterclockwise direction to loosen the screws.
You do not have to remove the screws all the way. Instead, you just need to loosen them so that you can readjust the sensor and make sure it is in alignment again. Only loosening the screws a bit will allow you to do this without the risk of losing them in the process.
3. Slide Sensors Downward
Because these screws are loosened, you will be able to slide the brackets up and down. Slide the sensor downwards using your bare hands. Slide it down as far as it will go inside the mount.
Make sure not to use a wrench or any other tool to get this job done. This can break or damage the sensor in some way or make it look unattractive.

4. Connect Both Sensors Using a String
Now, it’s time to really get the sensors in alignment. Grab a string and connect it to one sensor’s mounting bracket. Make sure to tie the string as tightly as possible, or else this technique will not work.
After confirming the knot is as tight as possible, walk the other end of the string to the other mounting bracket. Connect it to the exact same location on the other bracket and tie that knot as tightly as possible.
Once you’re finished, there should be a string that is tightly connected to both sensors. The string should be in a straight line and show that the mounting brackets are close to alignment.
5. Level the String
To ensure that the brackets are in alignment, you need to level the string. Grab a leveler and press it against this string for a few seconds. If the leveler shows that the string is completely level, you can move on to the next step.
If the string is not level, you will need to adjust one or both sensors by sliding them around in their mounting brackets. Continue to adjust the sensors until the string is leveled.
6. Tighten the Brackets
Once you have ensured that the string is level, tighten the brackets. This will keep the sensors in place and ensure that they remain aligned, even when you remove the string. Be sure not to break the string or mess up the level while tightening the brackets.
7. Remove the String
Simply remove the string now. Cut it off both sensors so it’s not in the way. You can toss the string at this point.
8. Turn the Power Back on and Test the Alignment
Finally, turn the power back on and test your alignment by clicking the garage door button. If the sensors are now aligned, you should be able to close the door.
If the sensors are still off, there was likely an issue. You probably did not tie the string tightly enough. Repeat steps 4 through 8 until the garage door sensors are aligned and working properly.

How Can I Know If My Garage Sensors Are Not Aligned?
If your garage sensors are not aligned, they will let you know. For example, many garage door sensors will flash a certain way whenever they are out of alignment. If you have a more advanced garage door opener with a display system, the display system might show up as an error.
You will need to learn how your garage door and sensors are programmed. Your owner’s manual will likely tell you how you can know if your sensors are out of alignment.
What If Aligning My Sensors Does Not Work?
If your sensors are in alignment, but the garage door is still not closing, something else is probably the issue. If you know that the problem is the sensor, make sure that there is no dirt on the actual sensor. This will make the sensor think something is in the way, preventing the door from closing.
From there, there could be something more seriously wrong. For example, some sort of impact could have damaged the sensor or connective wires. There also could be some sort of incorrect wiring between the sensors and the garage door opener.
Conclusion
We hope that this article has helped you fix your garage door sensors. With just a little bit of effort and a string, you should be able to fix the problem in a little time. If all else fails, there is likely another issue with the garage door sensors, not the alignment.
Featured Image Credit: Emil Diallo, Unsplash
Contents
