
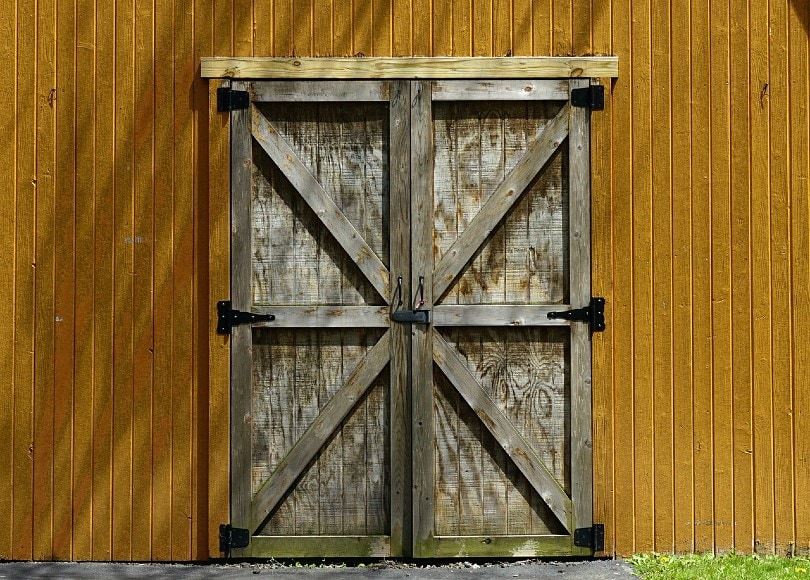
There’s nothing quite like building your own stuff. While a shed door might seem like a massive task, with a bit of guidance and the right tools, it’s something that we’re confident you can knock out.
So, keep reading as we walk you through everything that you need to know to build and install a new shed door in no time!

Tools You’ll Need
When it comes to getting everything that you need to build a shed door, the list is a bit extensive. Here, we highlighted all the tools that you’ll need to get the job done. This way, you won’t get halfway through the job only to realize that you’re missing something!
- Wood glue
- Hammer
- Screwdriver
- Table saw
- Sandpaper
Preparing Your Workspace
Building a shed door isn’t a small job, and if you want to make it easier on yourself, you should have a dedicated workspace. You should have access to all the tools you need, like a table saw, and still have enough room for your finished product.
You want to be able to move around and access your project with ease, so for a shed door, the area should be at least twice the size of the final door. But even more space is better, so you won’t feel cramped or tight as you’re working.
How to Build a Shed Door (6 Steps)
While you’ll need a bit of creativity while following this guide, it’ll outline all the steps to take and get you pointed in the right direction. So, keep reading and think about how you can use information for the shed door you’re trying to build!
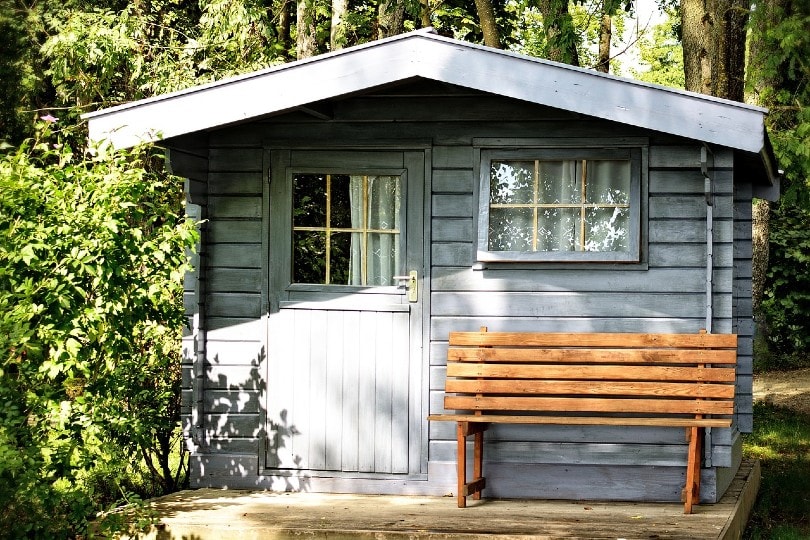
1. Picking a Style
The first thing that you need to do when building a shed door is pick out the style. While there’s no wrong answer here if you’re new to building doors, we recommend keeping it simple. Two of the simplest designs include a ledged and a ledged and braced door.
You also need to decide if you need a single door or a double door, as this will affect how you build your door and the style of door that you choose.
When picking a style, think about how much force is going to go on the door. A ledged door is the simplest design, but it also holds up to the least amount of pressure. A ledged and braced door is sturdier, but the sturdiest option is a framed, ledged, and braced door.
Still, that’s a more complicated construction process, so if you don’t need the extra supports, go with the simplest design of the ledged door!
2. Getting a Blueprint
If you’re not a construction expert, it’s best to leave it to those who are. There are tons of different shed door blueprints out there, and if you’re following a blueprint, it’s much easier to get everything right the first time.
This is especially true if you need to build both the door and the door frame. However, if the door frame is already in place, you can simply take a few measurements to figure out what you door you need. It will require creativity on your part to come up with a design that fits the opening perfectly, but if that’s something you’re up to, you won’t need to track down a blueprint — you can just create one yourself.
3. Measure, Measure, Measure
Whether you’re measuring the doorframe or the pieces of wood that you’re using, take the time to carefully measure every single piece. Measure the wood and mark each piece.
Not only should you measure where you want to make cuts, but you also need to measure the exact dimensions of the wood itself. Many wood pieces are somewhat warped, and if you don’t account for this during the construction process, it can wreak havoc when you’re trying to put everything together.
You’ll be creating one piece for each part of the blueprint, so take the time to set out each piece. Also, feel free to mark each piece so you know which one goes where when you’re done cutting them.
The exact system you use is up to you, but measure and then double-check so you don’t accidentally waste any wood!
4. Start Cutting
After you’ve finished measuring and marking your pieces, it’s time to cut them. Make each cut, then sand them down to smooth out any rough edges. This is especially important for pieces that you plan on nailing or gluing to other pieces.
When you’re making your cuts, try to be extremely precise because when you put everything together, anything less will result in imperfections in the final product.
5. Build It!
Once you have all the pieces that you need, it’s time to start assembling things. We recommend either nails or screws to hold everything together, but if you want even more support, you can use wood glue too.
Think through the process logically. Ensure that you have a way to install all the pieces as you’re putting them together, so you don’t box yourself out of installing a few pieces.
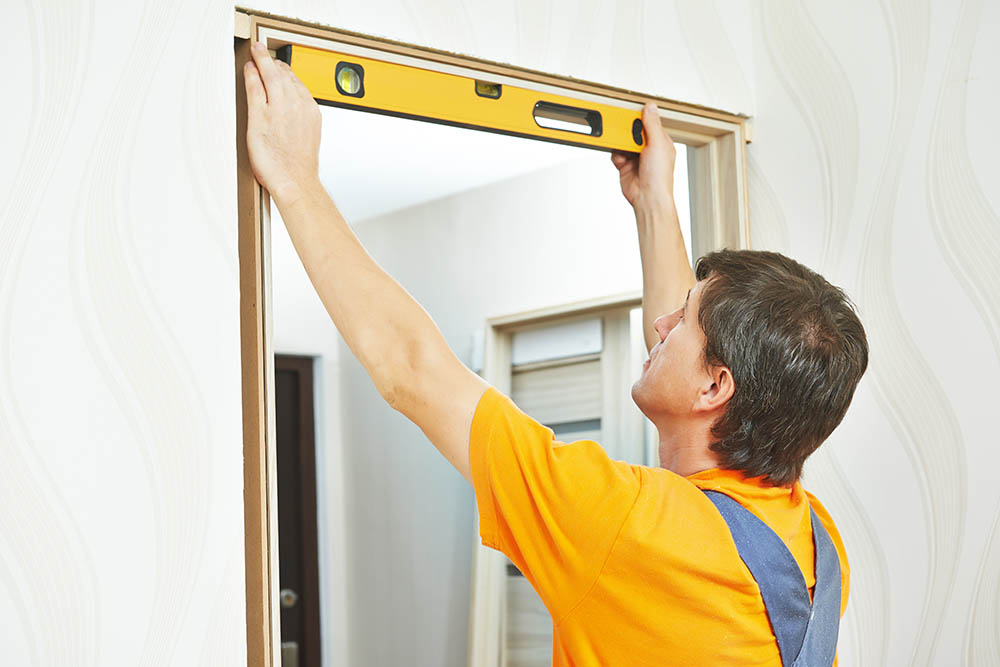
6. Install It!
Once you finish building the door, it’s time to install it to the frame in your shed. As long as you built it right, all you need to do is put on the hinges and attach it to the frame!
Once it’s on the frame, try opening and closing the shed door to ensure that it’s working the way that you want it to. Finally, install a lock or some sort of latch to hold the door in place when you shut it!

Different Style Shed Doors
While there are many different style doors that you can choose from, we limited this list to three of the simplest designs: ledged, ledged and braced, and framed, ledged, and braced.
Ledged
Ledged is the simplest design for shed doors, and these are also the simplest to make. You have the front piece of the door, normally wood slats, and you use three 2” x 4” for the rear. These 2” x 4” pieces are long enough to reach each slat, and one goes along the top third of the door, one in the middle, and one on the bottom third.
You then screw each slat into the 2” x 4”, which holds the entire door together. This is the simplest design, but it also provides the least amount of support.
Ledged and Braced
The ledged and braced door design is a great choice when you want something simple but need a bit more support than what a regular ledged door will give you.
A ledged and braced door does everything that a ledged door does, but the 2” x 4” pieces connect via more 2” x 4” pieces cut at an angle. The top and bottom of the pieces are cut at corresponding 45-degree angles and placed diagonally between the top and bottom ledges.
This provides more support for the entire door by giving it a firmer backing. You can also add more screws or nails to the braces, but this isn’t always necessary.
Framed, Ledged, and Braced
While it’s the most complicated of these three designs, it also provides your door with the greatest possible support. It encompasses all the aspects of the ledged and braced door but adds an exterior frame to the side.
This is an easy step, but it does require a bit more wood. You’ll be adding a 2” x 4” on both the left and right side of the existing horizontal pieces. This piece stretches from the top ledge to the bottom one, and you screw it into each existing 2” x 4”.
What Kind of Wood Should You Use for a Shed Door?
You can use just about any type of wood for your shed door, but you need to check that it’s pressure-treated wood. This ensures that it can stay outside without warping or rotting, which is crucial for a shed door.
If you’re on a budget, you can use pressure-treated plywood. It’s a lower-priced option that makes a great lightweight door for your shed! When you’re picking out the wood, keep style, price, and weight in mind!
Final Thoughts
Building your own shed door is a longer and more comprehensive process than some other jobs, but that doesn’t mean you can’t get it done. Go at it with confidence and start building! With your own creativity and this outstanding guide, we’re confident that you’ll have your new shed door up in no time!
Featured Image Credit: daledbet, Pixabay
Contents
