
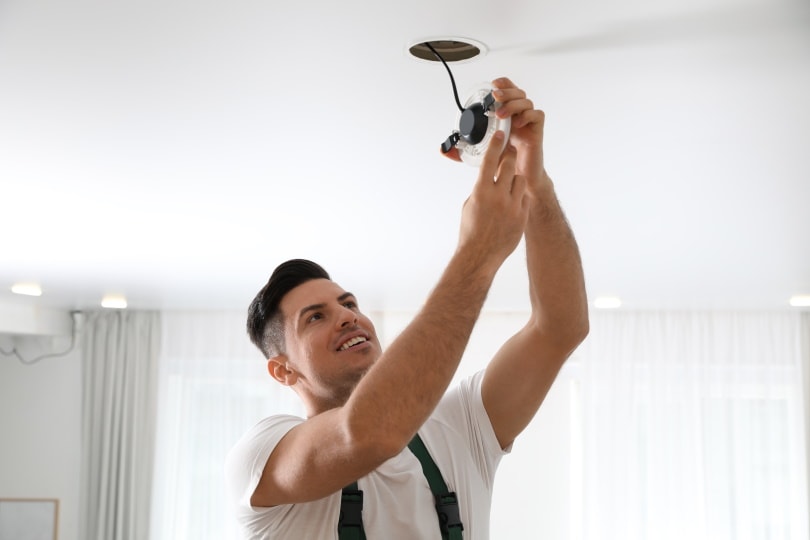
Changing a ceiling light fixture isn’t a difficult job. The hardest part about it is doing the work on a ladder and looking up the whole time you do it. Small globes are simple to swap out following the steps in our guide. However, large fixtures or those with fans are probably a two-person job. Of course, the task involves electricity, but it doesn’t require expert knowledge in most cases.
The exception is older homes that may have different wiring. We suggest that you contact a professional if that’s the case. Otherwise, you’ll find that this DIY project can produce some dramatic results and give your whole room a welcome upgrade.

Before You Start
Your first task is to check how to turn off the power to the room where you’ll be working. If your circuit breaker doesn’t identify the room or appliances controlled by each switch, you must test them one by one to find the right one. We suggest marking them as you proceed to make your next electrical job quicker.
The chances are that your ceiling lights don’t get the same regular maintenance as other spots in your home. Therefore, you’ll find it helpful to take a dust mop around the existing fixture to make cleaning up easier. Our guide includes several precautions. However, you might want to remove any metal jewelry before you start working, just in case. We also recommend work gloves and safety glasses or goggles.
The next thing is to set up your space. Take the new fixture out of the box and have the parts ready for installation. Clear the area around where you’ll place your ladder. If the room isn’t well-lit, a shop light will come in handy.
The supplies you’ll need include:
- Replacement light fixture
- Combo wire cutter-stripper
- Screwdriver
- Wire nuts (optional)
- Voltage tester
- Work gloves
- Safety goggles
- Ladder
- Shop light (optional)
How to Change a Ceiling Light Fixture (10 Steps)
1. Shut Off the Electricity to the Room
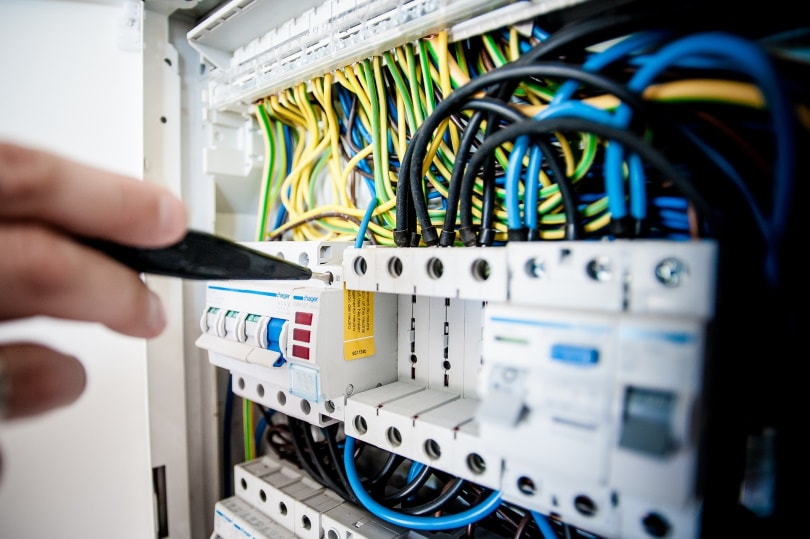
This step is the most important step on our list. That’s why we had you identify the circuit breaker switches previously. Alternatively, you can turn off the main. However, remember that it will cut off everything, including your fridge and water heater.
2. Verify the Power Is Off
Safety is paramount when working with electricity. That’s why it’s imperative to verify that it is indeed off before you proceed. Try turning on the switch that controls the light fixture to make sure it doesn’t turn on again. Leave it in the off position.
3. Remove the Existing Light Fixture

Loosen any screws holding globes in place while keeping a hand underneath it. Only adjust them as needed to avoid them dropping down to the floor. Remove it carefully, handing it to your work partner or getting off your ladder to set it aside. Unscrew any light bulbs. You can dust them off and use them in the new fixture if they’re compatible.
4. Take Off the Existing Wire Nuts or Caps
Test the existing wires for electricity using a non-contact voltage tester. This type is a safe option since you won’t have to touch any live wires. It will detect it from a short distance away. Unscrew the plastic wire nuts or caps to free the base. Remove the part that is flush with the ceiling and set it aside, too.
5. Remove the Old Strap
You’ll see a metal strap across the top of the opening in the ceiling. We recommend removing it with a screwdriver and using the one from the new fixture if it’s included. That way, you’ll know that all the parts are compatible.
6. Strip the Existing Wires
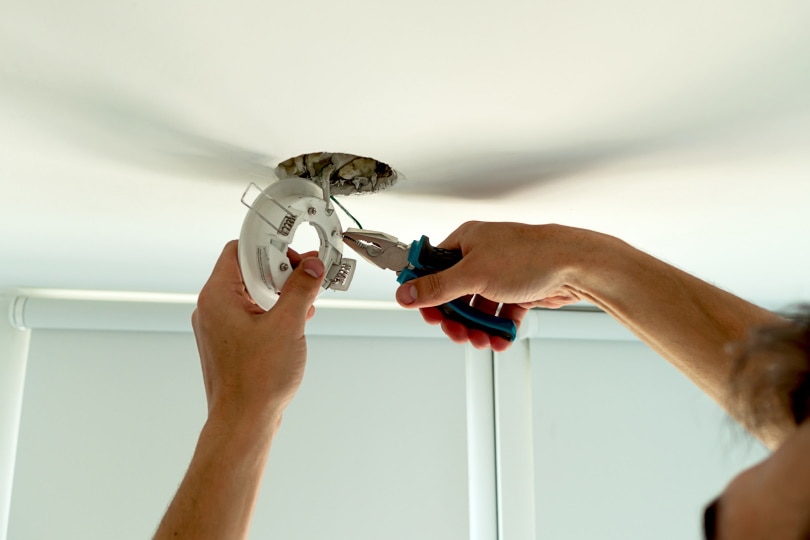
Strip the wires hanging down from the opening using your combo tool. You only need to go back about an inch or so to attach them to the new fixture. Install its strap if it is included.
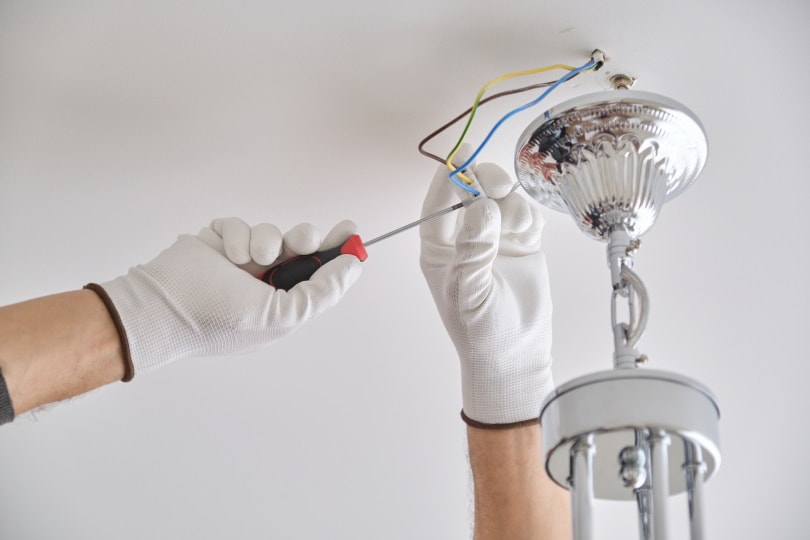
7. Connect Those Wires to the Ones of Your New Fixture
Attach the wires from the ceiling to the base of your new ceiling light. You’ll see a white and black one. There may also be a green one if the circuit is grounded. Connect the corresponding ones. You can use the wire nuts from the old fixture or swap out new ones if they look damaged. Make sure that they are secure to prevent shorts that can pop a circuit breaker switch.
8. Put Together the New Fixture
Assemble the light with the parts you have to attach it to the ceiling. Don’t worry about the bulbs and globes at this point. Get in place on the ladder and have your partner lift the fixture to you.
9. Install Your New Ceiling Light
Tuck the wires away from the sides as you attach the base. The procedure will vary, depending on the type of fixture you have. Follow the manufacturer’s instructions for mounting it in place and securing the main light fixture. Screw in the bulbs and attach the globes.
10. Switch on the Power
We think this step is the best part of the process. Flip the circuit breaker switch back to its “On” position. Then, turn on the light for your first look at your new ceiling light fixture. If it doesn’t turn on, verify that the bulbs are in the sockets all the way. We suggest trying any that don’t light up in a lamp that you know is working correctly. If there is still a problem, turn off the power and check the wiring.
Final Thoughts: How to Change a Ceiling Light Fixture
As you’ve seen, installing a new ceiling fixture is a simple task once you know the precautions and steps you need to take. This upgrade can brighten a room and even save your money on your electricity bill if you opt for an Energy Star product. It’s a DIY project that you can complete in less than an hour with the right tools and a buddy to help you with the installation.
See also:
- Recessed Lighting Installation Costs
- How Much Does It Cost to Install a Ceiling Light Without Existing Wiring?
Featured Image Credit: New Africa, Shutterstock
Contents
