How to Clean a Garbage Disposal – Step by Step Guide
-
Pete Ortiz
- Last updated:

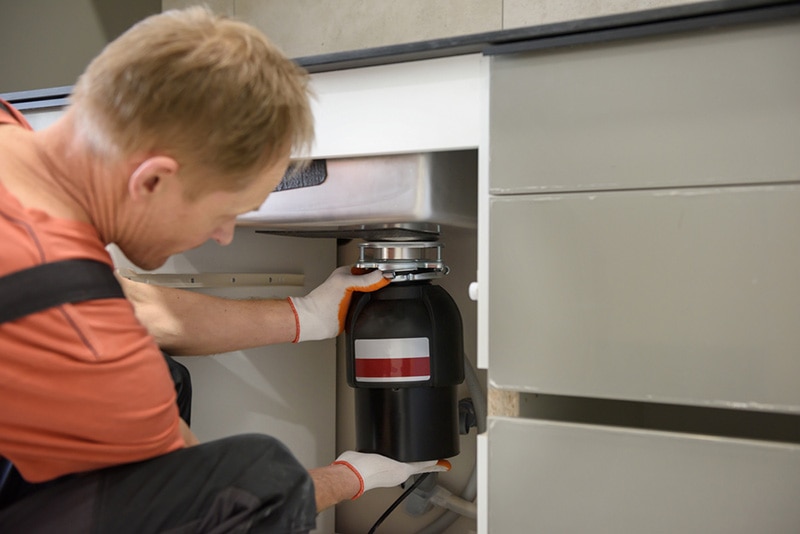
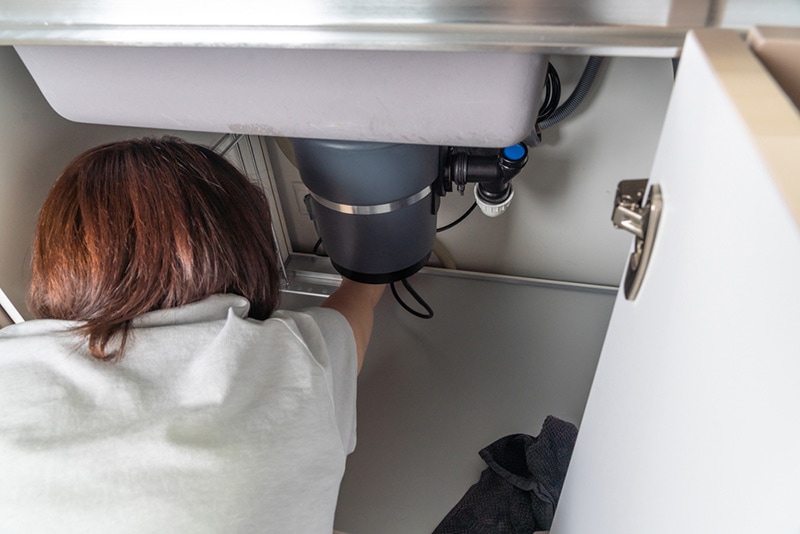
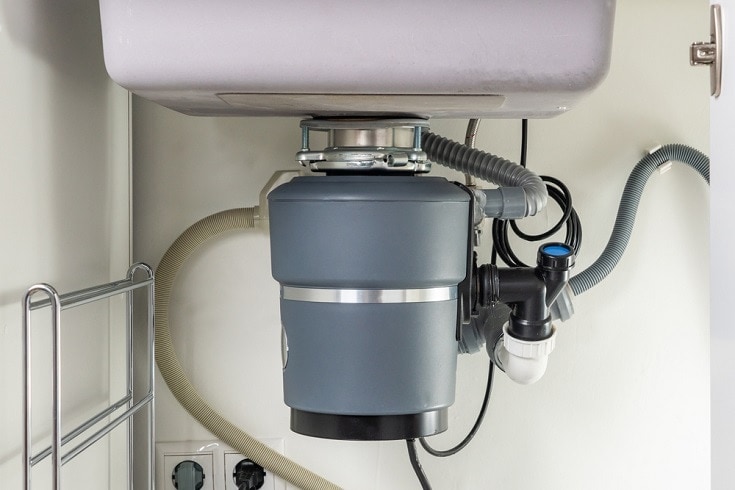
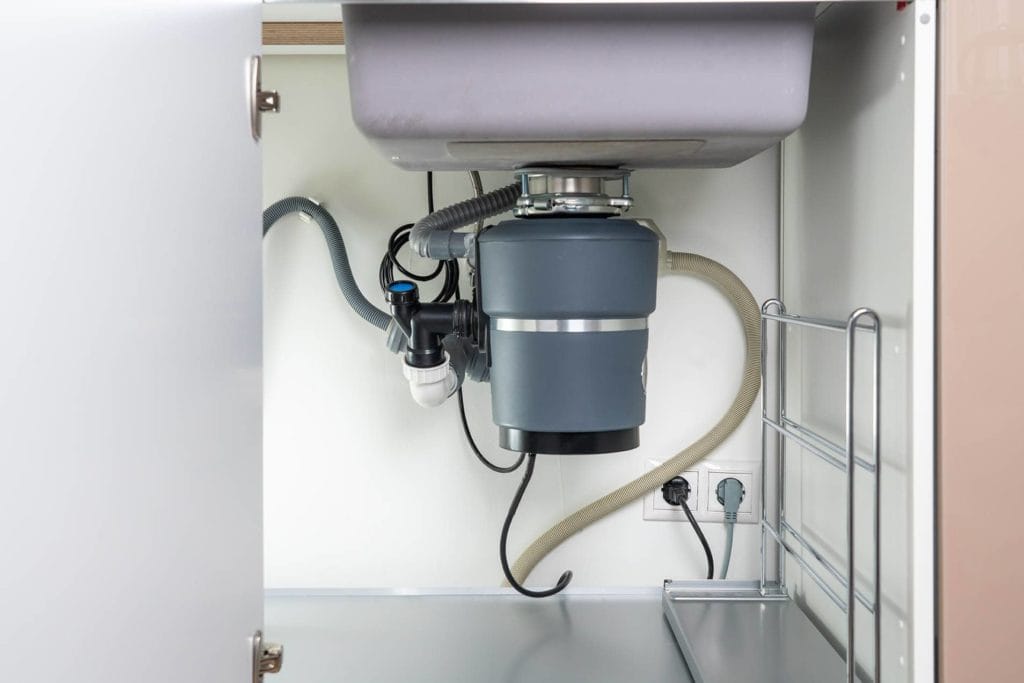
A garbage disposal, also known as a waste disposer or garburator, is an electric device usually installed under the sink. It shreds organic wastes such as fruit peels, vegetable stalks, and food remnants into small pieces less than 0.05 inches for them to easily pass through the disposal pipes. A garbage disposal reduces the need to find time-consuming alternatives for disposing of food remnants.
Even though most disposals are self-cleaning, you’ll need to give them a thorough clean from time to time. This keeps them in pristine condition, prevents the release of foul odors, and extends their lifetime. On that note, this article will give you some tips for cleaning garbage disposals.
The 9 Steps to Clean a Garbage Disposal
1. Disconnect the Power
The first and most important step in cleaning the garbage disposal is turning off the power supply; otherwise, a simple domestic task could lead to a hospital visit.
To disconnect it, flip down the circuit breaker switch or unplug the power supply cable from a socket under the sink. The latter is the best method since you are sure the machine will not turn on when the connection is broken.
2. Remove Lodged Objects
Before cleaning the disposal, it is critical to remove any lodged objects. This not only opens up a way for cleaning detergents to penetrate deeper but also prevents the garburator from clogging.
To remove the objects, use a pair of tongs or pliers. Tongs are well suited for this task because they have scalloped food-gripping parts which may grip objects from the disposal.
Though not recommended, if prompted to use your hand, use the thumb and index finger or the index finger and the middle finger; whichever combination works best for you. Do it gently since the blades might be sharp, and remember to double-check if the disposal is actually off.

3. Flush It with Water
After removing large objects, flush loose dirt with water.
Secure the stopper and fill the sink with 4 to 6 inches of hot water. Squirt a few drops of liquid dish soap in water and mix them thoroughly. Switch on the disposal and remove the stopper. As hot water tumbles inside, it will melt fats and grease, while the soap will remove any dislodged dirt from surfaces.
Note: Always fill up the sink with hot water rather than just letting the tap run. This method flushes out the dirt deep inside the disposal.
4. Grind Salt and Ice Inside the Garburator
Ice is an unusual item on the cleaning menu, but it is very effective inside a garbage disposal. Throw one to two cups of cubes, followed by a cup of salt, inside the unit. Turn on the tap and switch on the machine to crush them.
- Crushed ice and salt act as a scrubber, a great way to remove tough sludge
- The process sharpens the blade
- Salt kills harmful bacteria that release bad odors
5. Clean the Splatter-Proof Rubber
Every garbage disposal has a splutter-proof rubber that prevents foods from splashing out when being ground. It is one of the most ignored parts in the unit despite the food remnants and bacteria.
If your unit has removable flaps, remove and gently scrub them with water and soap. Rinse in clean water and reinstall. Avoid using very hot water on rubber flaps because the heat may deform them.
For those that are not removable, being a little creative will leave them sparkling clean. Gently pull out one flap at a time to access the lower side. Give it a good scrub using a toothbrush and, of course, soap and water. Do the same to the remaining flaps.

6. Borax
Borax, or sodium borate, is a white powder used for cleaning and as an additive in many detergents. It softens water and removes stains.
Pour a quarter of a cup of borax into the machine, then turn it on for one second. This allows the blades to spread borax throughout the unit. Leave it for 15 to 60 minutes, then turn on the machine while running the tap to flash the borax out. Hot water is also applicable in this case.
7. Use Orange Peels for a Fresh Smell
Orange or peels from citrus fruits such as lime and lemons are extensively used in cleaning products. Citrus peels produce a compound known as D-limonene, which is a natural oil. It is a degumming agent that is gentle on surfaces but with a good reputation for removing stains and grease, a popular DIY alternative to chlorine.
Additionally, the acidity in citrus fruits kills bacteria and shines metallic surfaces.
To use orange peels, grab three full oranges, peel them off and chop them into smaller pieces the unit can handle. Turn the machine and tap on.
8. Baking Soda and Vinegar
Baking soda is another cleaning solution that acts as a scouring agent and a deodorizer. Once you’ve cleaned your splash guard and gotten rid of lodged particles, create a cleaning solution with vinegar and baking soda.
First off, pour 1/2 cup of baking soda and then 1/2 cup of white vinegar down the drain, let it dissolve for about 20 minutes, and then flush it down using tap water. To flush things out entirely, repeat this process with hot water. This will aid in clearing grease and food scraps so your garbage disposal remains sparkling clean.

9. Clear the Garbage Disposal Trap
The disposal trap refers to the P- or S-pipe that connects to the disposal underneath the sink. Flushing water helps to clear debris in the trap. However, if it’s draining slowly or clogged, it could imply things like starchy foods or coffee grounds are stuck in the trap.
Avoid using conventional chemical drain cleaners in a garbage disposal. Instead, remove the P-trap or S-trap and set a bucket beneath the sink. Clear out any wedged debris using soapy water and a bottle brush. Rinse thoroughly with clean water before re-attaching the trap.
Conclusion
There are many ways of cleaning a garbage disposal. Start by disconnecting the unit from the power source, dislodging large particles, and using hot water to soften the grease. Soap, borax, and baking powder will be used in later stages. Lastly, always ensure the unit smells fresh by grinding citrus fruit peels inside it.
See also: How to Unclog a Garbage Disposal With Standing Water (8 Tips)
Featured Image Credit: DUO Studio, Shutterstock
Contents


