How To Clean a Table Saw Blade: 6 Tips & Tricks
-
Pete Ortiz
- Last updated:

Woodworkers know that better equipment often means a better experience and superior products at the end of a project. If you find your table saw isn’t giving you the quality cuts you demand, there is a quick (and cheap) way to upgrade your results without upgrading your saw blade.
Cleaning your blades is usually all it takes to get your equipment working like new. Through regular maintenance, you’ll enjoy cleaner cuts, faster projects, and longer-lasting tools. We’ll walk you through six tips and tricks to clean a table saw blade so you can revitalize yours with minimal effort.

Why Clean Your Saw Blades?
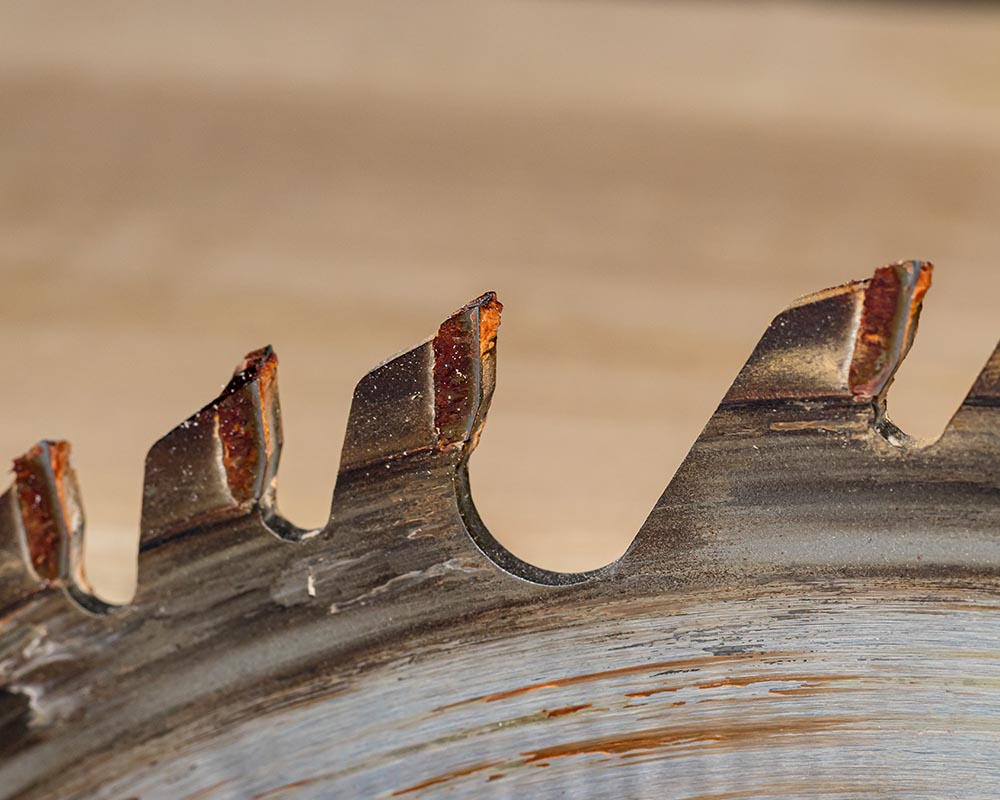
Your table saw blade gradually accumulates pine pitch, resin, glue, and other adhesive materials as it works through the material you’re cutting. Wood shavings and other debris will then grab on and further bolster the buildup on the blade.
With gunk around the teeth, your blade will have a rough time cutting. It will create more friction against the wood, leading to heat and expansion that will scorch the wood or cause the blade to bind. When this happens, cuts will be coarse and much lower quality.
Ruined wood and wasted time aren’t the only drawbacks to a dirty table saw blade. Your equipment will also suffer, putting you in a potentially unsafe and costly situation.
The increased resistance on a gunked-up blade will wear it down faster and put more stress on your table saw’s motor. Without proper care, you’ll have to replace your blades and possibly your entire saw much sooner than expected.
Cleaning a table saw blade only takes a few minutes of your time and some items you’ll likely have around the home. You don’t need any toxic or specialty cleaners for table saw blades.
- Tray or 5-gallon bucket lid
- Simple Green All-Purpose Cleaner
- Stiff-bristle nylon brush
- Clean towel
The 6 Tips & Tricks on How To Clean a Table Saw Blade
1. Grab a Tray
Use a shallow tray large enough to hold your saw blade so it can soak in a cleaning solution. The lid of a 5-gallon bucket you’d find at home improvement stores is perfect. It is the ideal size and depth and features dimples/ridges to elevate the blade enough for you to grab it comfortably from the center ring.
2. Choose (or Make) Your Blade Cleaner
Simple Green is a concentrated, non-toxic formula that will break down the tough grime, oil, and dirt that builds up on a saw blade. Dilute it with water to ¼ strength for most cleaning situations. You can safely use undiluted Simple Green for more power when the blade is extra dirty.
A homemade cleaner can be an effective alternative if you don’t have Simple Green or another mild all-purpose solution. Mix a 1:1 combination of laundry detergent and water, and pour it into the tray. Agitate it gently to blend the cleaner.

3. Soak the Blade
Carefully place the blade into the tray. Pour the cleaning solution into the tray if you haven’t already, using enough to submerge the saw blade. You can also spray cleaner over both sides of the blade if you prefer. Let it soak for 5–10 minutes.
4. Scrub the Saw Blade
Use your stiff-bristle nylon brush to scrub the teeth one at a time. A stainless-steel brush will give you added scouring power, but it will damage Teflon-coated blades. If any spots have significant buildup, alternate between scrubbing the blade and letting it soak to wear down the grime.
5. Rinse and Dry the Blade
Remove the saw blade from the tray, and finish cleaning by rinsing off any residual cleaner. Gently pat it dry with a clean towel. Make sure to reach between the teeth to remove every bit of moisture. A blow dryer can make life easier if you’re concerned about cutting yourself.
6. Lubricate the Blade
Save money by extending the life of your saw blades with lubrication after every cleaning. A silicone spray dry film lubricant will reduce friction as you work while repelling dirt and grime. Your blades won’t wear down as quickly, and you’ll be able to go longer between cleanings.

How Often to Clean a Blade?
You don’t need to keep a particular schedule for cleaning your blade. As you use it, you’ll become accustomed to how your table saw feels and when it starts to get sticky. Once you feel pressure or notice burning in the wood, it’s time to clean the blade. A good practice is to check it before each use.

Final Thoughts
A clean blade puts satisfaction back into woodworking and goes a long way toward saving time and money. It is easy to mistake a dirty saw blade for being dull and ready for replacement. With a watchful eye and these six tips on cleaning a table saw blade, you’ll discover how easy it can be to maximize your blade’s performance and value.
Featured Image Credit: J.J. Gouin, Shutterstock
Contents


