How to Clean Paint Rollers (Quickly & Easily)
-
Pete Ortiz
- Last updated:

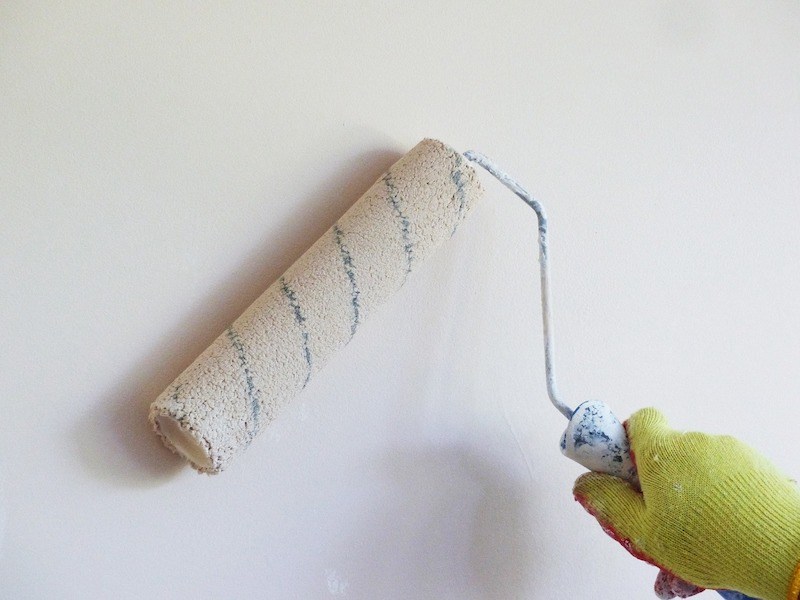
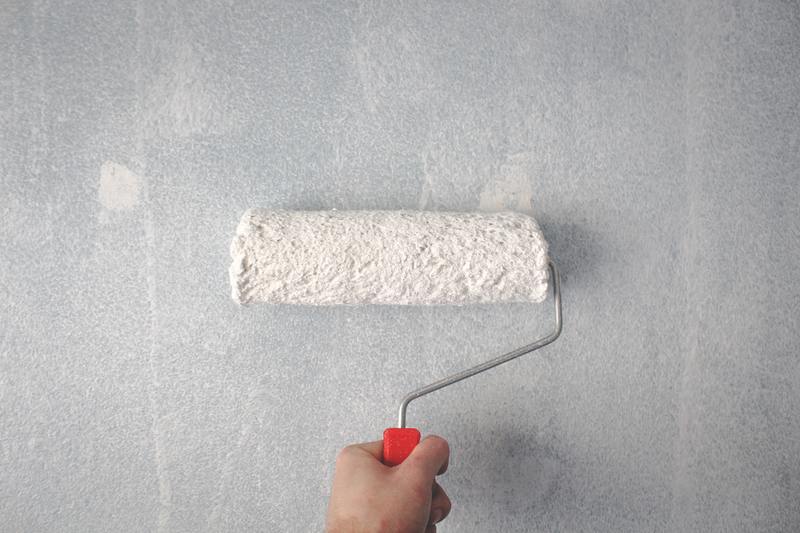
After spending all that time painting your wall — which involved gathering all the supplies, prepping to paint, and the hours of actual painting — the last thing you want to do is clean the rollers. They seem to have more paint than is actually on the wall, and it is tempting to just throw them away and start with a new roller the next time.
But this is the thinking of a novice painter. By taking care of your painting supplies, you will actually save time and money in the long run. Plus, it is quite easy to clean rollers in a short amount of time.
So if you’re wondering how to clean paint rollers, you’re in the right place. This article will discuss how to clean different types of paint from dirty rollers; different paints will require different methods to effectively get them looking like new again.
Preparation: Physical and Mental
- To begin this process, don’t wait until the next day to clean your rollers. If the paint has dried, even a little bit, the job will be much more difficult.
- Don’t bother changing from your painting attire, as cleaning rollers can be a bit messy. Choose an area that can handle a splash of paint water or solvent.
- Remove the excess paint from the roller by scraping it with a five-in-one tool or a paint stick. This will leave less paint to wash away. You can also remove the excess by finishing off your wall or rolling it on some newsprint.

Cleaning Water-Based Paint
This is the easier method because all you need is warm water and soap. You may be able to clean in your sink, but we would recommend checking with your wastewater treatment facility first because some are fine with it but others are not.
To be on the safe side, use a large bucket filled with warm soapy water, the best being dish or hand soap. Place the roller in the bucket and give it a good scrubbing. Once all the paint has been removed, rinse it with a hose (into the bucket) or transfer it to another bucket with clean warm water.
Do not dump the water on your lawn, flowerbed, or down the sink. Allow it to sit and let the paint settle to the bottom. Once settled, you can then dispose of the solid material at a hazardous waste facility.
See Also: How to Remove Spray Paint from Concrete (Simple Steps)
Cleaning Oil-Based Paints, Shellacs, and Varnishes
This method is still easy, but it does require you to purchase a paint roller cleaner in order to effectively clean the roller. Read the instructions on your paint regarding what solvent is recommended — it could be paint thinner, mineral spirits, or denatured alcohol.
Put the solvent into a large bucket and clean the roller. A solvent is drying to the skin, so you may want to wear gloves. You can also use a clean paint tray for this process. Keep your roller on the reel, and roll it back and forth through the solvent.
For latex paint, you will want to let the solvent sit for a few days, allowing the paint to settle out. Afterward, you can remove the solid parts and reuse the solvent another time.
After Cleaning the Roller
This pertains to both methods of cleaning. Once you shake or squeeze the excess water/solvent from the roller, set it on one end to dry. Do not lay it on its side, since this will flatten the nap and make it an ineffective painting tool.
Don’t forget to clean the roller handle and allow it to completely dry before storing it. There are roller cleaners that you can purchase, but we found the most effective way to clean these is by hand.
In Conclusion
We hope that we have convinced you that it isn’t a big deal to clean your rollers. In fact, you will be saving room in the local landfill by not throwing them away every time. By purchasing quality rollers, you will get a paint finish with no lint residue marring your work. By making cleaning a part of your painting routine, your rollers could potentially last for many uses.
See Also: What are the 3 types of primer paints?
Featured Image Credit: Needpix
Contents

