How to Clean Your Power Tools (6 Simple Steps)
-

- Last updated:
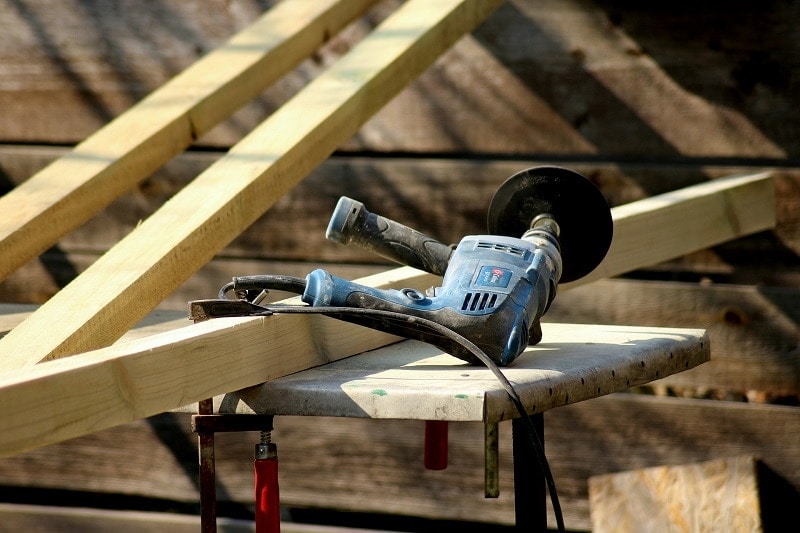

You take your car for tune-ups, oil changes, and alignments. Similarly, you go to the gym, eat healthy, and go to the doctor for an annual checkup, or at least I hope you do all these things. Why should our power tools be any different?
Power tools need proper maintenance and care just like anything else in life. Only by properly caring for your power tools can you expect to use them for a long time. Cleaning is the most crucial aspect of power tool maintenance.
Unless your power tool is brand-spanking new, it likely needs a good cleanup. In this article, we’ll give you a quick and easy rundown of cleaning your power tools.
Why Cleaning Your Power Tools Matters
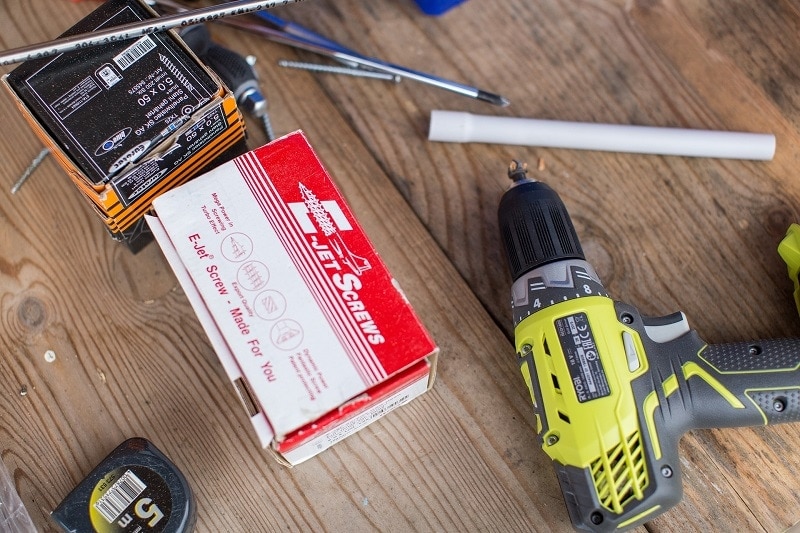
Before learning how to clean your power tools, it is important to know why you need to clean them in the first place. Most studies show that people are less likely to commit to additional projects if they do not understand the reason or purpose. With this fact in mind, knowing why you need to clean your power tools makes you more likely to clean them thoroughly and frequently.
Cleaning your power tools are absolutely necessary for them to function correctly. You expose your power tools to a number of harmful agents, such as dust and hard materials. If you do not clean these substances off, they can dull the sharp edges, clog the motor, and render your tool useless. Thus, cleaning your power tool extends its productivity, effectiveness, and lifespan.
Cleaning your power tools also saves you a lot of money. By helping your power tools last as long as possible, you save yourself some money since you don’t need to buy additional tools prematurely.
What You’ll Need
- Safety gear
- Shop vacuum
- Compressed air
- Damp rag
- Stiff brush or steel wool
- Degreaser (optional)
- Protectant and lubricant (like T-9)
- Blade sharpening tools
- Any needed replacement parts
- Allen wrench
- Storage containers
Set Up
Before cleaning your power tools, you need to set up correctly to protect your safety and tools. Most importantly, make sure all of the power tools are unplugged. The last thing you want is to accidentally turn on the tool while it is in your hands.
Also, take note of any sharp parts, like the blades. Even though you likely already know where the sharp parts are located, it is nice to remind yourself before cleaning just to make sure you don’t accidentally cut yourself.
Place the power tool and the necessary cleaning ingredients on a flat surface. A workbench will likely be your best option. Just make sure your cleaning location is sturdy and flat, so you don’t accidentally drop the tool.
The last thing to do during the setup stage is to gather any protective gear that you might need or want. Waterproof and heavy-duty gloves are a great option since they protect your hands while working with the sharp blades.
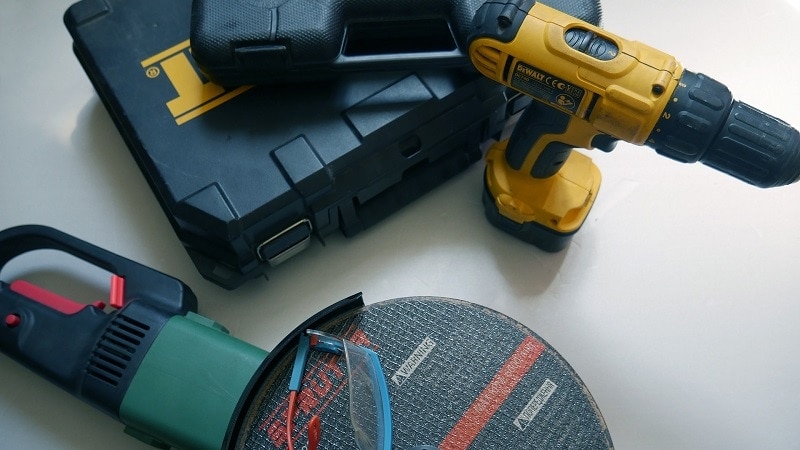
How to Clean Your Power Tools
1. Remove Dust
Almost all power tools have dust buildup somewhere. Even tools with pro-grade dust collection systems can still have dust here or there.
Remove the dust first with the help of a shop vacuum by sucking out as much as possible. Follow up by cleaning out your vents with compressed air. Make sure to check around all moving parts, including the blades, arbors, and drilled chucks. As for any molded plastic or PVC parts, dampen a rag and gently wipe them off.
As you are removing dust, take special interest in any filters. You will want to clean out the filters by vacuuming them up or replacing them entirely.
2. Remove Rust
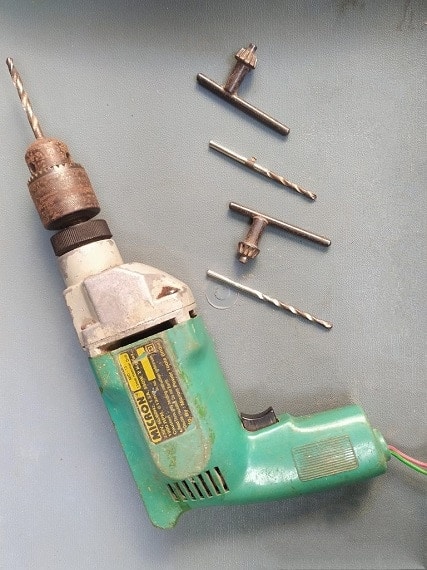
Power tools are susceptible to rusting, especially ones that you have had for a long time. Use a stiff brush or steel wool to remove any rust. Fences, hardware, and iron tables tend to have the most rust. Be sure to check those parts out.
As you clean off the metal parts with your steel wool, make sure to be gentle. Scrubbing too roughly will scratch the surface. If you are finding removing all of the junk to be difficult, feel free to add a degreaser to the mix.
Once you have successfully removed all of the rust and gunk, spray the metal pieces with a corrosion protector. Something like T-9 works as both a protectant and lubricant. Be sure to follow the directions back home with the protectant of your choice.
3. Check Parts
After you have successfully cleaned off all the dust and rust, check the power tool’s parts. Take extra time on all of the moving parts to make sure they function properly. Moving parts should be able to move freely, while fasteners need to be connected and sturdy.
As you are checking the parts, listen for any odd noises. Odd noises may tell you that your power tool needs some extra lubricant. Additionally, adjust any hex head bolts with an Allen wrench. Finish your check-up by checking out the power cords and plugs. There should be no frays.
4. Sharpen or Replace Blades
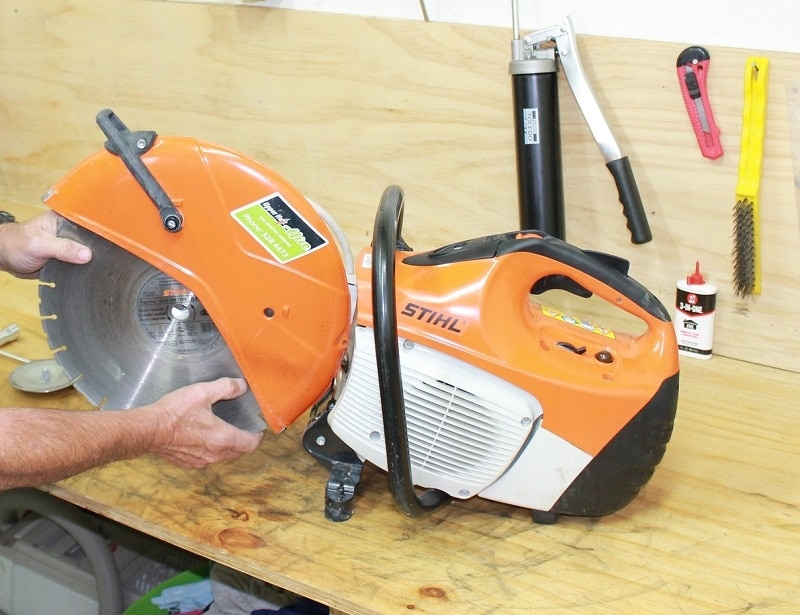
Metal parts are likely to get dull after consistent use. Check out the blades to make sure they are still sharp. If you see any dulled edges, either sharpen the blades or replace them entirely. Most likely, you will be able to sharpen them. In the case that your blades are chipped, you may need to replace them. The same goes for worn belts.
5. Square Tools
If your power tool needs to be aligned at 90 degrees, make sure to square it. Power tools that you will need to square include things like tables, bevel gauges, and fences. Check the degree adjustments while cleaning the gauges and knobs. This will keep everything square.
6. Store Properly
Finally, you have reached the last step for cleaning your power tools. Simply make sure to store them properly. Place the power tools in their designated containers and place the container away from any moist or damp areas.
Conclusion
Power tools cost a lot of money. Make sure that yours last a long time by cleaning them properly. By doing the 6 steps mentioned above, you can help your power tool last a long time. For best results, repeat steps 1 through 6 every few months or before you put the power tool up for a long time.
In addition to the rigorous cleaning as mentioned above, make sure to spot clean your power tools after every use. It is never a good idea to store power tools when they are dirty. Just by immediately wiping off any residue, you will save yourself a lot of elbow grease during the more intensive cleanings.
See Also:
- 6 Ways to Neutralize Dog Urine Odors (with Pictures)
- How to Get Pee Smell out of a Leather Couch: 5 Practical Options
Featured Image Credit By: _Alicja_, pixabay
Contents


