
Dropping anything down the sink inevitably makes your stomach drop. Immediately, you think of all the time and money it will take to call a plumber to fish out the object, and the headache of replacing your valuable item. All because of this one-second slip-up!
Or, maybe your kitchen or bathroom sink is starting to drain more and more slowly. Sometimes, food particles, grime, or hair gets stuck in the plumbing under the sink. Uh oh, you think. Time to call the plumber.
Not so fast! You can check under the sink for objects dropped or clogs yourself with a few household items. Before spending hard earned cash on a plumber, we’ve got some things for you to try first when it comes to cleaning your sink trap.
What is a sink trap?
A sink trap is the plumbing located below the sink. It consists of three pipes and two slip joint nuts.
The first pipe, called the “tailpiece”, is the pipe that comes directly down from your sink.

Next is the pipe that creates a bend, dipping down towards the ground, then back up again. This particular fitting is called a “J-bend.” This part is designed to trap some water in that little bend in order to keep sewer gasses from leeching up into the air of the house. The slip joint nuts are located on this pipe.
Finally, the water that goes out and down the sewer drain is called the “waste arm.”
The entire sink trap, with all these fittings, is also referred to as a “P-trap.”
Before you do anything, try this first
If you know that you dropped something down the sink (that shouldn’t have been dropped), you will need to directly proceed to disassembling the sink trap.
- Run very hot water down the sink. You could boil some water on the stove and pour it in from up high, as the force from gravity will sometimes aid a blockage to move along.
- In addition to hot water, you could try squirting some dish soap down the sink, then chase it with the hot water.
- Baking soda plus vinegar could fizz away any minor blockage. Follow it with hot water after a few minutes of fizz.
- Lastly, you could try plunging the sink with a plunger. Do so by very slowly pushing down and quickly pulling up
If none of this worked and you’ve still got draining problems, you will have to check the sink trap.
Supplies for the job
Disassembling a sink trap is fairly easy to do by collecting a few items you probably have on hand.
- A bucket (large enough to catch spilling water under the trap)
- OR a large 9×13-inch baking pan
- OR a large soup pot
- An accessible 2nd sink or outdoor hose to rinse out and clean the trap.
- A few dry towels or paper towels
- A bottle brush (if you don’t have one, any small cleaning brush to fit through the pipe or an old toothbrush)
- Tongue-and-groove pliers (your hands could work in a pinch, if you are strong enough)
- Duct tape, to prevent scratches on pipes
Now you’re ready to clean out your sink trap. We hope nothing too surprising or disgusting awaits you!
How to quickly clean a sink trap
1. Place the bucket under the P-trap.
Grab whatever item you have listed above and place it under the P-trap. This is helpful to catch the trapped water that might spill or splash out. Nobody wants to clean up nasty sink water off the ground.
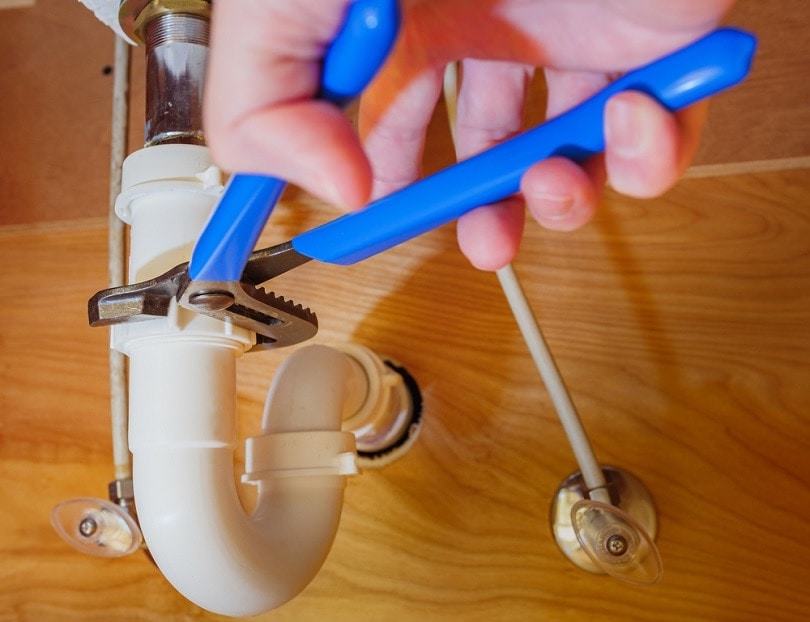
2. Loosen the slip joint nuts and remove J-bend.
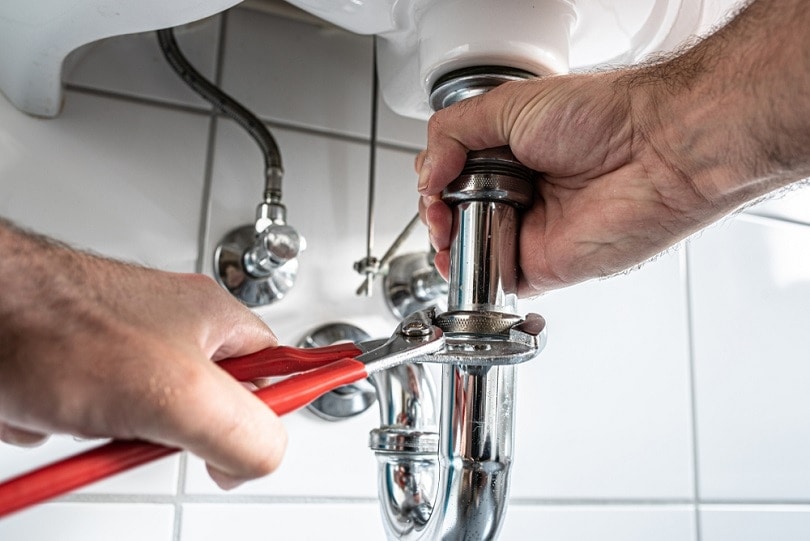
For this step, remove the J-bend from the sink trap by loosening the slip joint nuts either by hand or with your pliers. If you are using pliers and want to keep your pipes scratch-free, tape your pliers up where they will touch the pipes.
Be sure to keep track of the O rings inside of these slip joints; they are essential in keeping a seal formed inside plumbing and your pipes leak-free. Pay attention to how they are when you disassemble. You will want them reassembled exactly how you found them. It might help to take a quick picture with your phone.
Carefully remove the J-bend from the plumbing. If something is trapped inside the sink trap, dump the water that’s inside into your bucket or pan. Remove and throw away the clog or look for your item.
Lightly stuff some paper towels or a regular towel into the sewer-end of the pipe to prevent sewer gasses from smelling up your home (not too deep, though).
3. Take J-bend to second sink or outside for cleaning.
After your J-bend pipe is off the trap and clear of water, take it outside (preferred) or to your other sink for cleaning. Use your brush and get the inside nice and clean and free from debris. You might want to do this over a trash can before taking it to another sink, as you don’t want to end up clogging your other sink.
Rinse it out well with water.
4. Reassemble the sink trap.
Take the towels out of the waste arm pipe. Taking note of how the trap was assembled with the slip joint nuts and O rings in the first place, reassemble the sink trap to its original state. Tighten by hand or with the help of your pliers. Don’t tighten the nuts too tightly, as you may end up damaging them.
 Still draining slowly? Call a plumber
 Still draining slowly? Call a plumber
If all of this fails you, and the sink is still quite slow, now it’s time to call the plumber. You could have some more serious blockage beyond the P-trap, which is something that requires a little more care and expertise.
Additional Advice
- To prevent hair buildup or add a protective measure to dropping things down the drain, buy additional plumbing with a mesh trap installed.
- While in the process of removing plumbing from the bottom of a sink, it might be helpful to place some masking tape over the sink as a reminder not to use it.
- Cleaning out the sink trap is the best way to address a clog. Drain cleaners are usually horrible for the environment and can be damaging to your pipes. Avoid using them.
 Conclusion
Now you don’t have to have a panic attack if you dropped a piece of jewelry down the drain. You also now know how to speed up a slow-draining sink. We love to provide you with the best-researched ways in how to accomplish simple household tasks, like this one. We hope you feel more empowered and accomplished today through this step-by-step guide on how to clean your sink trap.
Related Reads:
- HOW TO FIND A STUD WITH A FLASHLIGHT
- HOW TO GLUE PAPER TO WOOD: STEP-BY-STEP GUIDE (WITH PICTURES)
- HOW TO GLUE FELT TO WOOD: STEP-BY-STEP GUIDE (WITH PICTURES)
Featured Image Credit: Christian Horz, Shutterstock
Contents
