How to Clean Melted Plastic from the Oven: Tips, Tricks, & How to Guide
-
Pete Ortiz
- Last updated:
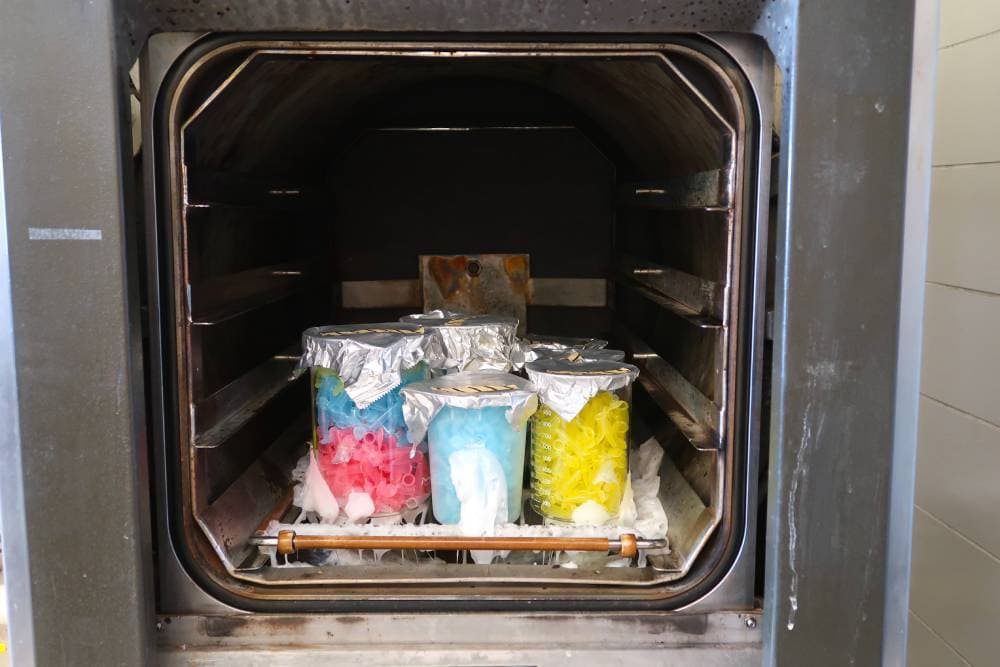
It has happened to the best of us. Somehow or another, you leave a plastic lid, cover, or plate inside the oven while baking something. The result is a melty plastic mess that quickly hardens into an unsightly spot. The spot can be frustrating and ugly and create a problem for future cooking sessions. Luckily, removing a melted plastic spot from the oven isn’t too difficult. You just need a few simple household items and a little elbow grease, and the spot will be gone in no time.
Preparation
Getting melted plastic out of the oven is relatively simple. Still, you will need a few things to get the job done in a safe and timely manner. Instead of going in guns blazing, you need to gather a few things and review some safety tips before you can proceed.
- Time: About an hour
- Complexity: Simple
What You Will Need
- Razor blade
- Bag of ice
- Gloves or oven mitts
- Safety sense
- Rag
- Oven cleaner
The whole job should take no more than an hour, and it is a very simple process. The biggest thing to be aware of is the dangers of working with razor blades, melted plastic, and a warm oven.
The Cold Method
There are two methods of getting melted plastic out of an oven, and each one uses a different method. The first method is known as the cold method (as opposed to the heat method) and uses ice to get the job done. Here is what you do.
1. Gather a bag of ice.
You can use a couple of small zip lock bags, or you can get a plastic shopping bag. Get some ice from your refrigerator and put it into the bag.
2. Put the ice over the top of the melted plastic.
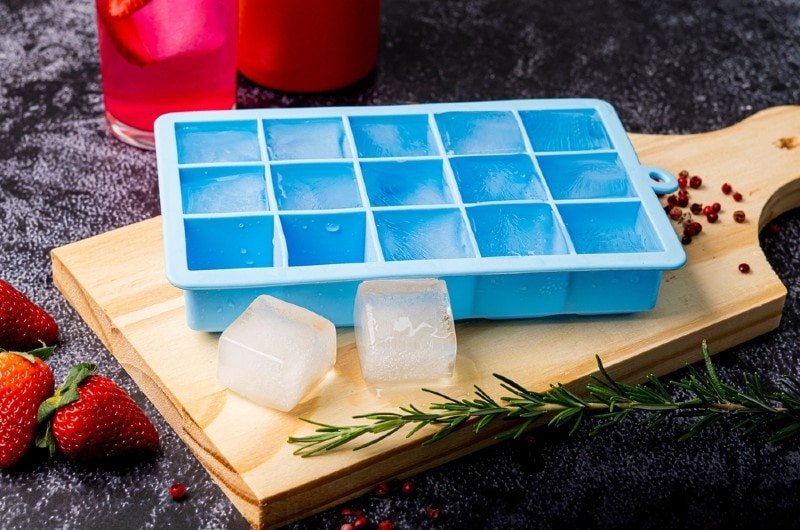
Next, find the spots of melted plastic that you want to get rid of in your oven. Place the bags of ice over the stuck-on plastic, and then close the oven. The ice is going to cool down the plastic and make it nice and brittle.
3. Wait 15-30 minutes, allowing the plastic to freeze and get brittle.
Wait fifteen to thirty minutes for the ice to freeze the plastic. You can periodically check to see if the process is working. You want the plastic to get cold and hard. This will make it extremely easy to remove in the next step.
4. Take a razor blade and scrape the hardened plastic away.
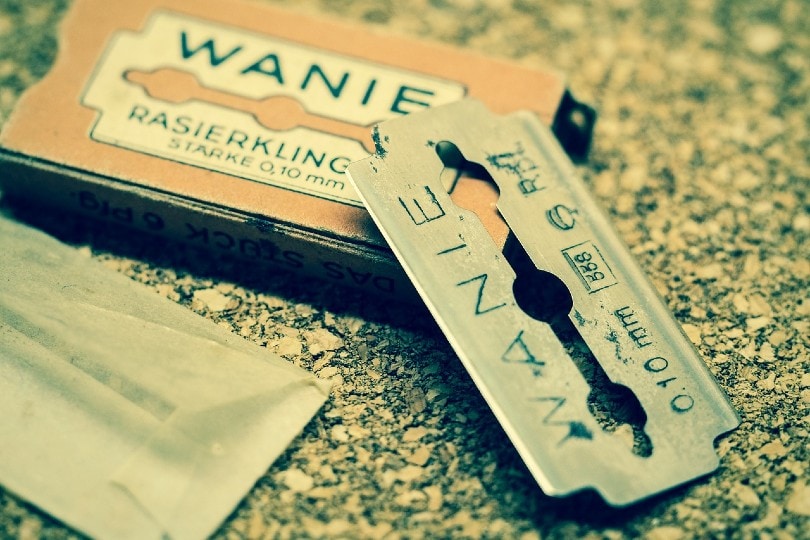
This is the moment of truth. Use your razor blade to carefully scrape the frozen plastic away. The plastic should be hard, rigid, and brittle at this point. If it was frozen properly, it should scrape right off. You can repeat these steps on each spot of plastic that you are trying to remove.
5. Clean out the oven.
Lastly, the best thing to do is to clean out the oven. You can use a rag and oven cleaner to give the inside a good scrub out. This will remove any residual plastic hanging around in the oven and give you a completely fresh oven to work with going forward.
The Hot Method
The other method uses heat to get the plastic out of the oven rather than cold. The hot method is more dangerous than the cold method, but it will still work.
1. Turn the oven on to low heat.

Turn the oven on to the lowest setting possible. Usually, that is around 200 degrees Fahrenheit. Let the oven heat up, but don’t let it get too hot. Leave the oven door open, if possible, as the oven is warming up.
2. Open windows and doors in the kitchen for fresh air.
Open any windows and doors you have in your kitchen to allow for adequate airflow. You do not want toxic fumes from burning plastic to fill your home. It will also help vent any heat coming out of the oven.
3. Watch carefully and wait for the plastic to get melted.
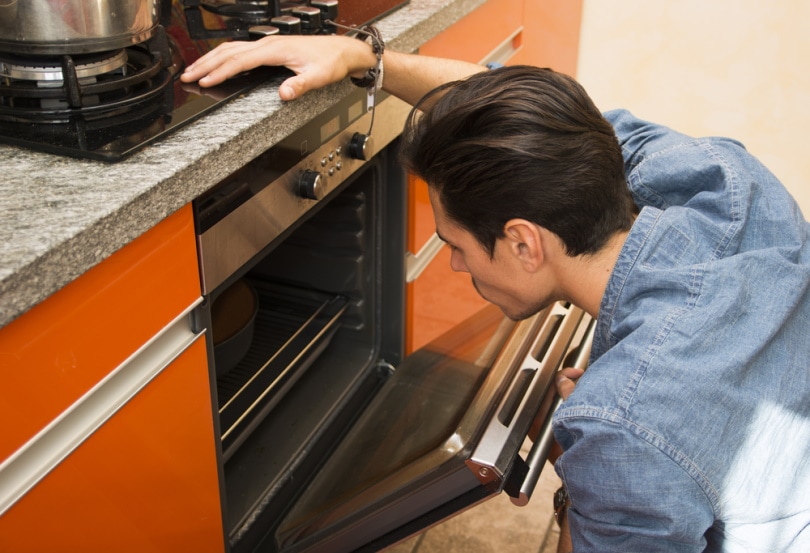
Watch the melted plastic spots carefully and allow them to get soft. The softer the plastic, the easier it will be to remove. You do not want to let the oven, or the plastic get too hot, however, because then it could become a safety hazard.
4. Turn the oven off.
Next, turn off the oven so it is not actively on. Wait for it to cool off slightly before moving on to the next step. Be aware of high heat and the potential for burns.
5. Scrape gooey plastic out of the oven.

Now, put on your oven mitts or protective gloves and carefully reach into the oven. Using a rag, wipe away the soft, melted plastic. Be careful not to burn yourself. If the oven or the plastic feels too hot, wait for them to cool off more before proceeding. Wipe out as much as you can while remaining safe. You do not have to get every speck of plastic out because the rest will burn off in the next step.
6. Run the self-cleaning cycle.
Lastly, run the self-cleaning cycle on your oven. The self-cleaning cycle will heat your oven to the highest possible heat and vent off the excess up and out of the house. The high and prolonged heat will burn away all of the residual plastic and remnants from the oven. The result should be a nice clean oven that is ready to go after the cycle finishes.
Safety First
The process of removing melted plastic from an oven is straightforward, but it does come with some hazards. You always need to take safety as the highest priority.
- Wear gloves or oven mitts to protect your fingers.
- Always cut away from yourself while using a razor blade to avoid cuts.
- Do not reach into a hot oven. Let it cool first.
- Open windows and doors if you plan on running the oven with plastic in it to avoid toxic plastic fumes from escaping into the kitchen.
Keep these tips in mind to avoid cuts, burns, and bad odors from ruining your day.
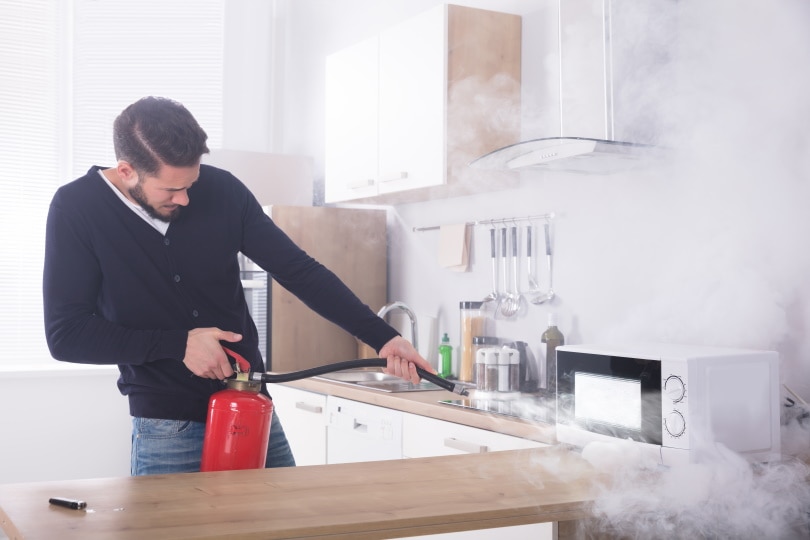
Can You Run the Self-Cleaning Cycle With Melted Plastic In the Oven?
Yes. You should remove as much of the plastic as you can beforehand. You do not want to light the oven up with large amounts of plastic inside, but the self-cleaning cycle is able to handle small amounts of plastic and small pieces. You should still try and remove any large puddles or really stuck areas before running the self-cleaning cycle. You do not have to worry about getting every tiny spot of plastic up before closing the oven and turning up the heat.
 Conclusion
Melted plastic spots can be very annoying, but they are largely harmless. Removing them is simple, and it only takes an hour and a razor blade or rag. Always take safety into consideration before doing a job like this. Depending on your oven, your comfort level, and the location of the plastic spots, you might choose either the cold method or the hot method, but they both work very well.
Featured Image Credit: Red Herring, Shutterstock
Contents


