
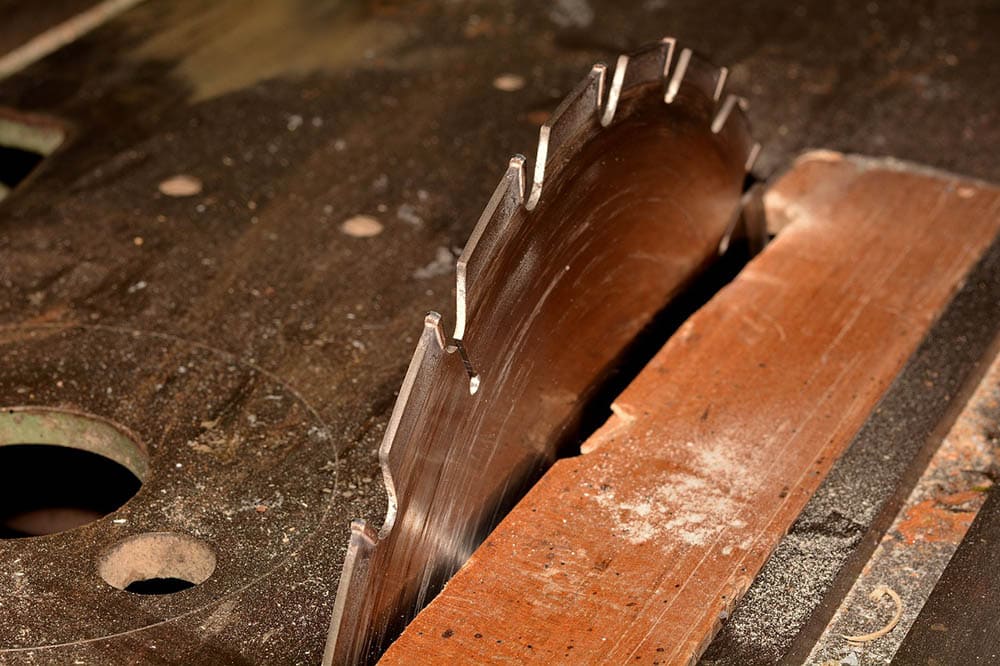
The table saw is a staple for most woodworking hobbyists and DIY enthusiasts. But while most people love brandishing their fancy table saws and hand tools, not many can confess to delivering clean cuts. Sure, the table saw can be a bit daunting at first, but with a little practice and patience, you’ll be making clean cuts in no time.
If you have been having trouble making clean cuts with your table saw, we’re here to help. Here are some tips and tricks to get you started on your way to becoming a master at cutting angles on a table saw.

Getting Ready
To get the best results, you must make sure that you have the right tools and adopt the right technique. The following are some things you must get right.
Understand the Different Types of Table Saws
There are three main types of table saws on the market: portable, contractor, and cabinet. Each type has its own set of features, benefits, and drawbacks. It’s important to understand the differences between each type before making a purchase.
- Portable saws: These are the most affordable option and are ideal for light-duty projects. They are small and lightweight, making them easy to transport from one job site to another.
- Contractor table saws: These are slightly more expensive but offer more power and features than portable models. They’re a good choice for serious hobbyists and professionals who need a versatile machine that can handle heavy-duty projects.
- Cabinet table saws: Cabinet saws are the most expensive option, but they offer the most power and features. They’re a good choice for professionals who need a powerful machine that can handle large projects.

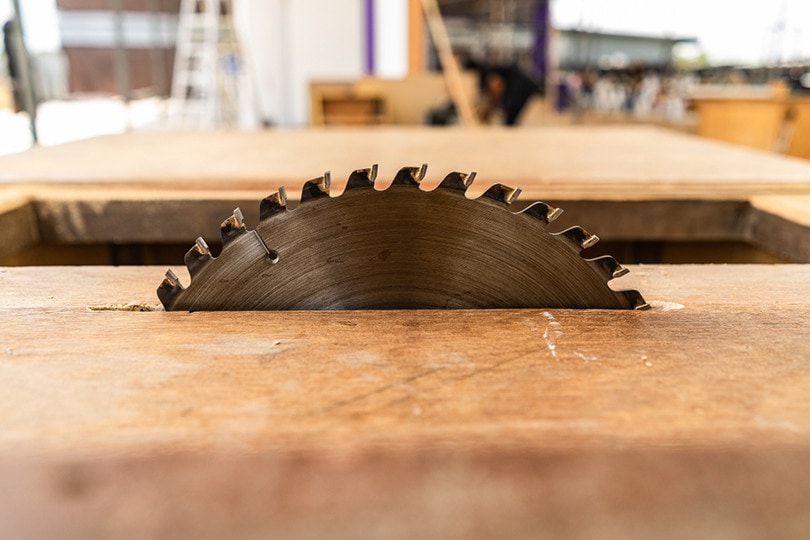
Choose the Right Blade
One of the most important factors in making clean cuts is choosing the right blade. There are many different types of blades on the market, each designed for a specific purpose. You’ll need to do some research to figure out which type of blade is best for the project you’re working on.
- The type of wood you’re cutting: Some blades are designed for cutting softwoods, while others are better for cutting hardwoods.
- The thickness of the wood: Thicker boards require a blade with more teeth to prevent the wood from splitting. Wood splits when the blade cuts too deeply or too quickly.
- The finish you’re after: If you’re looking for a smooth, clean cut, you’ll need a different type of blade than if you’re looking for a rough, jagged edge.
- The type of cut you’re making: Rip cuts need a different blade than if you’re making crosscuts. That’s because these cuts require different degrees of precision.
Set the Blade Height
Once you’ve chosen the right blade, it’s time to set the blade height. The blade height will determine how deep the cut is. If the blade is too high, you’ll end up with a shallow cut. If the blade is too low, you could damage your saw, or kickback could occur.
To set the blade height, start by raising the blade to its maximum height. Then, lower the blade until it’s about an inch above the table. Once you’ve found the right height, tighten the blade lock to keep it in place.
Set the Blade Angle
The next step is to set the blade angle. The most common angles are 90 degrees for rip cuts¹ and 45 degrees for crosscuts. But you can also set the blade to other angles, like 30 or 60 degrees, depending on the project you’re working on.
To set the blade angle, start by loosening the bevel lock lever. Then, rotate the blade to the desired angle and tighten the lever to lock it in place.
The 12 Tips & Tricks on How to Cut Angles on a Table Saw
The following are some things you should do when cutting angles on a table saw.
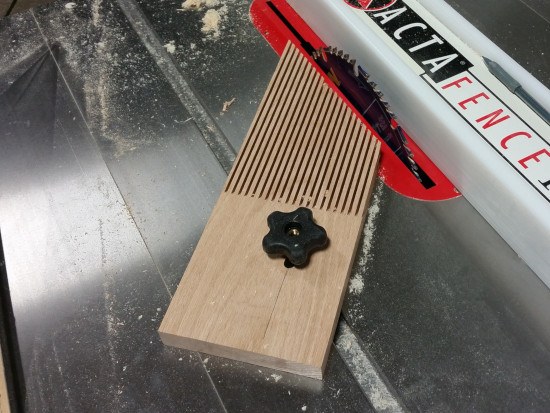
1. Use a Push Stick or Feather Board
One way to prevent kickback is to use a push stick or feather board. A push stick is a tool that helps you push the workpiece through the blade without coming in contact with the blade. A feather board is a device that holds the workpiece in place as it passes through the blade.
2. Use a Miter Gauge When Cutting Longer Boards
A miter gauge is a tool that helps you make accurate crosscuts. It’s especially helpful when cutting long boards. To use a miter gauge, set it to the desired angle and clamp it in place. Then, align the workpiece with the blade and push it through.
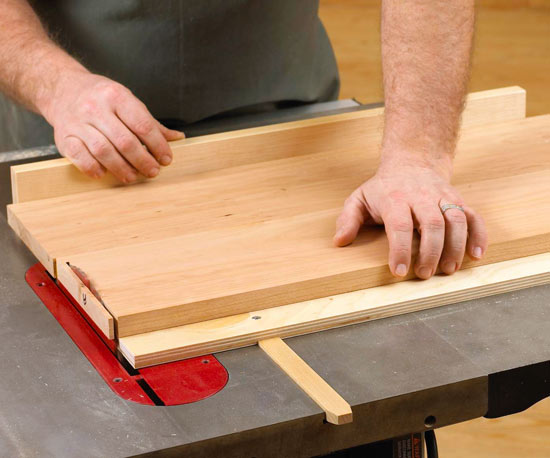
3. Use a Fence for Straight Cuts
A fence is a tool that helps you make straight rip cuts. It’s attached to the table saw and can be adjusted to different widths. To use a fence, align it with the blade and clamp it in place. Then, align the workpiece with the blade and push it through.
4. Don’t Overlook Splitters
A splitter is a tool that also helps prevent kickback by keeping the workpiece from binding on the blade. It’s attached to the table saw and can be adjusted to different widths. To use a splitter, align it with the blade and clamp it in place. Then, align the workpiece with the blade and push it through.
5. Change the Direction of the Cut
If you’re having trouble making a clean cut, try changing the direction of the cut. For example, if you’re making a rip cut and the blade is binding on the workpiece, try making a crosscut instead. If that doesn’t work, try flipping the workpiece over and making a crosscut from the other side.
6. Take Your Time
Rushing through a project is never a good idea. When cutting angles, it’s important to take your time and make sure each cut is as accurate as possible. If you rush, you’re more likely to make mistakes.
7. Test the Cut First
Before cutting the workpiece, it’s always a good idea to test the cut on a scrap piece of wood first. That way, you can make sure the blade is set to the right height and angle and that you’re using the proper technique.
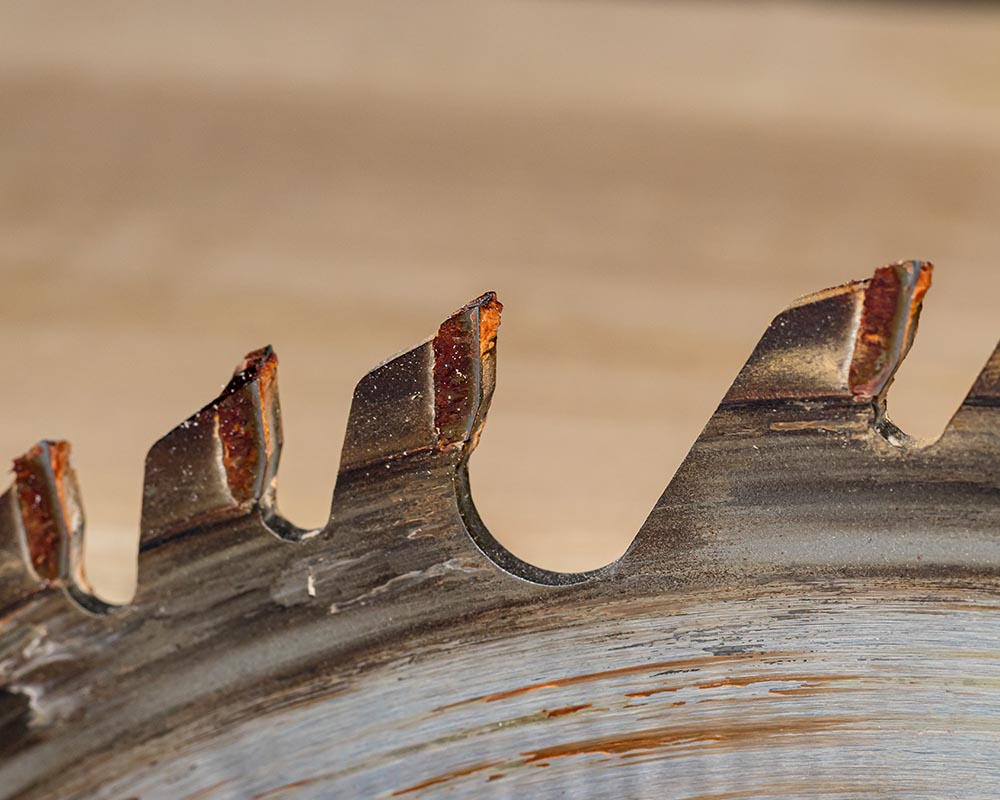
8. A Sharp Blade is Better
A sharp blade will make cleaner cuts than a dull one. So, if you’re having trouble making clean cuts, it might be time to replace the blade. Alternatively, you can try sharpening your blade, but depending on how dull it is, that might not be enough.
9. Slow Down the Blade
If the blade is spinning too fast, it can cause the workpiece to bind on the blade, and kickback could occur. To prevent this from happening, slow down the blade by reducing the speed or using a slower speed setting.

10. Feed the Workpiece Slowly
If you feed the workpiece through the blade too quickly, it can cause it to bind to the blade. Instead, feed it through the blade slowly and steadily. Ensure you’re using even pressure and not forcing the workpiece through the blade.
11. Use a Support Stand
A support stand is a tool that helps you make long rip cuts. It’s attached to the table saw and can be adjusted to different widths. To use a support stand, align it with the blade and clamp it in place. Then, align the workpiece with the blade and push it through. Don’t forget to push it slowly to avoid kickback.
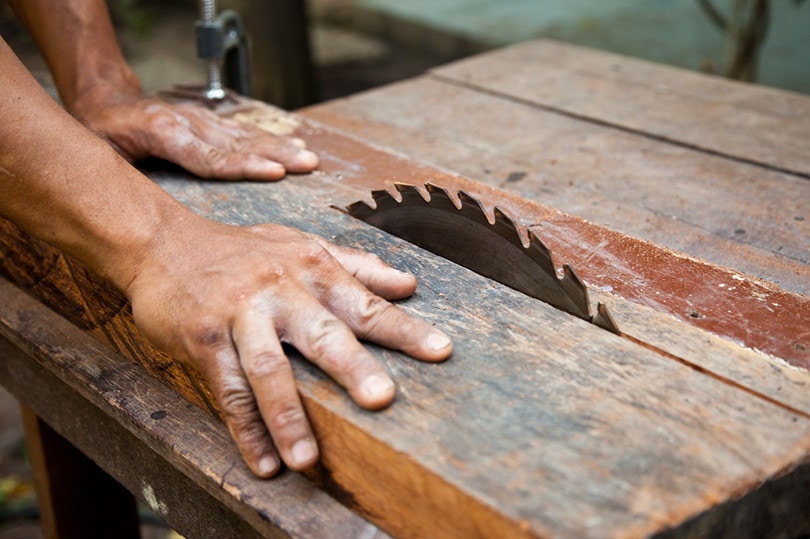
12. Keep Your Hands Away from the Blade
It’s important to keep your hands away from the blade at all times to prevent injuries. So, be sure to use a push stick or feather board to keep your hands away from the blade.
 Conclusion
By following these tips, you’re sure to make nothing but seamless angles and cuts. Just remember to take your time, use the proper tools and techniques, and stay safe. And soon enough, you’ll be a pro at cutting angles on a table saw. We wish you nothing but the best with your woodworking, and don’t forget, safety first!
Featured Image Credit: Pezibear, Pixabay
Contents
