
If you need to make a hole through ceramic, there’s no doubt that drilling it is your best bet. It’s a simple task, but if you’ve never drilled a hole through ceramic before, it might seem a bit intimidating. Don’t worry though, we’re here to help. We are going to break down the process of drilling a hole through ceramic into a few very simple steps that you can follow with ease, so you can confidently drill through ceramic without any doubt or worry.

Before You Start
Even though drilling through ceramic isn’t a dangerous or difficult process, there are a few things you’ll need to be aware of and prepare before you get started. First, we’ll discuss the tools you’ll need to get the job done. Then, we’ll talk about the various safety tips you need to be aware of when drilling through ceramic.
Tools Needed
Thankfully, the list of tools you’ll need to drill through ceramic is pretty short. Most likely, you already have most of what you need. All you need is:
- Power drill
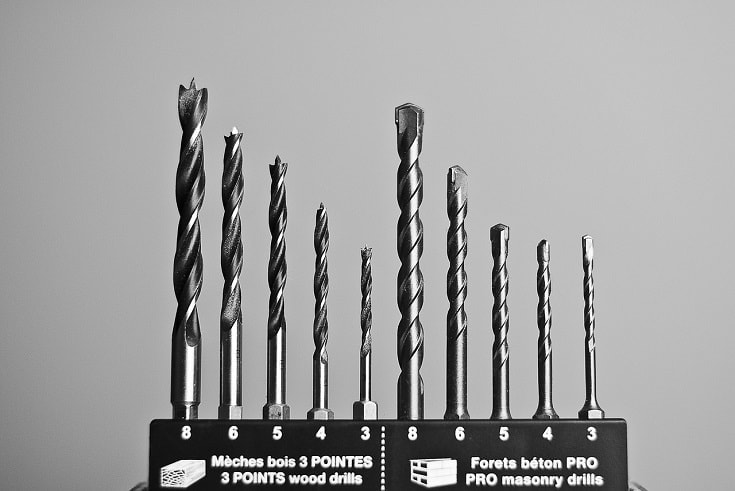
- Ceramic drill bit
- Safety equipment
You can use pretty much any regular drill for this task. However, you won’t want to use anything like an impact driver, which is meant more for driving fasteners.
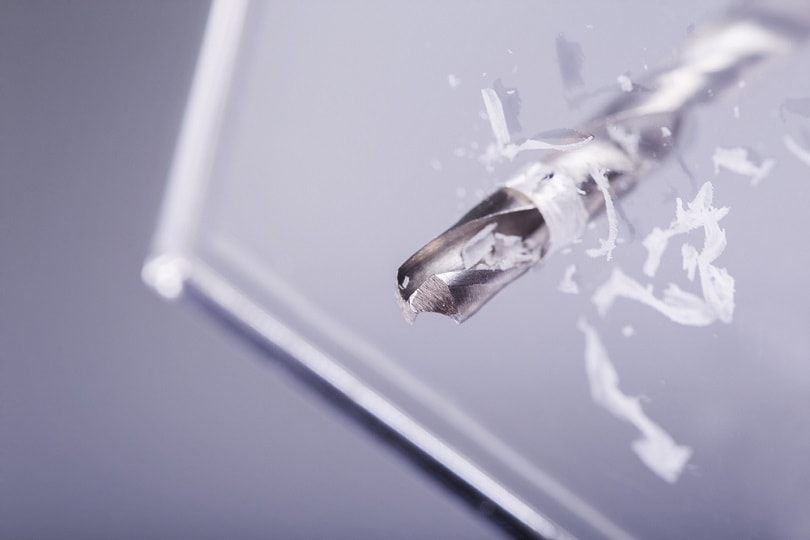
Also, be sure to use a bit that’s made specifically for drilling through ceramic. They’re designed with completely different tips than regular drill bits, and they’re often made from different materials. If you attempt to use a regular drill bit, you’re likely to crack the ceramic.
Safety Tips When Drilling Through Ceramic
Safety is always up to the individual. You can employ none or all of the safety tips that we suggest. If you’re inexperienced though, we recommend that you follow all of these safety tips to minimize the chance of injury.
Protect Your Eyes
When drilling ceramic, there can be many small ceramic shards thrown about by the drill bit. Your face will be pretty close to the action, so it’s liable to get hit by many of those shards. Granted, they’re tiny and unlikely to cause real damage to you, unless they get in your eye. A ceramic shard in your eye won’t be fun to deal with and can cause real damage if left untreated.
Protect Your Hearing
You might not think of a power drill as a loud tool, but most emit between 95-100 decibels of noise. This can be even louder when drilling through certain materials. Prolonged exposure to noise over 85 decibels can cause damage to your hearing, so you’re definitely taking a risk when using a tool like a power drill without ear protection of some type.

Steps for Drilling a Hole in Ceramic
Now that you know what you need to complete this task, it’s time we get into the details of what you’re actually going to do.
Step 1: Gather Your Tools
The first step is to get everything together. You’ll need to gather all of the applicable tools and safety equipment, plus the item that you want to put a hole in. Find a suitable place to work and get everything prepared for the job at hand.
Step 2: Set Up the Drill
Once our supplies and tools are gathered, we need to get the drill set up for working with ceramic. If you’re using a cordless drill, make sure the battery is fully charged. For corded electric drills, ensure you’re plugged in with enough cord to reach your work area.
Insert the drill bit into the chuck of your drill and tighten it down until the drill bit is completely secure.
Step 3: Mark Your Hole
Your hole needs to be well marked so you can easily find it when you’re ready to drill and don’t accidentally put a hole in the wrong place. Marker is usually the best way to mark your hole. But remember the old saying; measure twice, cut once. It applies to drilling as well.
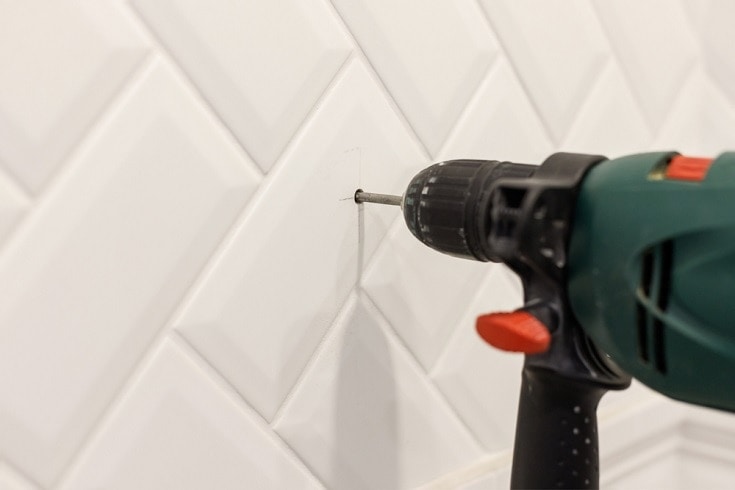
Step 4: Drill
You’re going to need to apply quite a bit of downward pressure to get your hole started when drilling into ceramic. While getting your bit started, use a slow, controlled speed. Once your bit takes hold and the hole is started, you can increase the drilling speed and decrease the pressure you’re applying. Continue drilling until your bit comes through the other side.
Added Tip
If you have to drill through thick ceramic, you want to avoid it heating up. With thinner ceramic, it’s not likely to become as much of a problem, so you won’t have to worry about it. But thick ceramic can heat up and crack, which we definitely don’t want.
Luckily, preventing this cracking is quite simple. Just keep a cup of cool water on hand to continuously dump on the hole and bit while you’re drilling. This will keep everything nice and cool, preventing any cracking from happening. It’s easiest with a second pair of hands to pour the water for you.
As an alternative, there are special drill cups you can use that have adhesive backs you can stick to the ceramic surface. The cup will hold the water while you drill, so you won’t even need to keep pouring water on the bit as you go.
In Conclusion
If you were intimidated at the thought of drilling through ceramic at the start of this article, hopefully, you’ve realized that it’s not as worrisome as you first thought. It’s actually a pretty simple process. Follow the steps we’ve laid out for you and you’re sure to find success, even your first time drilling through ceramic.
Featured Image: Vladeep, Shutterstock
Contents
