
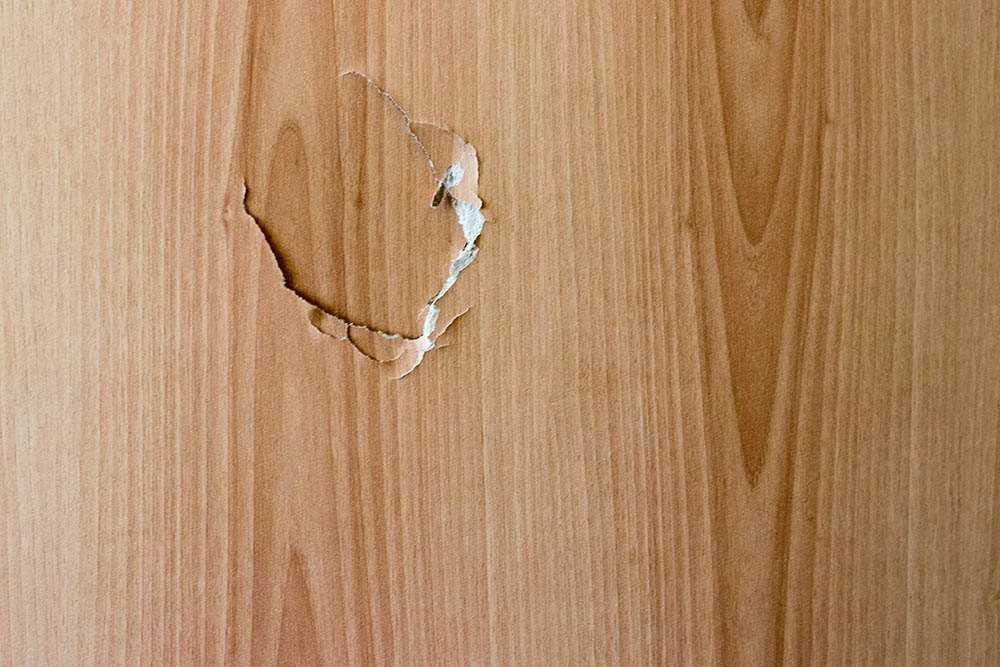
Hollow-core doors are so-called because they have an almost hollow center. Typically, they have a cardboard core, wrapped in a honeycomb shape, to offer some rigidity and stability. A veneer or board is placed over the top of this core and then painted or finished. This type of door is cheaper than a solid wood door, as well as being lighter and therefore easier to hang and use.
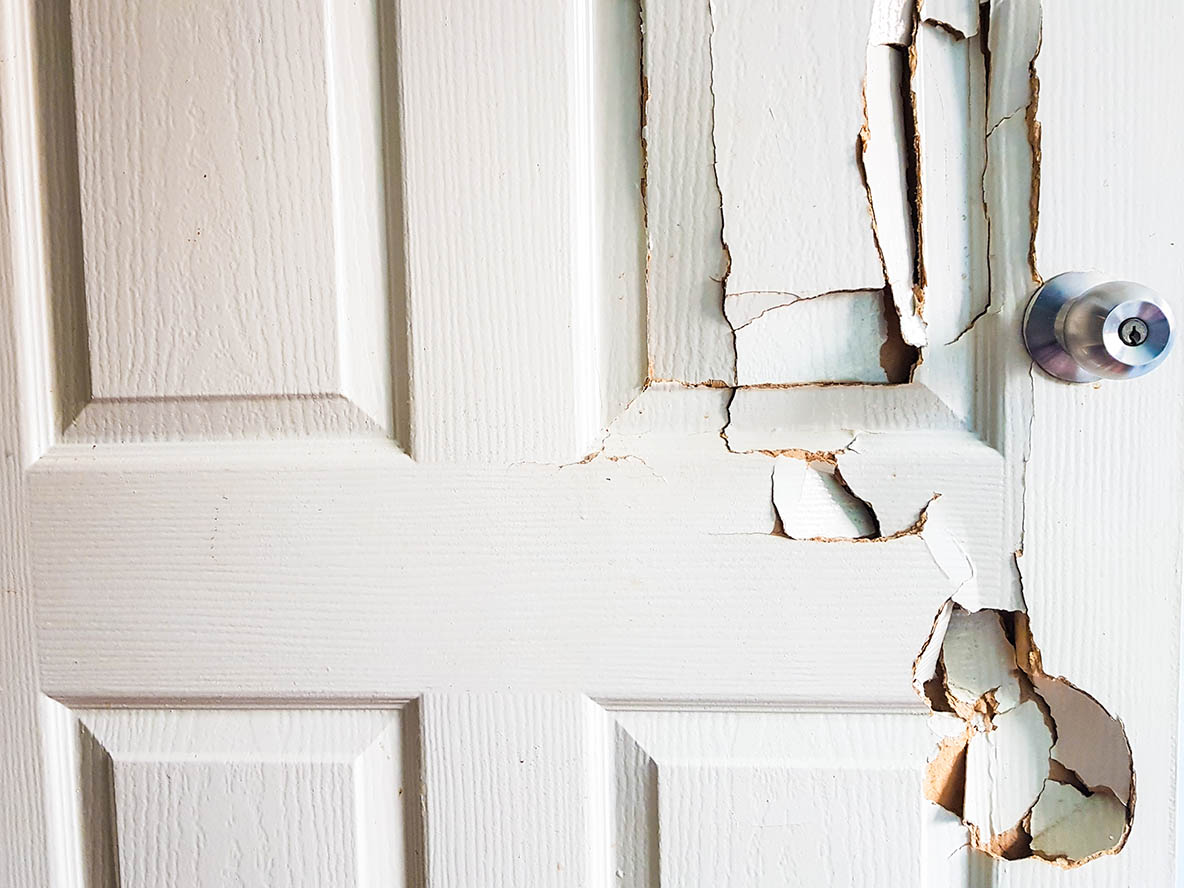
Its design means that the hollow-core door is easily damaged. Whether it is as a result of boisterous play, moving furniture, or an opening door meeting an immovable object, it is all too easy to make holes. If your door has become damaged and suffered a hole, you don’t necessarily have to buy a new replacement.
Using some readily available materials and tools that you likely already have in the house, it is possible to fix the hole and patch the door up. Below, we have included 10 steps to help you recover and repair a broken door.

Safety First
Repairing a hole in a door is a relatively safe job. There is no need to use circular saws or power saws, but the DIY job will require the use of a utility knife. Utility knives are very sharp and when using them, it is especially important to be vigil and to ensure that you cut away from your body and not towards it.
Materials And Tools
You can use either auto-body filler or spackle to make the repairs to your door. Other than this, you may well have everything you need. Gather the following tools and materials before you start the repair:
- Auto-bod filler and harder catalyst, or spackle
- Expanding foam
- Paint or stain
- Paper towels or rags
- Putty knife
- Sandpaper
- Utility knife
Fixing A Hollow-Core Door Hole (10 Steps)
Fixing a hole is easy, but it can take a day to complete, including drying time. It is best to take your time and ensure you do a good job, paying particular attention to preparing the hole ready for filling and finishing.
1. Remove Splinters and Broken Wood
Before you can start filling the hole, you do need to ensure that the break is clean. Any splinters or chunks of wood will make it very difficult for the filler to get a decent purchase and you will be left with an uneven finish. Use a utility knife, cut away from yourself, and remove splinters and other pieces of wood and debris from around the hole.
2. Pack The Hole
If you don’t pack the hole, you will find it very difficult to use foam insulation because it will drop to the bottom of the door, and you will have to keep filling. Use paper towels or rags and stuff them in through the hole and firmly around the perimeter of the hole. If rags are too heavy, use paper towels. The paper towels or rags aren’t offering any kind of structural support, they are just holding the foam in place while it dries, so it doesn’t matter what quality they are.
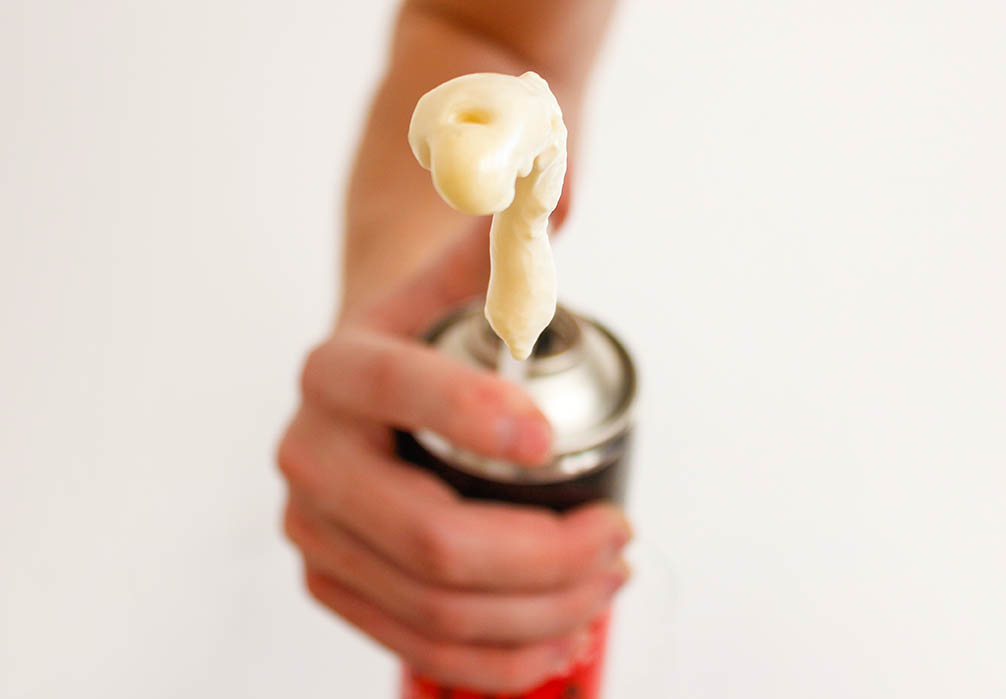
3. Fill The Hole With Expanding Foam And Leave To Dry
Use expanding foam insulation that has a long nozzle, aim the nozzle into the hole and spray. Keep spraying until the hole is filled but bear in mind that it will continue to expand. You will get rid of any excess foam, though, so don’t worry about spraying too much. Leave the foam to dry, typically overnight.
4. Trim Away Excess Foam
Once the foam is dry, take your utility knife, ensure that the blade is flush with the door, and cut away any excess foam that protrudes from the level of the door. There should be very little foam outside the edge of the door panel.
5. Mix Auto-Body Filler and Hardener
A hardener catalyst is a compound that speeds up the hardening of auto-body filler. Some fillers will barely harden if they are not combined with a catalyst. The usual ratio is to mix 2 parts auto-body filler to one part catalyst.
6. Apply Auto-Body Filler To The Hole
Once you have created the mix, apply a layer over the hole and use a putty knife to ensure good coverage of the area. Don’t leave any tides or bumps.
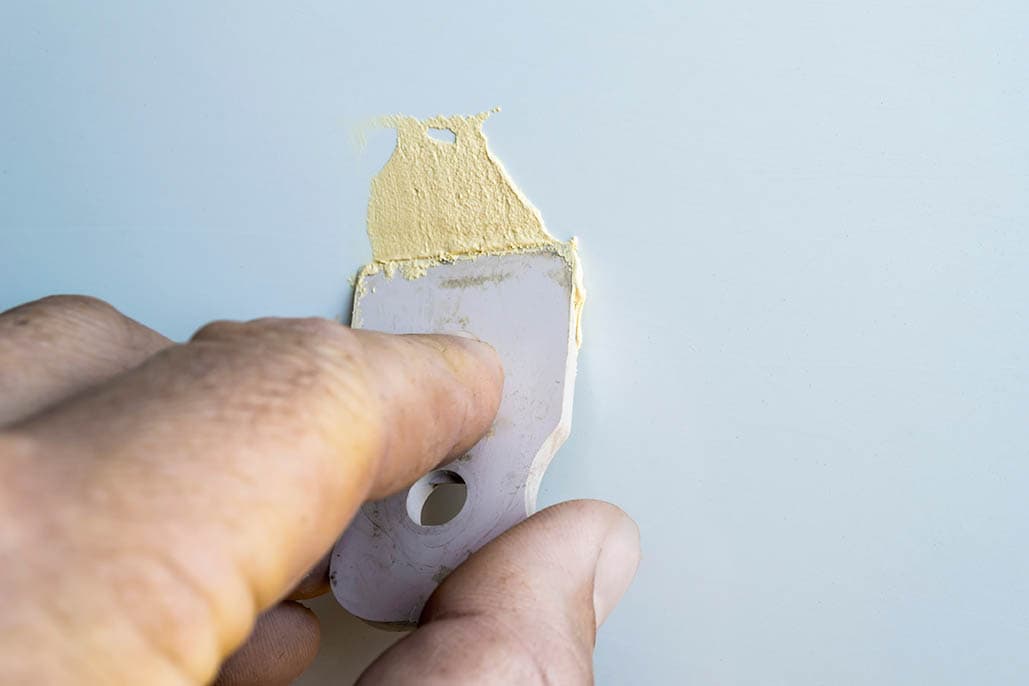
7. Alternatively, Use Spackle
Auto-body filler is effective and efficient, and you may have laying around your home or garage. However, it can be challenging to work with. Spackle, also called spackling paste of putty filler, is easier to work with and easier to apply. It is also readily available in hardware stores and does not require any mixing with compounds before use. The application process is the same as with auto-body filler: use a putty knife and push the spackle over the hole and the foam, ensuring as smooth a finish as possible.
8. Leave To Dry
Whether you used filler or spackle, leave it to dry completely before moving on. This can take as little as an hour but may take two or three hours.
- See Also: How Long Does Spray Paint Take to Dry?
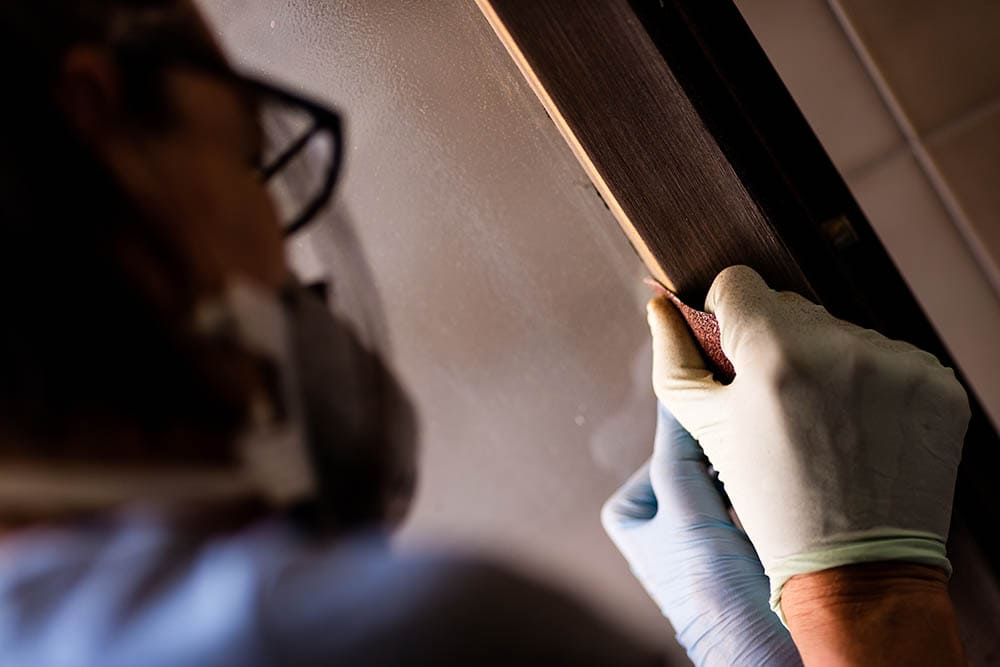
9. Sand The Surface
Once the surface has dried, use a coarse sandpaper and sand down the spackle or filler until it is perfectly flush with the door. This will help ensure a flat finish, but it will roughen the edges around the hole.
10. Paint Or Stain The Whole Door
Once you have sanded the hole and the filler layer down, you can paint or stain it to match the finish of the door. Many hollow-core doors have a textured wood finish that is difficult, or impossible, to perfectly replicate. Leaving the repair untextured will leave an uneven finish. Therefore, we recommend removing the door hardware and staining or painting all of the door to give uniformity and ensure an attractive-looking door.
Conclusion
Hollow-core doors are inexpensive and lightweight. They are easy to fit and are more common than solid wood doors. However, they can and do become damaged. Whether your door has a scratch or a hole, it is possible to repair, and typically using many materials and tools that you already have at home. Repairing the door negates the need and eliminates the cost of buying a new door and fitting it, and it is a satisfying task that will look good once completed.
Featured Image Credit: ANASTASIIAKU, Shutterstock
Contents
