
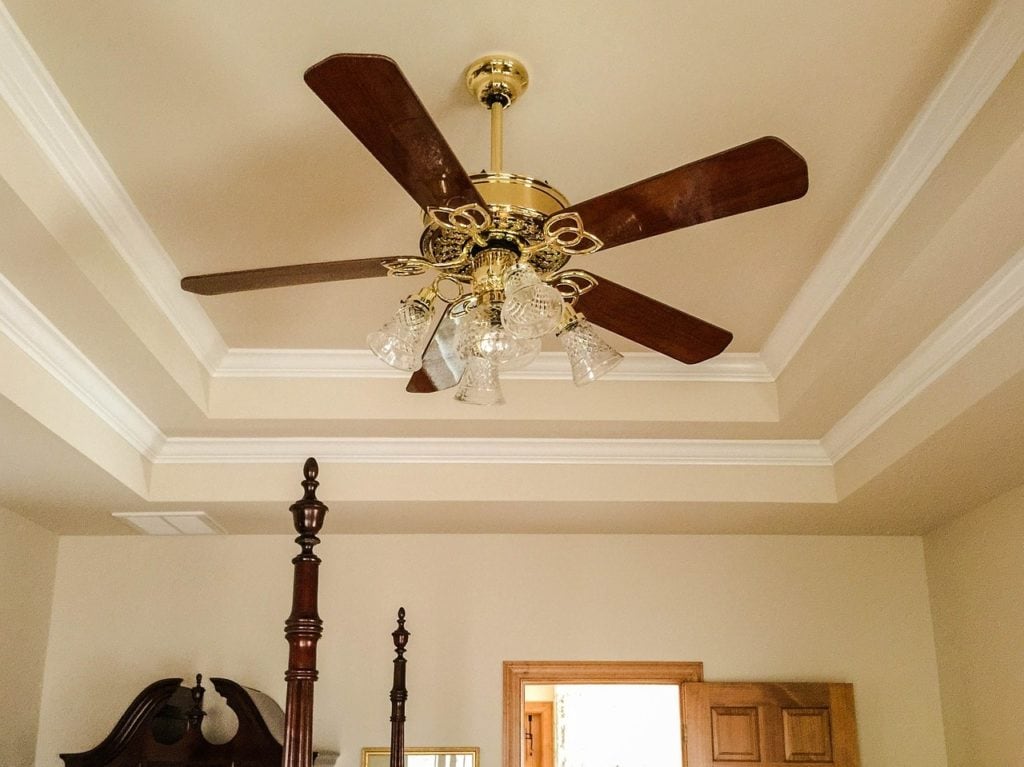
Ceiling fans are part of nearly every home in America these days. They are helpful in both hot and cool climates for circulating air. Most people do not notice their ceiling fans until they have a problem with them. One of the most irritating problems to encounter is a ceiling fan that is no longer quiet but has become noisy with every turn. Whether it is a squeaking sound, clunking, or whining, noisy ceiling fans can take a peaceful room and turn it into a headache.
If you have experienced this maddening situation, do not worry. Diagnosing and fixing a noisy ceiling fan is usually quick and easy. With a little bit of information and a step ladder, most people will be able to get their ceiling fans back to quiet working order on their own.
Here is how to fix a noisy ceiling fan.
Preparation
First thing’s first, whenever you are working on a lighting fixture in your home, it is always a good idea to throw the breaker. Do not just turn off the light with the switch in the room but find the electric panel and cut power to whatever fan you are working with. It is better to be safe than sorry when fiddling with anything that can give you a shock, especially when cutting the power is usually as simple as throwing a breaker switch.
Second, you are going to want to gather a few basic tools. To diagnose and fix a noisy ceiling fan, you will need these items:
- Step stool or ladder
- Cloth or rag
- Screwdriver
- Lubricant
That should be everything. Once the breaker is off and you have your things, it is time to figure out what is causing all that dang noise.
How To Fix a Noisy Ceiling Fan (7 Steps)
1. Examine the fan
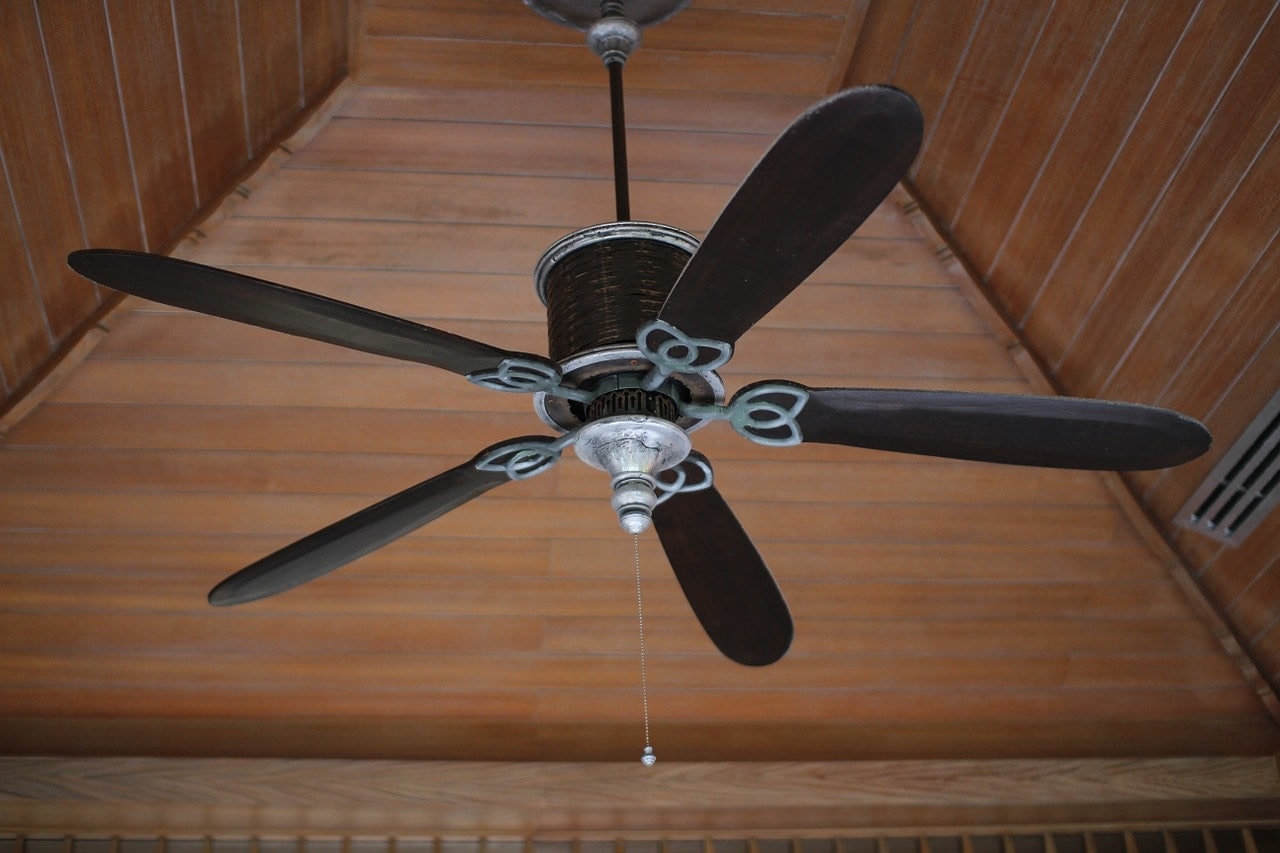
Step one is to simply examine the ceiling fan. Climb up and get close. Take a careful eye to the entire thing. Check for dirt, grime, and dust build-up on any part of the fan. Check to ensure the blades are secured correctly and that none of the blades are warped or damaged. Any one of these seemingly small issues can cause the fan to become unbalanced and cause a number of unpleasant sounds to occur.
Examining the fan will also help determine whether there is anything noticeably wrong with the unit. Also, check to see what kind of screws are in the fan. Most fans will have Phillips heads, but if the screws are flatheads, you need to plan accordingly. If nothing immediately catches the eye, like a broken housing unit or loose or busted pieces, then there is a good chance the unit will be easily fixable from home.
2. Clean the fan
Step two is to clean the fan thoroughly. This has a twofold effect. Many times, dirt and dust simply gunk up the fan and cause the noise. A good cleaning can make the sound go away in a snap. Even if cleaning the fan does not fix the problem, you are going to want a clean ceiling fan for any of the next steps either way.
Using a rag, cloth, or ceiling fan cleaner, wipe off all the dust that is clinging to the fan. Make sure to pay close attention to the blades. The tops of the blades often hide a large amount of unseen dirt and dust. Wipe down the lights and make sure to get the motor housing as clean as you can get. Dust cloths usually are sufficient, but you can also use a damp rag to get up any of the pesky dirt that doesn’t want to leave after one pass.
3. Check the blade screws
If simple cleaning doesn’t fix the problem, it is time to check the blade screws. Ceiling fan blades often slide into a notched opening and then are fastened with screws at the base to hold them in place. Anything that spins has the chance to knock screws loose over time. Go around to each blade on the noisy ceiling fan and check to make sure that there are no screws loose or screws missing.
These screws are often simple Phillips head fixtures that can be tightened with a standard Phillips head screwdriver. Check every screw and give any that look out of place a solid twist for good measure. If you are missing any screws, take one out to find a suitable replacement and replace the missing ones.
4. Replace or balance the blades
If none of the blade screws are loose or missing, then you might have bigger issues with the blades. Turn the fan back on and check to see if the unit looks unbalanced. Is the fan spinning normally? Is it making good, tight circles? After watching the fan for a couple of minutes, it should become apparent if the blades are spinning properly. Warped blades can cause a fan to spin unevenly and cause a racket. So too, can unbalanced blades.
If you think the blades themselves are causing the issue, you can replace them. Most ceiling fan blades are standard and can be picked up online for an affordable price. To replace the blades, you simply need to undo the screws you already examined and slide out the old blades, slide in the new blades and refasten them.
Another option is to get a ceiling fan balancing kit. These kits provide weights to help redistribute the balance so that the fan spins properly without replacing the blades themselves.
5. Check the rest of the screws
The next thing to try is to look at the rest of the screws in the ceiling fan. There are screws that attach the fan apparatus to the lighting apparatus and screws that fasten the lighting sconce and the ceiling mount to the fixture. Go around and check each screw to make sure that nothing is loose. Loose screws will cause additional movement inside the unit, even if you can’t see it, which could be causing the noise.
Check the mounting junction at the ceiling to make sure that it is firmly in place and that nothing is loose. Check the lighting sconce for the same issues. Give everything a solid (but not violent) tug or turn to make sure everything feels solid. Nothing should feel super jiggly, and nothing should rattle. Tighten any screws that are loose and make a note of any covers that may be loose.
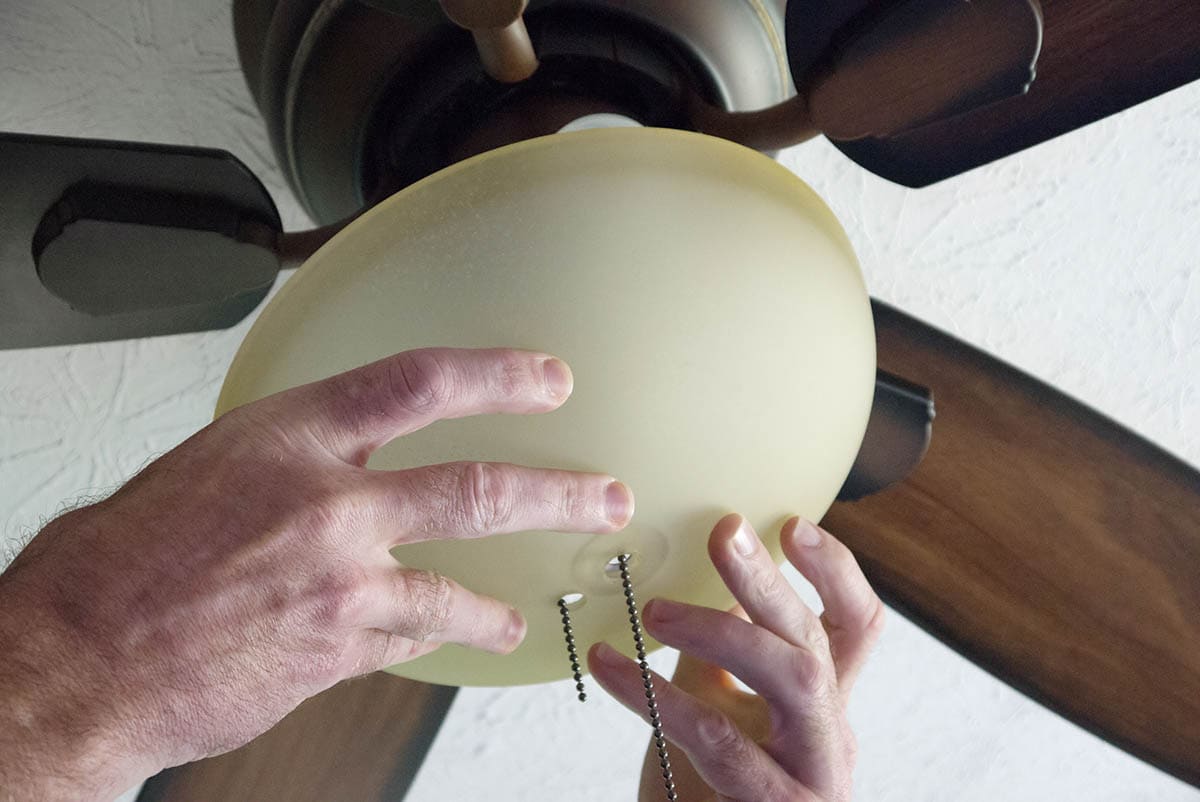
6. Check the pull chains
One of the noisiest parts of a ceiling fan could simply be the pull chains. If the fan is unbalanced or if the chains get out of place, they can cause a persistent clacking or clanging sound. They will not hang straight but move while the ceiling fan moves. Check the paths that the chains run on and make sure that everything looks straight and clean.
If you do have a pull chain that has become dislodged or tangled, you can detach the lower end from the main chain and carefully move the chain back into position. There should be dedicated holes and pathways for the chains to hang naturally out of the way of any moving parts. Fixing any issues with the pull chains can easily clean up any persistent noise from a ceiling fan.
7. Oil and lubricate the fan motor
The last thing to try is to lubricate your ceiling fan. This can be tricky. First, you have to see if your motor has a hole for oil. Many models do, but some models do not. Once you find the oil hole, you need to find and obtain the proper lubricant. Many sources say to use 10, 15, or 20 weight motor oil. But it is imperative that you use non-detergent oil.
Dry motors can cause a grinding or buzzing sound. Re-oiling the motor can cause these kinds of noises to disappear with proper lubrication.
If your fan does not have an oil hole or if you are unsure if what you are looking at is indeed an oil hole, you will need to take the fan down and take apart the motor housing to access the bearings that could be dry. This is often an advanced measure for homeowners and not suggested unless you know how to disassemble and reassemble a ceiling fan properly.

Conclusion
If none of these solutions fix the problem, then the fan motor could simply be wearing out and breaking down. This wear happens to all engines over time. If the ceiling fan is particularly old, the motor could simply fail, and none of these solutions can fix that.
If your ceiling fan continues to persistently make noise and nothing is working, there is no shame in calling an electrician. Ceiling fan replacement is a fast fix for a professional, but it will cost money.
Chances are, one of these solutions will solve the problem, and your ceiling fan will go back to working quietly as expected.
Featured Image Credit: JamesDeMers, Pixabay
Contents
