

Are you tired of dealing with a super-small chain every time you try to turn the fan on or off? Or is the whole chain is gone and you can’t get the fan to work at all?
Either way, you need to repair the ceiling fan chain. While there are many steps in the process, they aren’t complex. We can walk you through it every step of the way — just keep reading.

What You’ll Need
Unlike most jobs, if you’re looking to replace the ceiling fan chain, you don’t need many tools. Still, the last thing that you want is to realize that you’re missing a tool halfway through the job. Here, we highlighted everything that you need to do the job right.
- Screwdriver
- Adjustable wrench
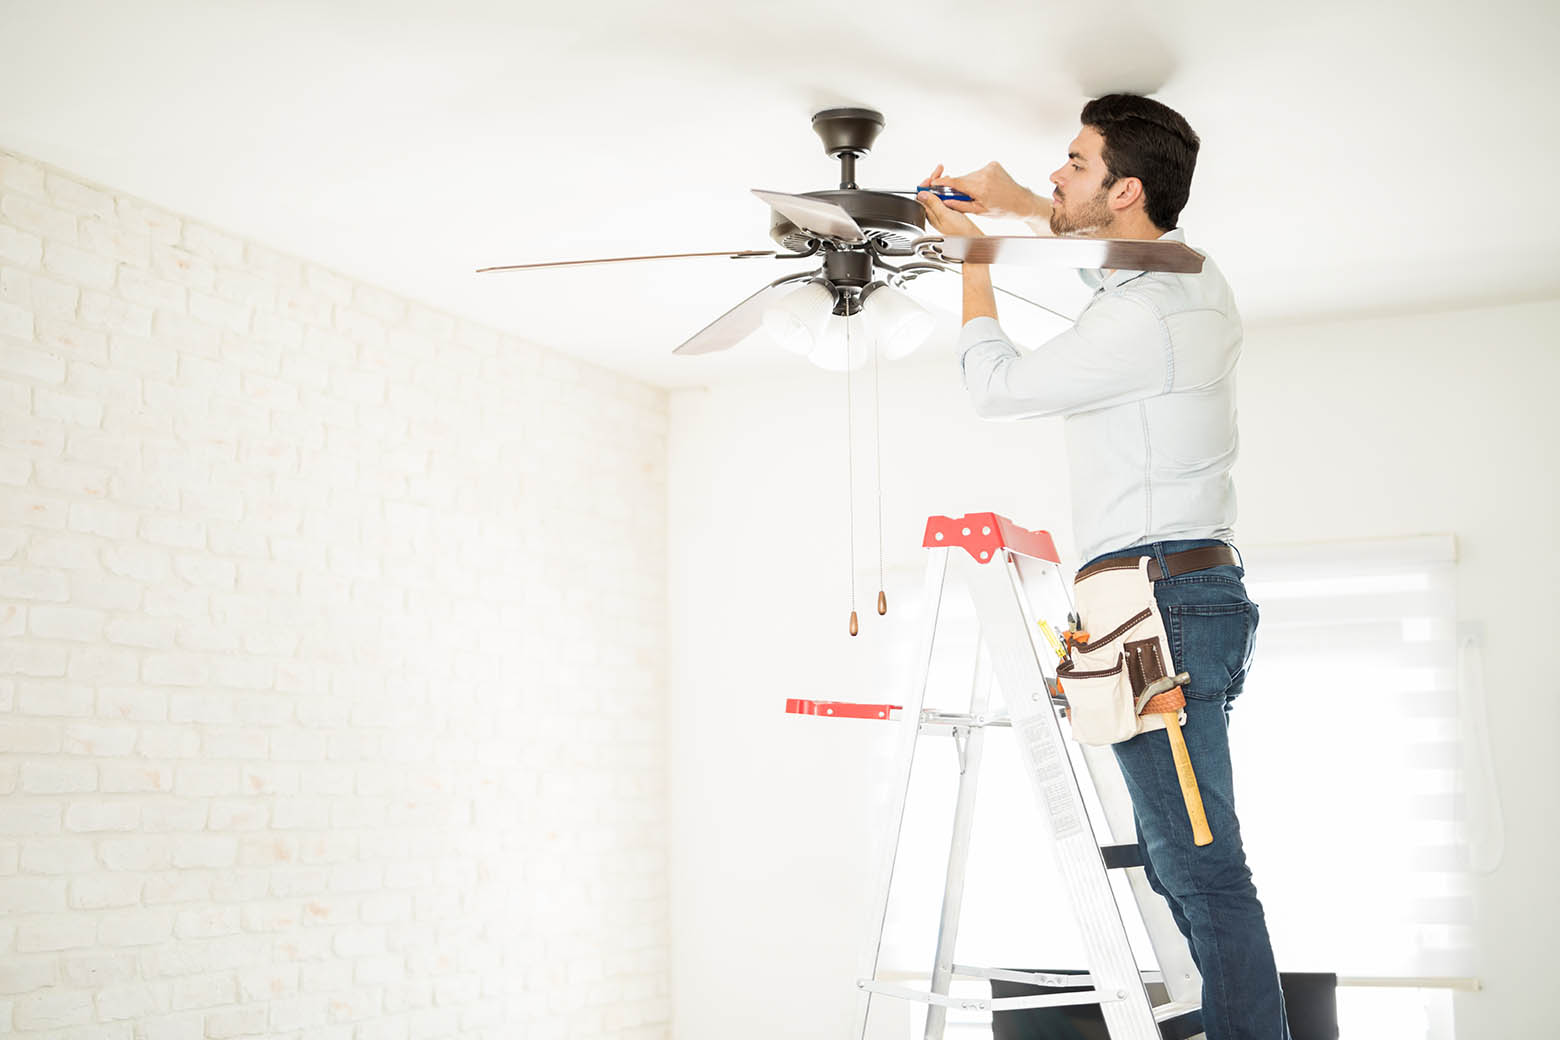
- Stepstool (if you can’t reach the fan)
Preparing Your Workspace
While you might want to dive right in, it’s best to clear your workspace before you start. You probably want two people so you don’t have to move all the electrical wiring throughout the process, and you’ll need a level space for the stepstool.
Additionally, you should have an area that’s free of obstructions, so if you do need to move around while you’re working, you’re not tripping over anything. Taking a few extra minutes to clear out the area can save yourself from an injury and make the entire process easier.
Important Safety Notes
Your ceiling fan lights use a live electrical circuit, and you can easily injure yourself. Whenever you’re working on the electrical side of household repairs, you need to kill the power to the circuit and inform everyone what’s going on so they don’t turn it back on while you’re working on things.
You also need to be especially careful when working on the bulbs themselves so they don’t shatter and injure you. Also, if you don’t have experience with electrical work, you should stick with just replacing the chain and avoid trying to wire up the entire switch.
If you don’t have any electrical expertise, you can complete this job, but don’t go any more in-depth.
How to Fix a Ceiling Fan Chain (13 Steps)
1. Kill the Power
Before you do anything, you need to kill the power. It’s easy enough to do; just track down the circuit breaker box for whatever room the fan is in and flip the breaker. To double-check if the room has power, try the light. If it was working before and isn’t now, you’re good to go.
This is by far the most important step on the list because if you’re working on a live system, you can easily electrocute yourself, and that can lead to a serious injury or even death. Flip the circuit breaker and kill the power.
2. Remove the Bulbs
Just because the power is off doesn’t mean you should leave the bulbs in place. When you’re moving around the light fixture, there’s a legitimate risk that you could hit one of the fragile bulbs just a smidge too hard and break them.
When the bulbs break, the glass can injure you, and you’ll have to spend more money to replace the bulbs. Save yourself the headache, and unscrew the bulbs when everything is still in place.
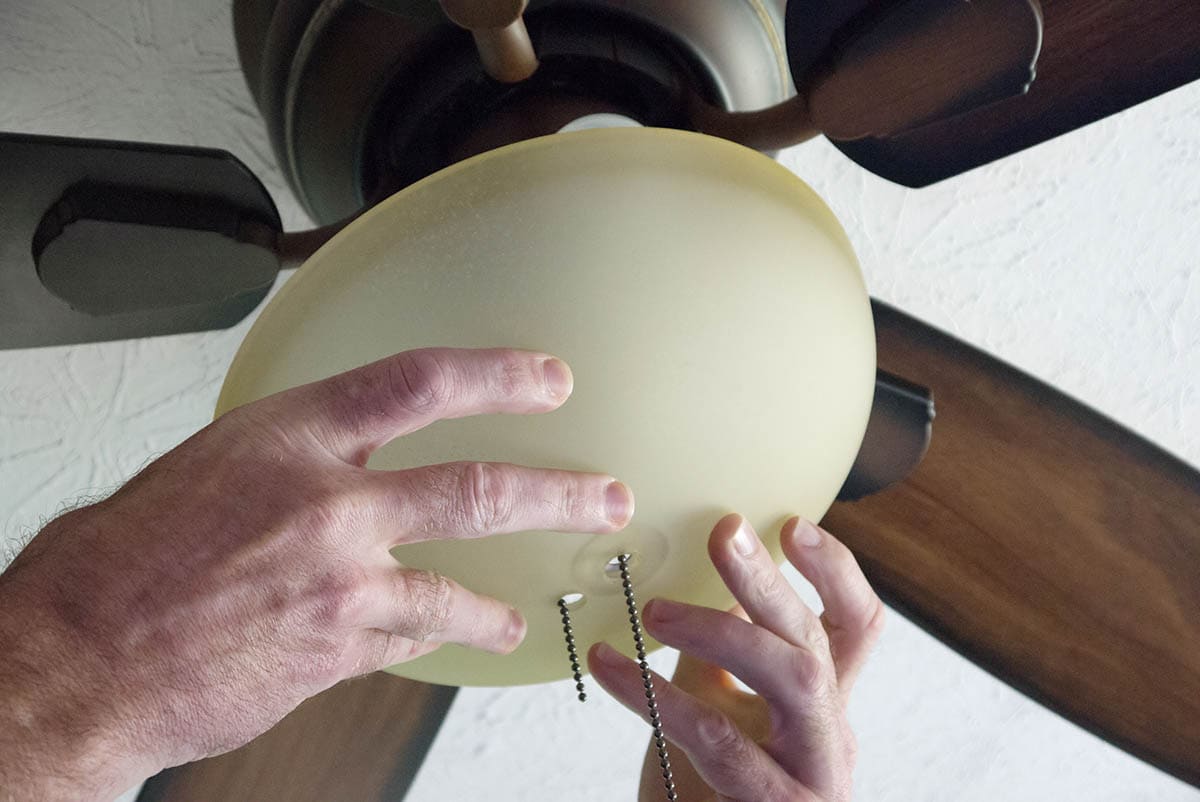
3. Take the Screws Out of the Light Fixture
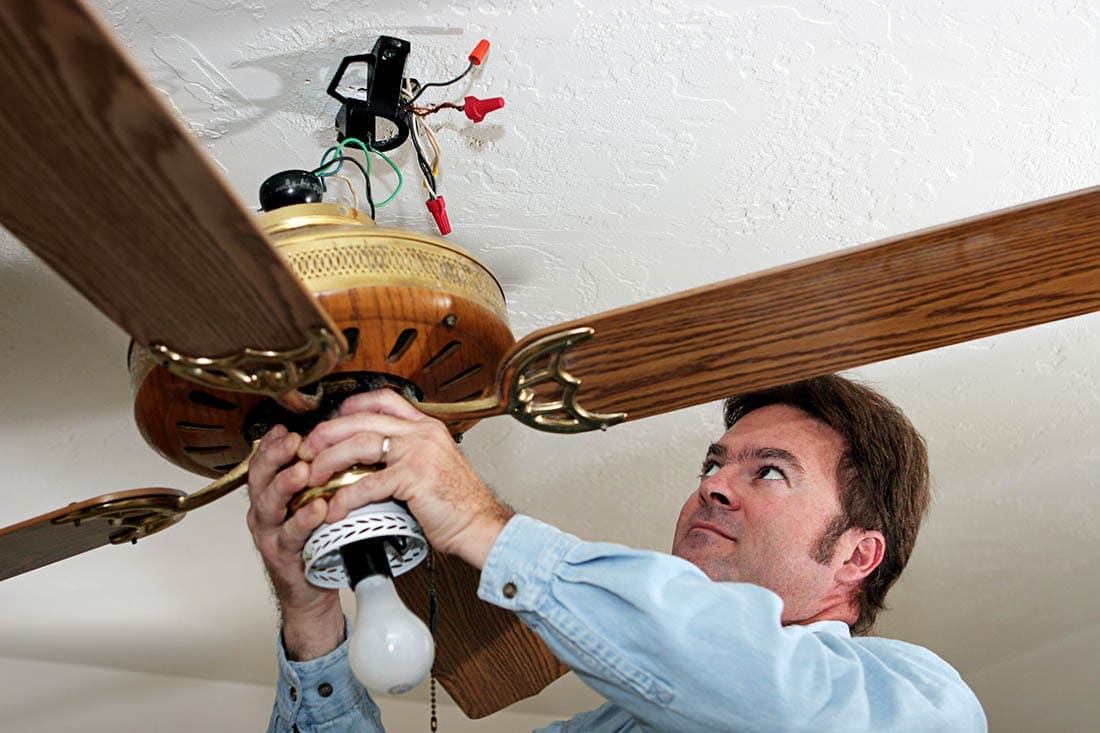
After you’ve taken out the bulbs, it’s time to start removing the fixture itself. It sounds complicated but it’s quite simple. Remove the screws that go around the fixture, and you can then take it out.
Be careful when taking out the screws, though, because once it becomes loose, the entire fixture can fall if you’re not holding it up. Once you take the fixture out, you’ll need someone to hold it for you while you complete the rest of the work because everything will still be wired up.
4. Unscrew the Nut on the Side of the Fixture
Next, take out the nut on the side of the fixture. You can use either a socket or an adjustable wrench to get the job done. It’s a straightforward process; just ensure that you’re loosening everything instead of accidentally tightening.
5. Remove the Switch and Inspect
Once you have the nut out, you can remove the switch and inspect it for damage. More specifically, you want to check the wires to ensure that none of them are cracked and broken. You can also look at the chain itself to see if you can just put a longer piece in there or if you’ll need to get a whole new piece.
6. Open the Switch
To replace the chain, you’ll need to pop open the switch. It’s simple to do, and all you need is a small screwdriver. Put the tip of the screwdriver where the two pieces meet, and gently twist to pop it open.
Once the switch is open, inspect the internal pieces to ensure that they’re all still in good working order. Be extremely careful because when you open the switch, some of the small pieces can fall out. Typically, at this point, you can remove the chain, but sometimes, it will be under another protective plate.
If there is another protective plate that the chain is inside, pop the plate open the same way that you opened the switch.
7. Remove Broken Pieces
Once you have access to the chain, you need to remove all the old pieces for the new one to work properly.
8. Install the New Chain
Once you have the broken pieces out of the switch, it’s time to install the new chain. Simply put it in. Ensure that there’s enough to reach the length that you need once you reinstall everything. If you have enough of the old chain, you can use that, but otherwise, you can get a new one from a hardware store.
9. Put the Switch Back Together
Next, it’s time to put the switch back together. All you need to do is line everything up and push it hard. You should hear audible clicks when it snaps together.
10. Install the Switch and Nut
Put the switchback in the fixture, and install the nut that puts it back in place. Don’t over-tighten the switch, but put it on snug enough that it won’t work its way off over time.
11. Reinstall the Screws
Finish putting the fixture together by sliding it back in place, and reinstall the screws. Put in each screw about halfway before tightening them up. Otherwise, you might not put the fixture back in a level manner.
Ensure that you don’t overtighten the screws, or you might not be able to get them back out or damage the fixture.
12. Put the Bulbs Back
Now that the fixture with the new chain is back in place, it’s time to reinstall the bulbs. Simply screw them in and move on to the next step!
13. Turn the Power Back On
The final step is turning the power back on. Hit the circuit breaker switch, and test out the new fan chain!
Final Thoughts
If you’re tired of dealing with a tiny chain every time that you need to turn the fan on and off, go ahead and fix it! It might seem like a daunting task at first, but the truth is that if you take it one step at a time, it’s something that you can knock out in an hour.
So, take a deep breath and get everything you need, and you can fix that broken chain in no time!
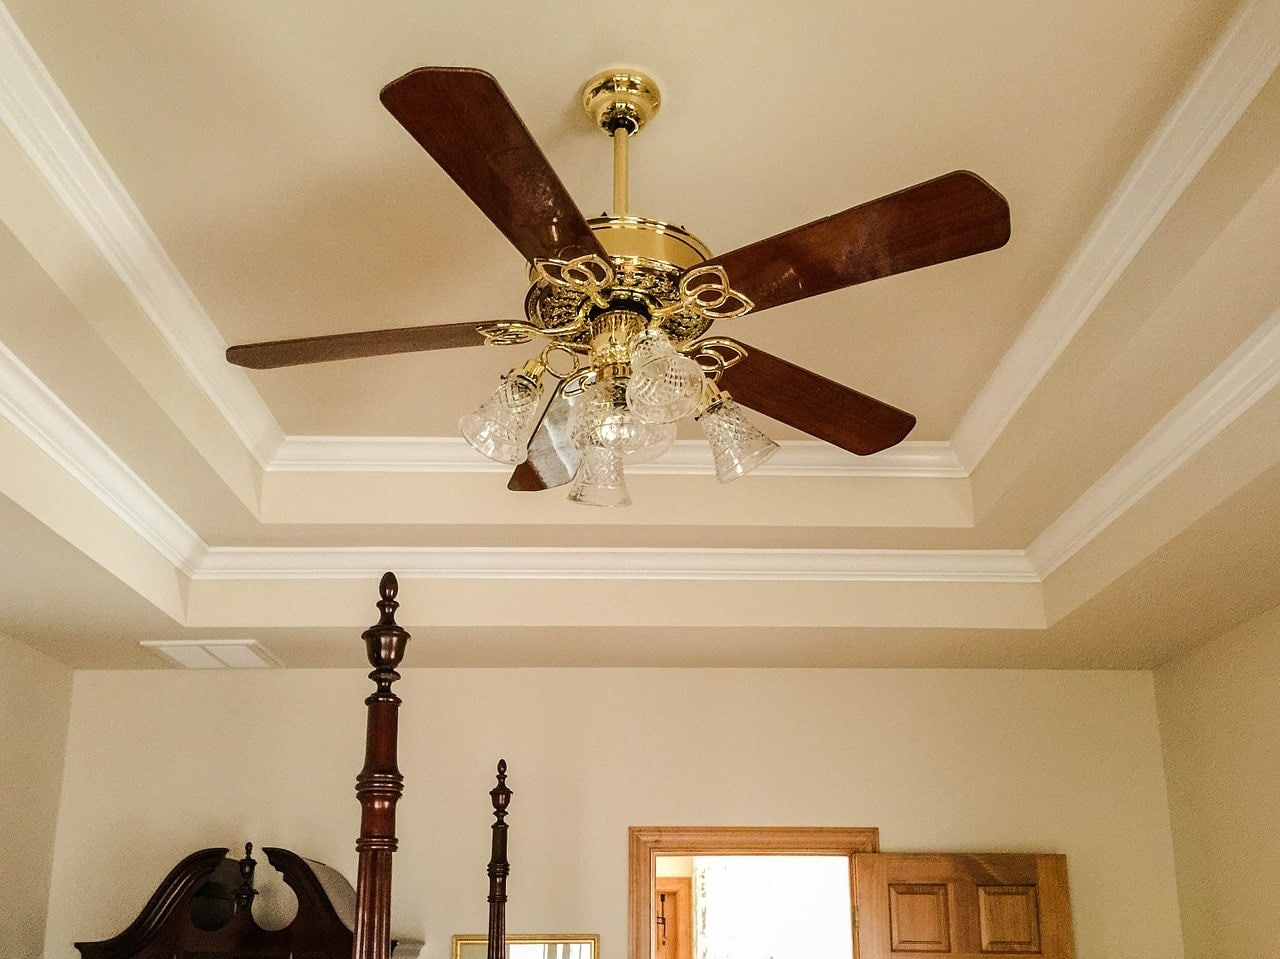
Featured Image Credit: JamesDeMers, Pixabay
Contents
