

Few things are as annoying as a sagging door. A sagging door tilts downwards and to one of the sides, scraping away at the jamb every time you open or close it. When the door is open, it’s hard to tell there’s a problem. However, when left untreated, this minor inconvenience turns into a big issue, making it hard to use the door.
So, how do you fix this? And can someone do that manually, without professional help? The answer is yes, this project is very much doable. All you need to do is follow our step-by-step guide! First, see whether you’ve got all the necessary tools and materials lined up. Next, make sure you have at least an hour of spare time. Alright, now let’s fix that door!
| Time Needed: | 30–60 minutes at a slow pace |
| Estimated Cost: | $50–80 for the materials |
| Complexity: | Beginner level |

What Causes Doors to Sag?
Before we get to the “meat and potatoes”, take a quick look at what leads to sagging doors in the first place. If you live in a hot, humid area, it could be that the door has swollen over time, and that’s why you’re having trouble opening and closing it. In other cases, the frame is to blame. This mostly applies to older houses that have been around for many decades. What happens is the frame shifts and ends up outside of the square.
Last, we’ve got hinges—the most common cause of sagging or sticking doors. The screws tend to get loose while the hinges get bent. Alright, now that we know what could be the root of the problem, let’s get to fixing it. We’ll start slow and go from securing hinge screws to replacing them, attaching shims, mortising the hinges, and using sandpaper and the plane tool.

Before you Start
Fixing a sagging door isn’t rocket science. But, you still need to prepare yourself for the job and get everything ready. We’ll be working with wood here, so make sure you’ve got a set of gloves on to prevent calluses. Eye goggles, in turn, will protect you from chips. As for the instruments, you probably already have most of this stuff in the garage, like a screwdriver, electric drill, knife, and plane.
You will, however, have to buy some glue, dowels, a doorstop, and some decent-quality paint/varnish if the problem is bigger than just a couple of loose screws. Speaking of screws, they’ll also come in handy (to replace the old, weak ones). Here’s a full list of the tools and materials needed for the job:
- Dowels (or a set of toothpicks)
- Carpenter’s glue
- Pack of 3-inch screws
- New door shims
- A standard doorstop
- Can of paint or varnish
- Protective glasses + goggles
- Screwdriver + hammer
- Steel square + bubble level
- Utility knife or pencil
- Cordless drill + chisel
- Sandpaper + Plane Tool
How to Fix a Sagging Door (10 Steps)
1. Begin by Inspecting the Door
We start by taking a long, hard look at what we’re dealing with. Take your time to inspect the door from all angles and pay extra attention to the hinges. By assessing the damage, you’ll be able to figure out how severe the sagging is and whether the hinges need to be replaced or not. We also recommend marking the spots where you see a gap between the door and the frame.
It could also be that the door is too tight at some spots, and it’s “eating away” at the frame—take notes on that as well. In most cases, it’s the bottom hinge that’s causing all the trouble: it pushes against the jamb, making it harder to close the door. In contrast, at the top, you’ll probably have a tiny gap. This is a very common issue with older houses, especially in places with above-average humidity levels.
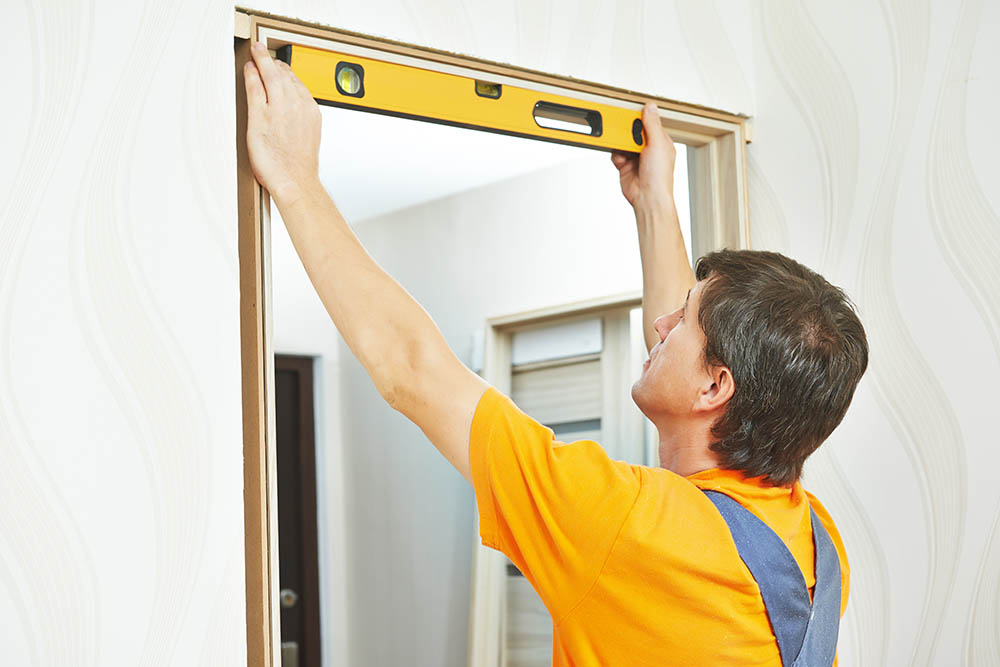
2. Check the Frame: Is It Level?
Alright, for the next stage, we’ll need two essential tools for any leveling work: a bubble level and a steel square, known as the carpenter’s square. The goal here is to see whether the frame and the door are level or not. The square is very easy to use. Just hold it tightly against each of the four corners of the jamb. That will help you figure out if they’re at 90 degrees or if there are slight deviations/imperfections.
This triangular tool is quite affordable (you can get it for less than $10), and you can get it at a local hardware store.
Putting the Bubble Level to Good Use
The spirit level is another low-effort tool. Again, aim at the door jamb, or, rather, its sides and the top. Ideally, the bubble should “sit” right between the two lines. If you see that the frame is way off, but the door is level, don’t be confused—this happens a lot. Out-of-square frames are usually the result of old, shifted walls. In other cases, it’s the settling foundation to blame.
Time and weather make even the best houses sink, which causes trouble with doors. So, what’s the solution here? Most likely, you’ll have to grab your plane tool and carefully go over the problematic spots. We’ll talk about that further down this guide.
3. Make Sure the Hinges are Secure
Go ahead and open the door. If it refuses to stay still, put something heavy in front of it (or a door stand, if you’ve got one). Now check on the hinges: the screws should be nice and tight, but they’ll probably be loose, especially the ones holding the top hinge. Grab your trusty screwdriver and tighten every single screw, but be careful not to over-tighten them and ruin the holes.
The rule of thumb here is to keep tightening the screws until you meet considerable resistance. That’s why it’s best to use a screwdriver and not an electric drill. Go slow and make sure you’ve secured all the screws that go into the door and the frame/jamb. With a little bit of luck, this should fix the sagging issue. Still having trouble with it? Then let’s try the next trick.
4. Take Care of the Stripped Holes
What’s a stripped hole, exactly? This term refers to screw holes that, well, get stripped. Over time, the wood fibers around the screws (or, rather, their heads) lose their holding strength due to excessive use. Sometimes, the screws are too weak to hold a big, heavy door. Finally, extreme weather is known to make wood expand and swell, which, again, negatively affects its strength and reliability.
To fix a stripped hole, you’ll have to remove the hinge(s). Some experts recommend removing the entire door, but that won’t be necessary if you have a doorstop to hold it in place while you’re busy with the faulty hinge. So, remove the screws and then put a dowel into the stripped hole. But, before you do that, make sure it’s covered in a healthy amount of carpenter’s glue. Give it some time to dry and drill a new hole for the screws.
A Quick (and Cheap) Alternative
If they don’t have a dowel at your local store, you can use toothpicks instead. Put a couple of them into the stripped hole and break off the excess parts that are sticking out. That’s pretty much it! The extra wood should make the hole smaller and allow the screw threads to get a proper grip. You just put the toothpicks into the hole, then place a screw in there, and tighten it with a screwdriver.
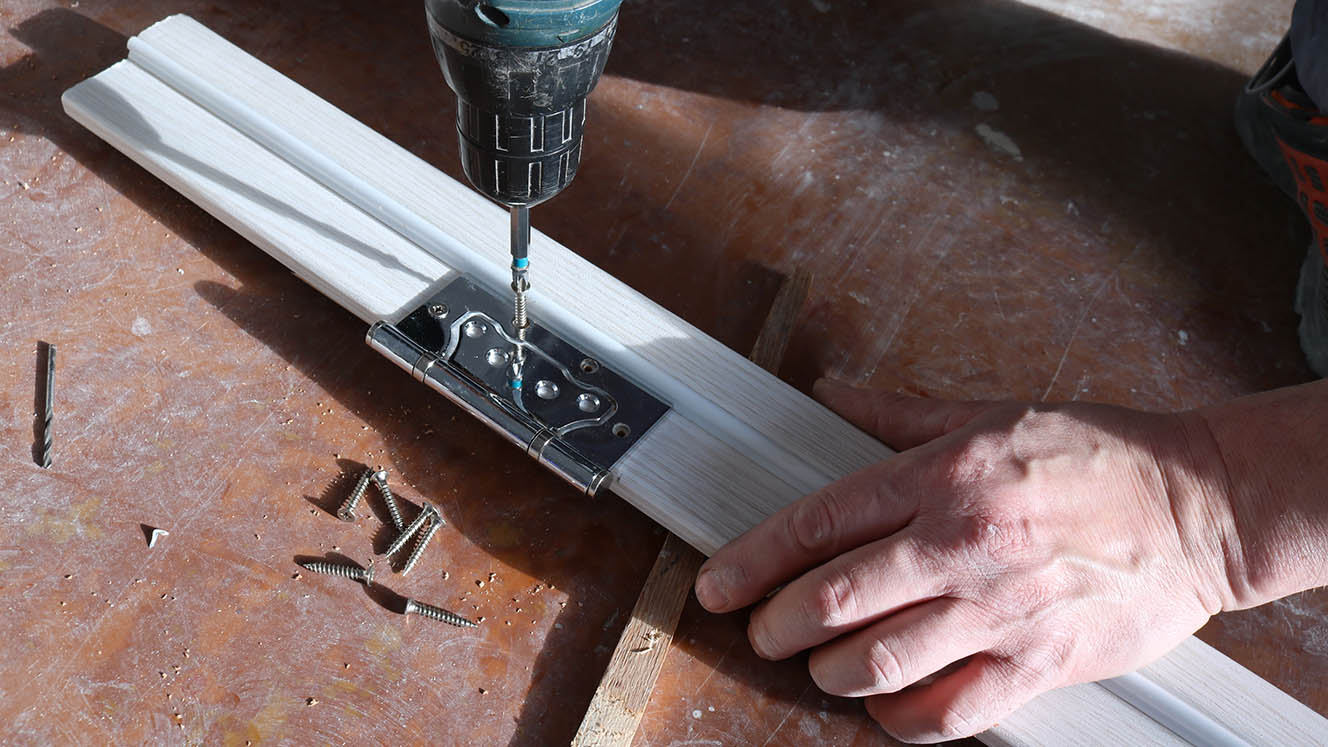
5. Replace the Factory Screws
Sometimes, no matter how good you are at fixing a stripped hole, the factory screws simply can’t hold the door steady. That’s when longer screws swoop in to save the day. They don’t necessarily have to be larger—just a smidge longer. Yes, all we need here are a few extra threads that will go in deeper and be able to hold on tightly both to the jambs and the door.
For the average-sized door, 3-inch screws should be perfect. So, remove the old ones, use a drill to make new holes, and then secure the hinge using a set of longer screws. The idea is to reach the wall stud. That’s why we need longer screws: they’ll pull the door back (inward) once they get a grip on wall studs. Check the door level after this, as it might just normalize.
6. Use Plastic Anchors
Factory screws are great and all, but if the door or the jamb is too thin, they won’t be of much use. Lucky for us, there is a tried-and-true solution to this problem: plastic anchors. You can get a whole box of these for $10–15, and they’ll serve for a long time. The trick here is to pick a drill bit that matches the diameter of these anchors.
Oh, and don’t forget to remove the hinge completely before you do this. Depending on how tight the holes are, you might have to use a hammer to tap the anchors down. Once they’re in, put the hinge back on and secure it with the factory screws (or longer ones, if they fit) that now go into the anchors.
7. Add Shim(s) to Fix the Sagging
You can’t overestimate the importance of shims for interior adjustment, as they’re cheap ($2 for a pack), easy to work with and get the job done. Essentially, a shim is a piece of wood (thin, tapered, and cut from pine/cedar) that we put right between the jamb and the hinge. Don’t have any ready-steady shims around? Don’t worry: just cut thin pieces of cardboard or wood and use them instead. A pack of playing cards is an option as well.
To make this work, you might have to use the good old trial and error technique. Just remove the hinge and do your best to match the shape of the shim to it. And the thinner the shim, the better, as it will be more flexible. Start with one layer and add new ones until you achieve the perfect tightness. Usually, it’s the top hinge that benefits from shims, but your situation could be different.
8. Try the Hinge Mortising Technique
Shims are known to be quite efficient, but if they fail, the so-called “mortising” method could help. For this, go ahead and remove the stock hinge. But, before you do that, don’t forget to outline it (say, with a utility knife or a sharp pencil). Next, use a chisel to carve some of the wood out, making the hinge pocket bigger and deeper. Again, follow the outline! This tends to take some effort and patience, especially if it’s your first time doing work like that.
Be gentle and do your best not to overdo it. We recommend going around the perimeter with the chisel and only then making those cuts. The goal is for the hinge to be mounted flush with the door. So, yes, the depth of the mortise will depend on how big the sagging problem is. Once you’re happy with the newly-carved pocket, put the hinge back on. You can use longer screws, just like we did earlier.
9. Use the Plane Tool
If all the previous efforts aren’t doing it for your door, sanding or planing is the only option left on the table. Now, there are lots of electric/powered planes out there, but you’ll be better off using a hand one. The reason: it gives you more control over how much pressure you apply and how much of the door you chip off. Besides, you won’t have to remove the door from the hinges, which saves lots of time and effort.
So, first, find the spot where the door is hitting the frame. Next, make a mark using a pencil/knife. After that, it all comes down to working the strike edge until you get rid of the sticking. Keep opening and closing the door while you’re at it. Sometimes, the door will have more than one sticking spot, and they’ll reveal themselves the second you deal with the first one.
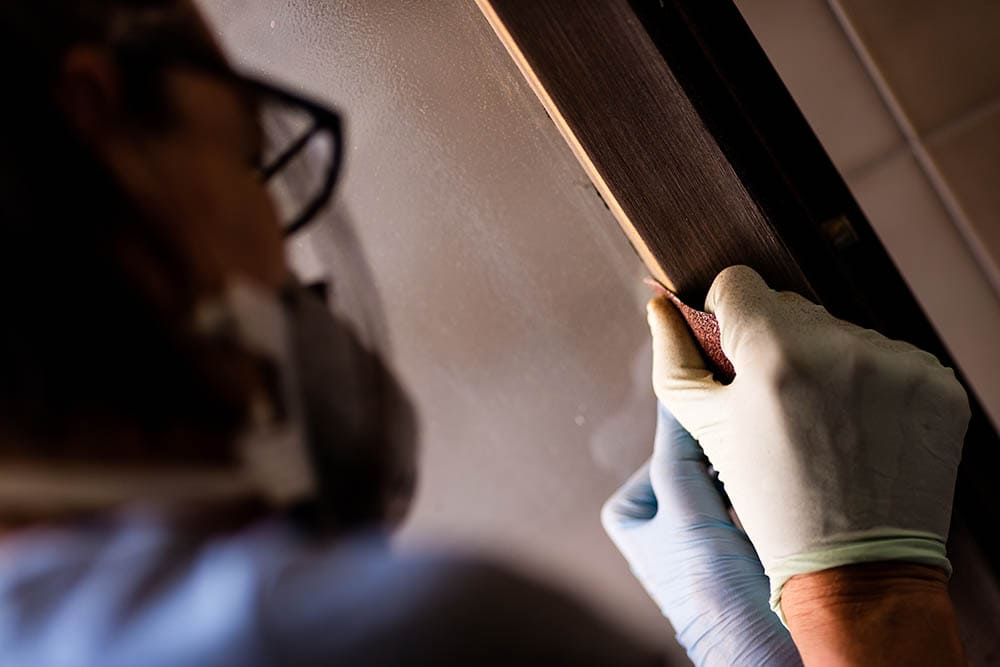
What about Sanding?
To smooth out the edges, go over the door with sandpaper. Start with 150-grip and then switch to 120-grit to make the strike edge(s) nice and smooth. This is important: as mentioned, sagging is often caused by humidity. However, it tends to come and go. Therefore, it’s recommended not to plane/sand away too much of the door. Otherwise, it just won’t look good when the swelling goes away, and there’s a gap there.
10. Apply Paint or Varnish
Alright, the final step is painting or varnishing the spots that we just “handled” with the plane tool. This way, you’ll make the door look nice and fresh. On top of that, an extra layer of coating will prevent moisture from taking over the door and causing a new sagging issue.
Conclusion
Sagging can be caused by several reasons, including loose screws, old hinges, a settling foundation, and even humidity. Depending on how big of a sag/stick you’re dealing with, fixing it can take from 30 minutes up to two hours. What we want here is to take it slow: start by ascertaining the problem and checking on the door, frame, and hinges.
If you’re lucky, securing the screws might do the trick. And if not, you’ll have to add shims, replace the short screws, and go over the door with sandpaper and a plane. The good news is—you won’t have to be a pro carpenter to make this work; you won’t need expensive, hard-to-get tools, either. Pay extra attention to the instructions every step of the way, and you’ll be done in no time!
Featured Image Credit: Roan Lavery, Unsplash
Contents
