
Without a frame, your door will never be level to the ground or even get the support it needs to function efficiently. Think about the frame as your door’s spinal cord, a structure that holds everything in place.
Now that you know just how important the frame is, let’s talk about the steps to follow to replace one.

Why Replace a Door Frame?
Before we continue, here are some reasons why you’d need to replace a door frame. This is important because the type of damage usually dictates what steps are to be followed.
- Minor frame damage
- Rotten wood
- Split frame
- A warped door frame
We’ll begin with the easiest process, which is fixing minor frame damage, and work our way up from there.
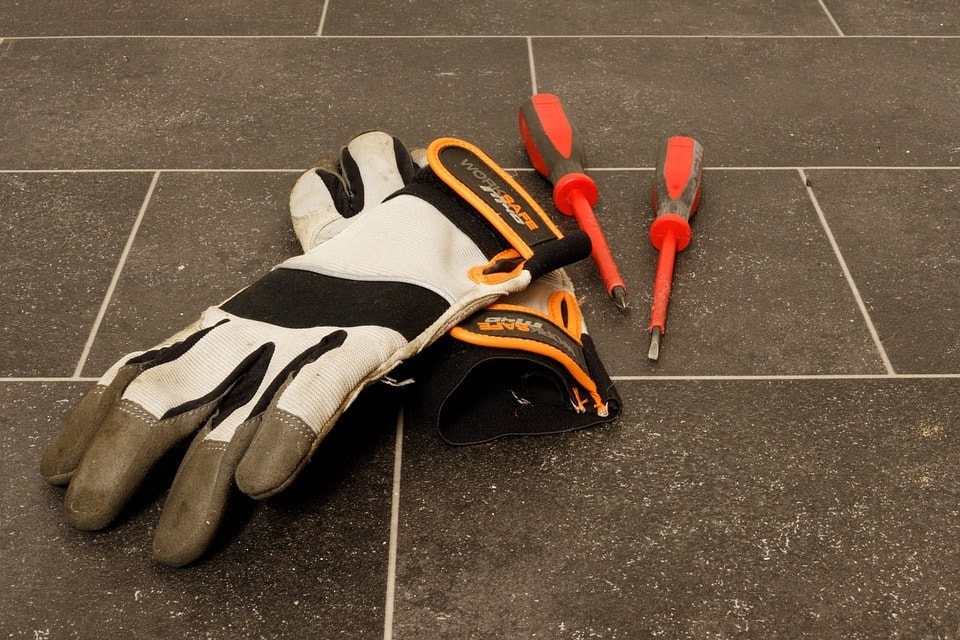
- Gloves
- Protective eyewear
- Closed-toe shoes
- Nails and a hammer or mallet
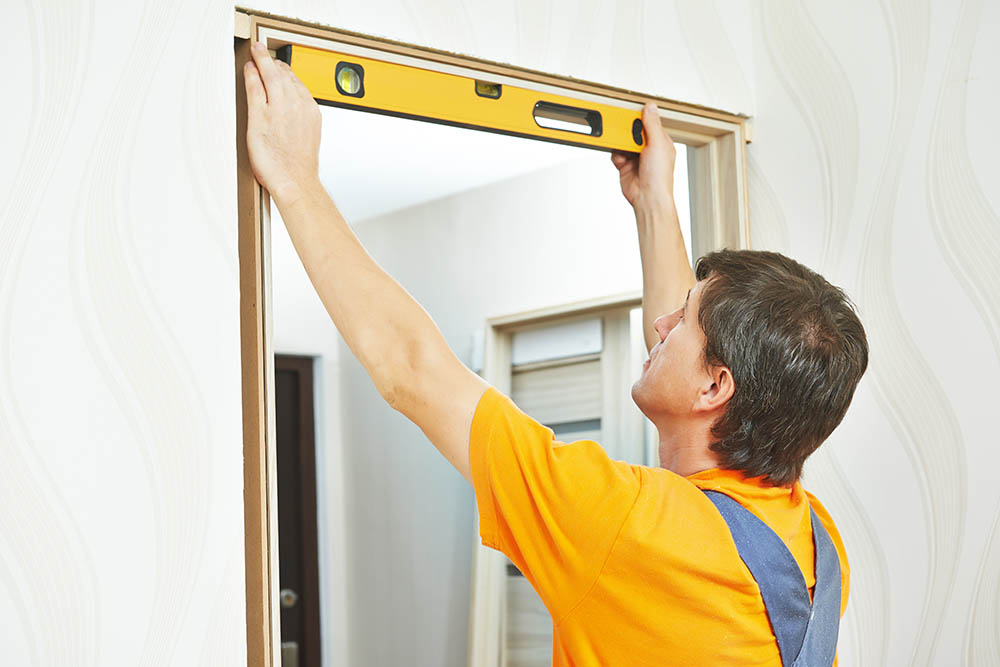
- Spirit level
- Putty and utility knife
- Wood filler
- Paint and primer
- Chisel
- Sandpaper
- Wood glue
- Saw and wire mesh
- Measuring tape and pencil
Minor Frame Damage
1. Assess the damage
Minor frame damage can be caused by a multitude of reasons. To assess the damage, you’ll have to give the whole area small taps to check if any wood is pulling away because if there is, the damage is extensive and should probably no longer be classified as ‘minor.’
But if there isn’t, it can be fixed in a matter of minutes.
2. Fill up any dents and gouges
We often use fillers to fix up gouges, dents, gaps, holes, and even nicks. Grab some wood filler and use your putty knife to gently fill them all up.
3. Give it 12 hours to dry
Do not apply primer or paint right away. Give it a couple of hours to dry up (preferably 12) before applying a single coat of primer, and two for the paint. If you don’t let it dry up first, the whole area will still be susceptible to more damage.

Rotten Frame Wood
Here’s something that a lot of you probably aren’t aware of—there are close to 5 million fungi in the air around us. And when those fungi and moisture come into contact with wood, it starts to decay, making it less dense and too weak to support any door.
To avoid this, make sure all your frames are always dry. But if the damage is already done, this is what you can do:
1. Area identification
We’ve been in this game long enough to know the decaying process always starts at the very bottom of the door. And you should know this because that’s the part that’s more exposed to moisture, especially during cleaning. Using your pencil and measuring tape, find out how extensive the damage is, and mark it.
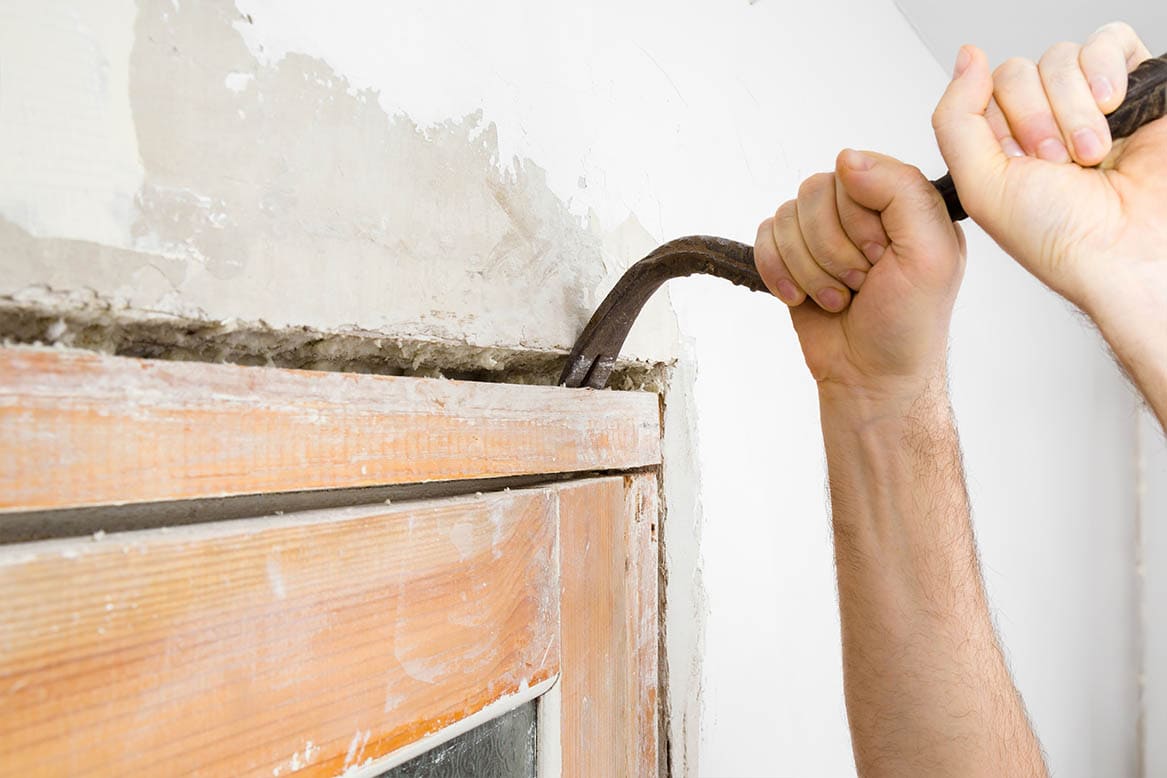
2. Chisel it off
We have to remove that whole area, or it will spread and ruin the entire frame. So, start cutting it off from the marked point. Make sure you remove every last bit of it, as anything left can jumpstart the decay process again and take you back to square one in a couple of weeks.
3. Wire mesh and filling the gaps
Once you’re done cutting, there will naturally be a gap left. We can’t just leave it like that—even if it doesn’t affect the operation of the door in any way. Fill it up with the wire mesh, and secure it using a few screws. You could always use the nails if you don’t have screws, or if you think they are better suited to get the job done.
The final step is to cover it up using the wood filler. Once done, give it 15 to 20 minutes to settle in, and then add more. Primer and paint application will be necessary, but only after 12–24 hours.

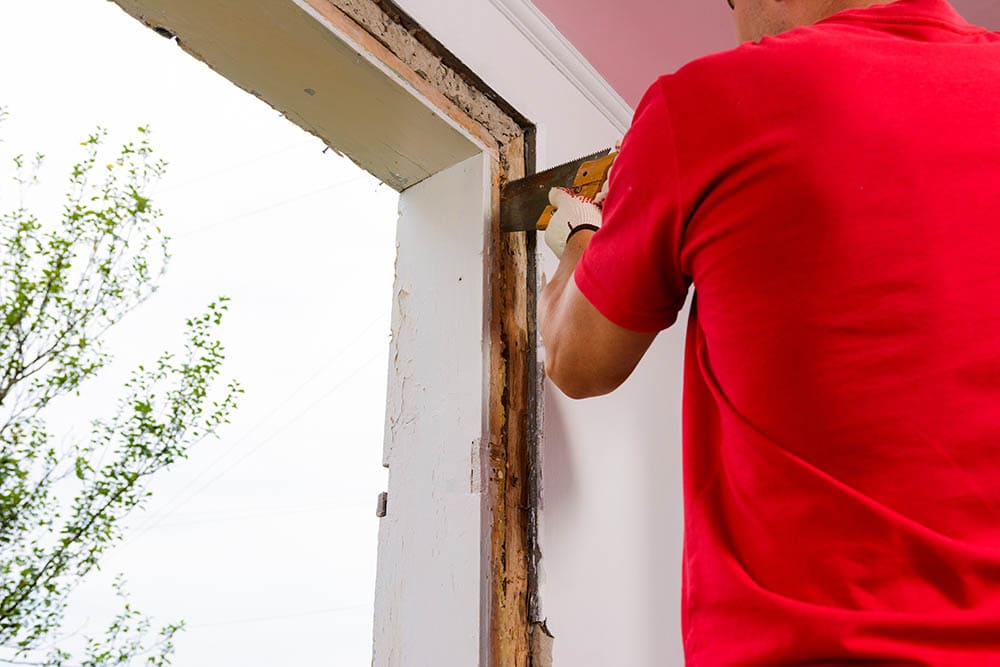
Split Frame
The location of the damage and its severity will depend on how the damage was caused. If it was a burglary, chances are the split will occur in the middle section of the frame. This usually happens when the door gets opened or shut with excessive force. But if it’s in the lower section of the frame, that’s an indication that someone kicked the door inadvertently(or out of frustration).
1. Remove the door strip
We cannot do anything with the door strip and molding still attached to the frame. So, use your chisel together with a hammer to get rid of them. And since we’re trying to avoid accidents, we would advise you to start at the bottom.
2. Take measurements
If the damage was caused in the middle section, will have to start cutting 5–6 inches above it, and then 5–6 inches below. But if it’s at a lower section next to the floor, we’ll only be cutting 5–6 inches above. So, grab your measuring tape, and start taking measurements! Remember to pencil mark the points before cutting!
Chiseling won’t be efficient in this case. Use a saw.
Side Note:
The integrity of the remaining frame should remain intact. If you suspect the saw’s movement will compromise it in any way, drill in some screws at the very top and bottom of the area you’re planning to cut off. Also, try not to cut too deep.
3. Fill the area with new timber
The piece of timber that you’ll be using to fill up that cut section should be the same type as the frame of the door. If you’re not sure, run to the nearest hardware store, and ask for help from the attendant. We’re sure they’ll be happy to help.
Glue the wood in and then secure it using nails. Because we don’t want that section to look conspicuous, we’ll have to ask you to sand it, then apply wood filler at the point where it comes into contact with the main frame.
The final step is applying a single coat of primer, and two coats of paint, and you’re done!
Warped Frame
The frame got warped because it previously had moisture in it and then dried up unevenly. And you should know by now that this is nothing new. The dried-up section will shrink faster than all the other parts, hence causing the frame to bend.
1. Remove the molding and the door stop
We don’t care what method you use to remove the molding, but we care about the doorstop. Even though we’re asking you to yank both of them out, you have to be careful with the stop. If you don’t protect it, it will be damaged and you won’t be able to use it again.
Use the claws of your hammer to support the nails if you have to. Just don’t damage it in any way.
2. Get rid of those shims
Their main purpose is to level the door to the frame. But because we’re working on the frame, we have to get them out as well. So get them out, reshape the frame using your hammer or mallet, and then reinstall the shims.
If you wish to avoid problems in the future, you should install plastic shims. They are known to be rot-resistant and more durable. Also, try to place them closer to the hinges—the point where all of the door’s weight gets transferred to the frame.
3. Reinstall the molding and stop
Once you’re done with the shims, reinstall the door stop and the molding. You’ll obviously have to resize the molding if you replace your shims with new ones. Just make sure it’s level with the frame.

In Conclusion
We don’t know if you had fun going through these steps, but we sure did! And we would like to do this again with you someday! Fixing a wooden frame is a skill, but a skill that can be learned in a matter of minutes, and hopefully, we’ve helped you learn that new skill!
See Also:
Featured Image Credit: Andrii Anna photographers, Shutterstock
Contents
