

If you’ve opted against buying a premade door assembly or doorframe kit, you can install a frame yourself using standard 2×4 timber and a few tools that most people have to hand. Although it might seem like a big job initially, as long as you measure accurately and work carefully, it is a relatively easy DIY task.
Below, we have included the 10 steps to frame a door as well as a list of the materials and a definition of the some of the terms used.
 The Frame Sections
 The Frame Sections
Adding a doorframe typically means removing wall studs, which are usually placed between 16 and 24 inches apart. Because the door represents a large gap in the studs, it is important that king and jack studs are used to remediate the loss of the wall studs and.
- Top Plate – The top plate is an important part of the frame because it provides load support for the rafters and the joists in the ceiling. Although it may consist of a single piece of wood, most top plates are double top plates, which are made up of two pieces of wood to provide extra stability and strength.
- Sole Plate – Also referred to as the sill plate or sill, the sole plate is the horizontal bottom section of the frame, into which the vertical studs are fastened. It supports the whole frame and helps prevent movement.
- Studs – Studs are vertical pieces of wood that support the walls and provide stability for the frame. There are different types of studs, including:
- King Stud – The king stud is the main and longest stud you will use in doorframe construction. It runs from the floor to the ceiling and is like a standard wall stud but may not be spaced like the rest of the wall studs. It supports the top plate.
- Jack Stud – The jack stud is nailed to the king stud and between the sole plate and header. They bear the load of the header.
- Cripple Studs – Cripple studs are even shorter than jack studs and they are nailed between the header and the top plate. They should be spaced according to the wall studs in your home, and you may need one or two for your installation, depending on the width of the door
- Header – The header is a horizontal beam directly at the top of the door opening. It ensures that the load from above is spread around the door and into the installed jack studs, therefore preventing sag or collapse.
Choosing Timber Type For The Door Frame
Most studs use 2×4 timber, although some constructions utilize 2×6. Regardless of the size of the beams, you can choose from virtually any framing timber. An internal doorframe doesn’t have to withstand bad weather and doesn’t have too much load to have to bear.
Sections of the doorframe will be visible, so you should choose something that looks good and matches your interior décor style.
- Pine is the most common material choice because it is inexpensive, easy to work with, and looks good.
- Poplar is easy to work with, despite being a hardwood. It is a little more expensive than pine but still a good choice for internal door frames.
- Maple is a strong wood and it has a recognizable look and natural charm that makes it a good choice if you aren’t painting or staining the frame on completion. It may also be very readily available in your area because it is abundant in parts of North America.
Materials And Tools
Having the right tools is important for any DIY job. Installing a doorframe requires surprisingly few tools, and, as such, it is a DIY task that even a novice can take on. However, you will need to cut drywall and studs away, which can make some people nervous and this section of the project, if not already completed, will require a reciprocating saw.
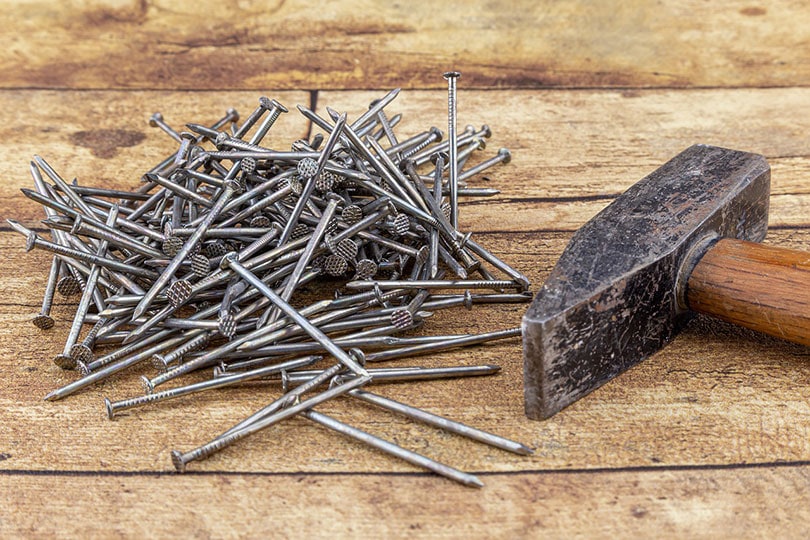
- 12D (3.25”) nails
- 2×4 timber
- Hammer
- Measure
- Nails
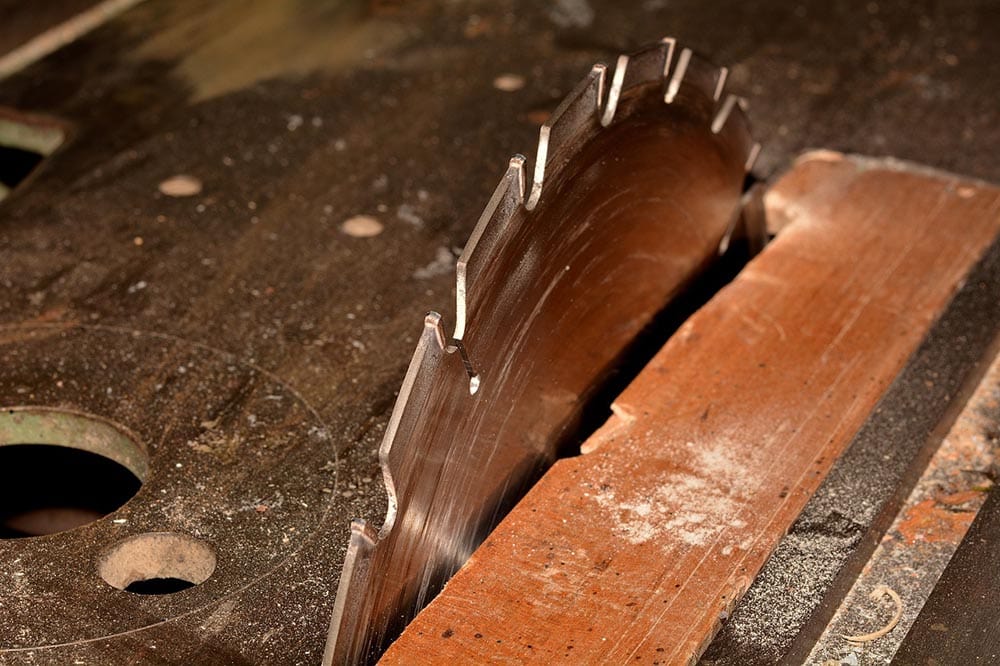
- Reciprocating saw
- Saw
- Tapcon anchors


How To Frame A Door: The Process
With tools to hand, you can start making and installing the frame.
1. Measure Up
A single door is 6 foot 8 inches tall and between 22 and 42 inches wide. Choose door width according to the type of room, the door you want, and whether you will have to move large or wide items in and out of the room.
The door opening will be a slightly different measurement to that of the door itself because of the jamb and shims. A good rule of thumb is to take the door measurement and add 2 inches to its width.
2. Cut the Studs
Cut your timber ready. This includes cutting all studs, adding 1.5” inches to the height of the door to arrive at an appropriate stud length. Cut two pieces of wood for the header, to the length of the door opening. King studs are the same length as the wall studs that are already in place, and the jack stud sits on top of the sill.
3. Cut the Header
The header is made up of two pieces of 2×4 of the same length, equal to the width of the door opening. Once cut, ensure they are nailed firmly together.
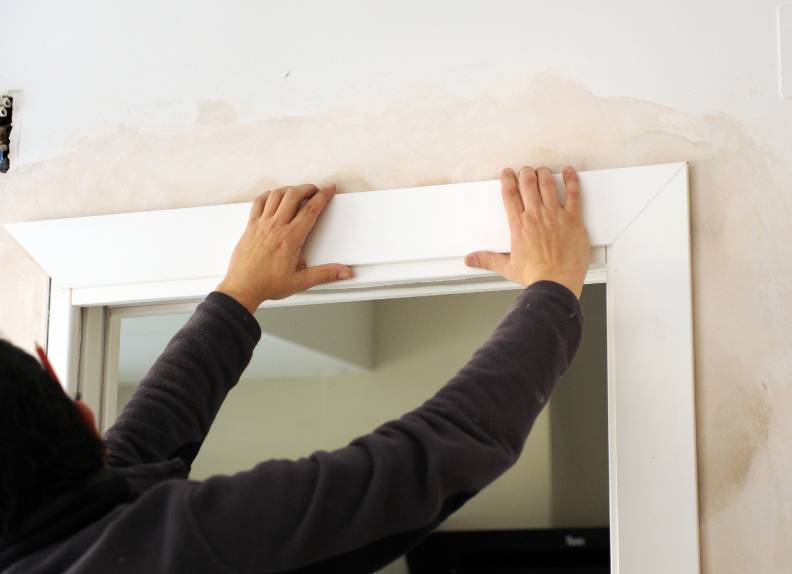
4. Attach the Top Plate
Using 12D nails, nail the top plate into the ceiling joists.
5. Add the Sole Plate
Nail the sole plate to the floor. You will be removing the section between the jack studs, or across the doorway itself, so don’t nail the sill down in this section.
6. Attach the King Studs
King studs are next. Use 12D nails, again, and use a toenail joint to fix these between the top plate and sole plate.
7. Nail in the Jack Studs
Once all the king joints are in place, you can nail jack plates to the insides of the king studs to make the door opening.
8. Add the Header
Fix the header on top of the jack studs and between the two king studs. It should be a good, snug fit. Use toenail joints to ensure everything is secure and stable.
9. Insert Cripple Studs
Now insert the cripple studs between the header and top plate. These should be a snug fit and allow you to use toenail joints to hammer them in place and attach them to both the header and top plate.
10. Saw the Sole Plate
Finally, you can remove the sold plate between the jack studs. Saw the plate, ensuring you don’t saw into the floor and remove the timber to be left with a completed door frame.
Conclusion
Installing your own internal doorframe is a relatively simple, although moderately sized, task. It does save you a little money compared to buying a doorframe kit, and it will save plenty compared to paying a professional to do the job for you. However, you do need to ensure that you measure carefully and fix everything securely and safely so that it provides the stability needed.
Featured Image Credit: FotoDuets, Shutterstock
Contents
