

A rubbing door is something that pretty much every homeowner will have to deal with at some point in their life. If the frame itself starts to come apart and the door will not fit in the opening, it may be time to call a contractor to have a look.
However, most homeowners can tackle this one if it’s just rubbing. With a basic DIY skill level, familiarity with a few different tools, and this step-by-step guide, you’ll be ready to tackle this one yourself.

- Safety: Gloves, safety glasses, ear protection, mask
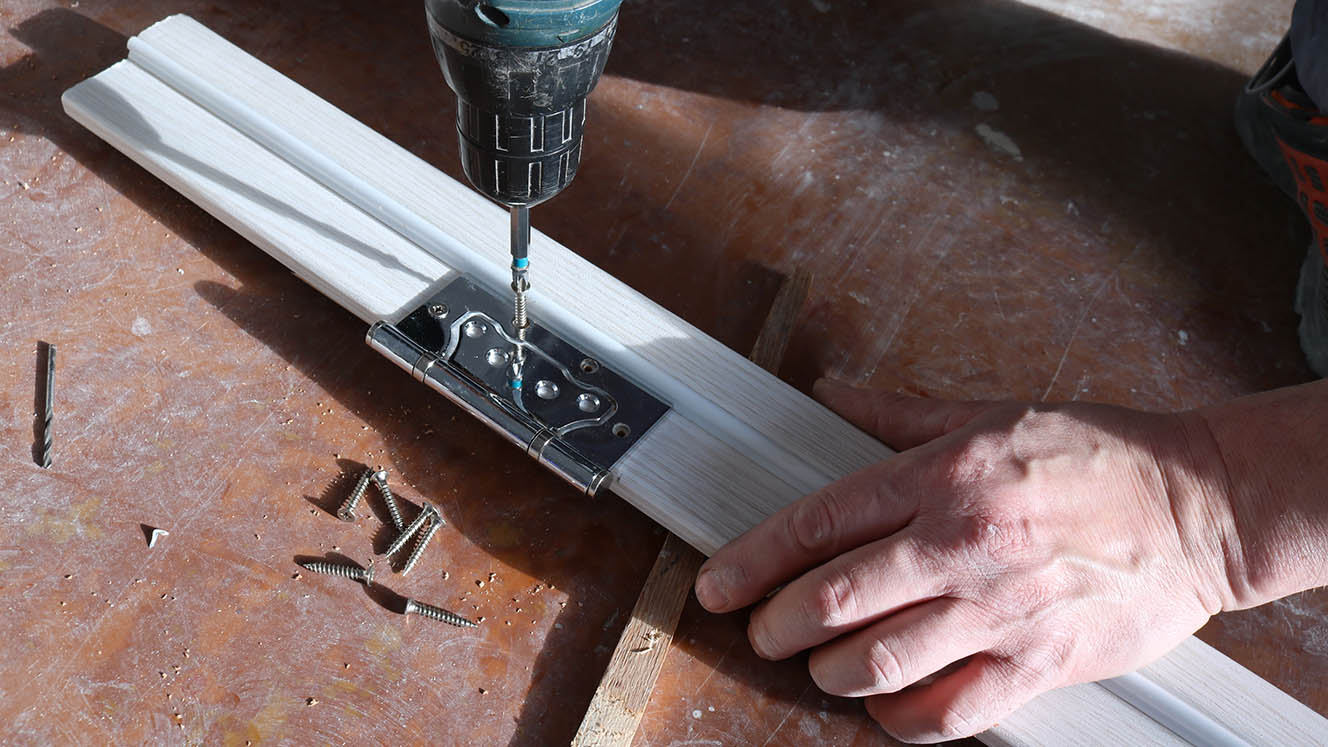
- Tools: Knife, screwdrivers, drill, wood glue, orbital sander or belt sander, 60 or 80-grit paper, carpenter’s pencil
- Supplies: New hinges (some scenarios), 3-inch screws, cardboard, paint or stain, toothpicks or golf tee, green painter’s tape
How to Fix a Door That Rubs at the Top?
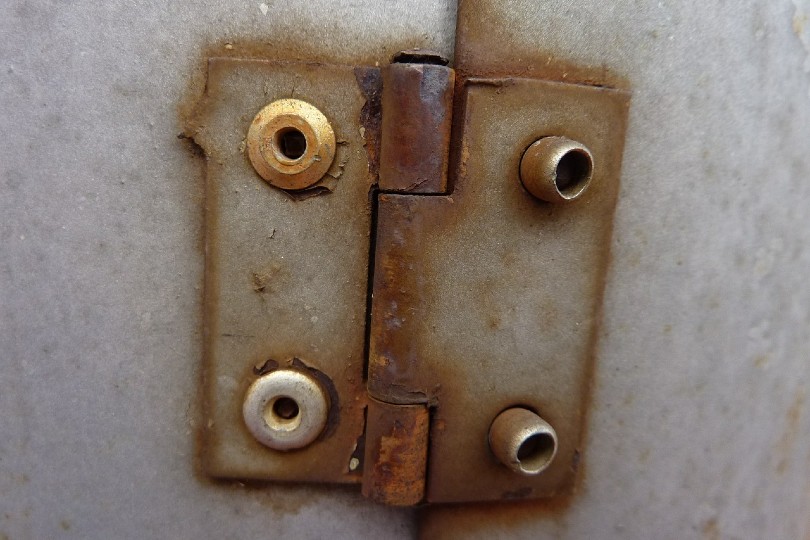
Solution 1: Loose or Bent Hinges
The best-case scenario with a door that is rubbing in the top corner is that there are some screws loose in the hinges or the hinges need to be shimmed out a little bit. Troubleshoot with these steps before jumping to cutting or sanding the door.
Having a small table close by with your tools on it will be helpful once you start taking hinges on and off because you will often have to use one hand to steady the door and the other to do the work if you don’t have a helper.
1. Tighten Loose Screws
Sometimes, all it takes to fix a door that rubs is tightening the screws in the hinges. Over time these screws can come loose and when they loosen, the door no longer sits within the frame properly. This will commonly cause the door to rub in the top corner.
It’s recommended that you use a screwdriver for this task to prevent over-tightening if you are unfamiliar with how hard you can tighten before stripping the screws.
If the screws are still loose after being tightened, they are likely stripped from over-tightening or being forced out. Remove the door by unscrewing the hinges from the doorframe, and whether the stripped screws are on the door or hinge, follow these steps:
- Remove hinge (if stripped screws are on the door)
- Fill the stripped hole with a generous amount of wood glue
- Pack hole with toothpicks or insert a golf tee as far as it will go
- Once the glue dries, use a knife to cut the toothpicks or tee flush (safety glove use recommended)
- Repeat for all stripped holes
Once you have filled the holes in this way, reattach any hinges you removed and hang the door again. Tighten the screws to see if it fixes the sag.
NOTE: Don’t overtighten these screws because they strip easily.
2. Replace the Screw with a Longer One
Over time, the door’s weight can cause the frame to bulge. This, in turn, will cause the door to rub. If you notice the frame where the hinges are is uneven or flexing, this may be your problem.
Small ¾ to 1-inch screws are commonly used to hang doors. These are fine for brand new, fresh wood, but over time, they do not hold. A quick fix for the bulging part of your frame (usually in the top hinge) is to remove the very top screw in the hinge and replace it with a 3-inch wood screw. You’ll want to use a drill for this as you will be biting into fresh studs beyond the frame.
By doing this, you will suck the frame straight and potentially stop the rubbing door.
3. Switch Sagging or Bent Hinge
Another common problem with door hinges is that they warp or twist over long periods. This is most common in the top hinge with a heavier door. If the bend is not too bad, simply switch the top and bottom hinges.
- Open the door, so you have easy access to screws
- Put something wide and steady under the outside of the door to prevent it from falling when you take the top hinge off
- Remove the top and bottom hinges and switch them
If your door only has two hinges, you will have to remove the door like you did to fill the holes. Switch the hinges around and rehang the door and test for rubbing on the frame.
4. Shim Hinges for Door Adjustment
Doors come with little pieces of shim paper from the manufacturer. These are used by the installer where needed and then extras are thrown out. They can easily be homemade by cutting rectangles pieces of cardboard the same size as the hinge.
For a door that is rubbing in the top corner, you’ll want to shim out the bottom hinge. When shimming, you’ll usually need to do it on the door frame side of the hinge.
Put one shim in at a time and test the door before putting in another shim. If the hinge is coming out past the indent where it is supposed to sit, it will get loose over time, so shimming won’t work.
NOTE: Flatten the cardboard as much as you can before using it as a shim.

Solution 2: Sand the Door
If you tried the steps above and your door is still rubbing, then it’s time to get down to business. The easiest solution is to sand the door where it is rubbing.
Before beginning this portion of the guide, you will want to make sure you have sawhorses or a table set up to put the door on. Also, you will be cutting or sanding in this part of the guide, so if you need to secure an area outside to work safely, do that now.
1. Mark the Door Where It Rubs
With the door hanging naturally, close it. Mark the spot along the edge of the door where it rubs with a pencil. Make sure you extend outwards from the point it rubs by a couple of inches so you can make an even slope.
Keep in mind that you don’t want to take more than 1/8 of an inch off at a time.
2. Remove the Door
Once you are satisfied with where you’ve marked it, remove the door and lay it on the sawhorses with the side you’re sanding facing outward.
3. Sand the Door to Line
As you sand, there’ll be a lot of dust on the surface, even if you have a dust collector. To make your life much easier, apply some green painter’s tape where your line is. This will also give you a straight line to follow to feather out the sanding to make it gradual.
After you have the tape on, sand until you start to scuff the tape.
- Keep even pressure on the sander (too much pressure in one area can create low spots)
- Keep the sander flat against the edge of the door
- Always make sure the sander is moving
- Use an aggressive paper like 60 or 80-grit
NOTE: Eye and ear protection and a mask are recommended when sanding
4. Test Door, Sand More if Necessary
Once you’ve sanded to your line, clean the door off and rehang it. Open and close it to see if you took enough off.
If not, re-mark and sand the door, but if it’s good, then this could be your last step. However, it is best practice to refinish the door.
5. Paint or Stain Sanded Edge
Painting or staining makes the door look better if you sanded the top outside corner. And it will reseal it so that moisture cannot damage the door.
Take the door down one more time and lay it on the sawhorses. If the door is natural wood, stain it with one or two coats and blend it as best as you can to match.
If it’s painted, you can get paint to be a close match from your local building center. Paint one or two coats and allow to dry.
6. Rehang Door
Finally, rehang the door. Make sure all the screws in the hinges are tight. Give the door one more test to make sure it still latches properly. Sometimes after taking hinges on and off, they will need adjusting.

Final Thoughts
Assuming you’ve read this guide thoroughly before beginning the task, you may be able to rule out one or more of the steps described. Like any home DIY project, make sure you are familiar with the tools you are using and follow all safety best practices. Happy DIYing!
Featured Image Credit: FotoDuets, Shutterstock
Contents
