How to Get Bubbles Out of Window Tint in 5 Steps (with Pictures)
-
Chris Dinesen Rogers
- Last updated:
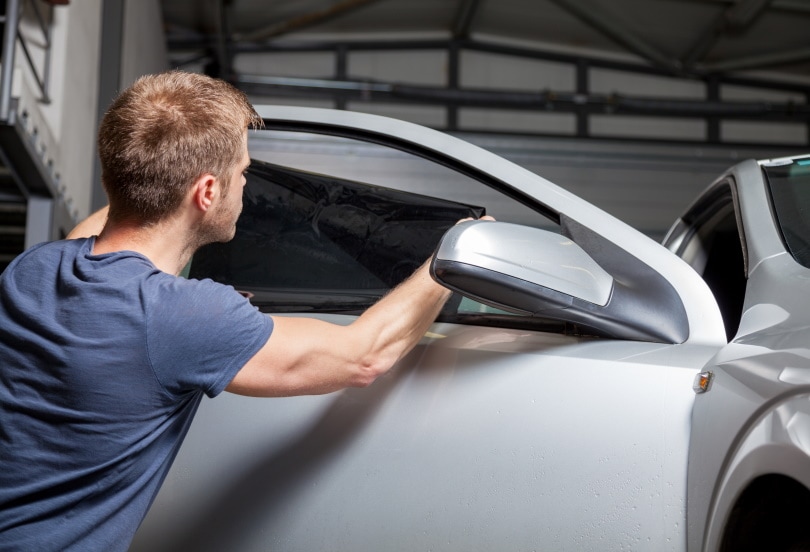
Bubbles happen in window tint. Sometimes, they occur because of a sloppy installation. It’s possible that they may take care of themselves after a few weeks out in the sun. Dust or sand on the glass is another situation. Other times, bubbles form when the tint starts to deteriorate. These problems won’t go away and require repair. Our guide will walk you through the process, beginning with the first question to ask.
Before You Start
Getting the bubbles out of your window tint isn’t a tricky task. However, it requires gentle handling to get it done right. If you’re an impatient person, you should think about whether it’s a DIY project or a professional job. The good news is that you probably have everything you need at home. You won’t need any special tools, either. The supplies you’ll need If you decide to do it yourself include the following:
- A couple of lint-free cloths
- Spray bottle
- Hairdryer
- Small pin or needle
- Squeegee or flexible putty knife
- Adhesive (optional)
How to Get Bubbles Out of Window Tint (5 Steps)
1. Start With a Clean Surface
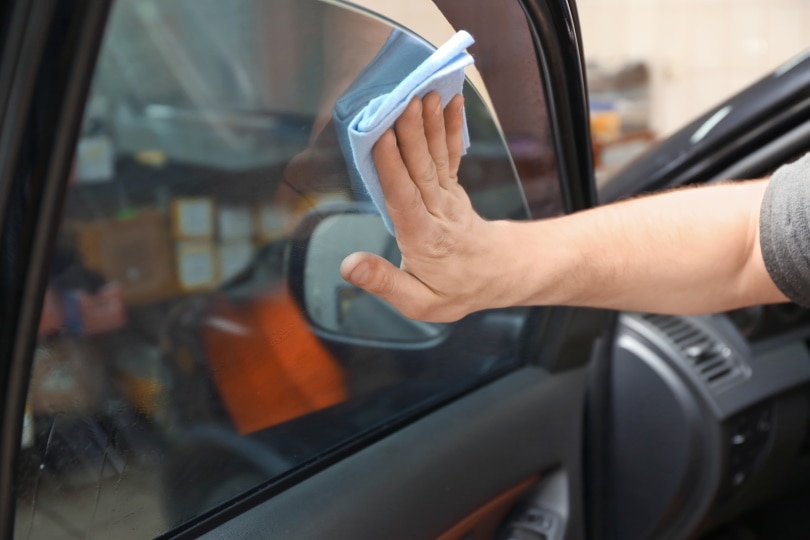
It’s often an overlooked step, yet it is an essential one if you want to do the job right. Water will suffice. Use a lint-free cloth to remove any debris on the glass. Allow it to dry completely before proceeding.
2. Warm Up the Surface
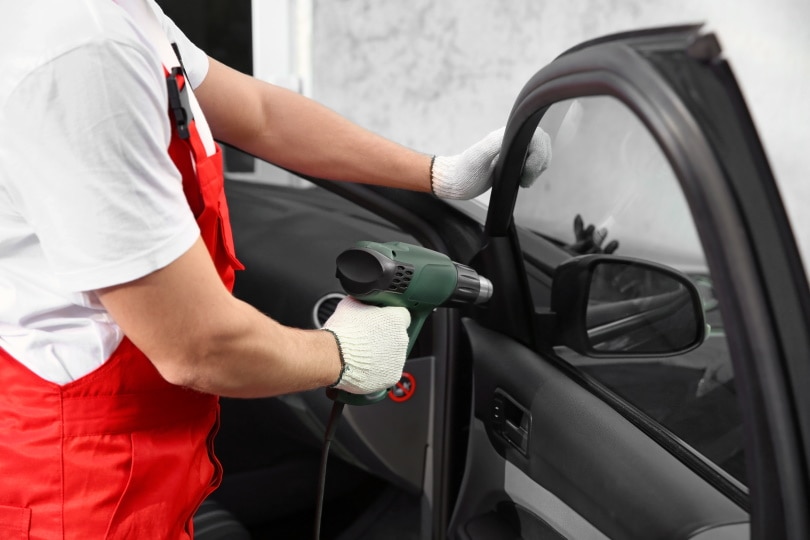
If it’s a warm day, you can just park your car so that it’s facing the sun. You can also speed up the process by using a hairdryer to warm up the surface. That will loosen the underlying adhesive to make the repair easier.
3. Treat the Trouble spot
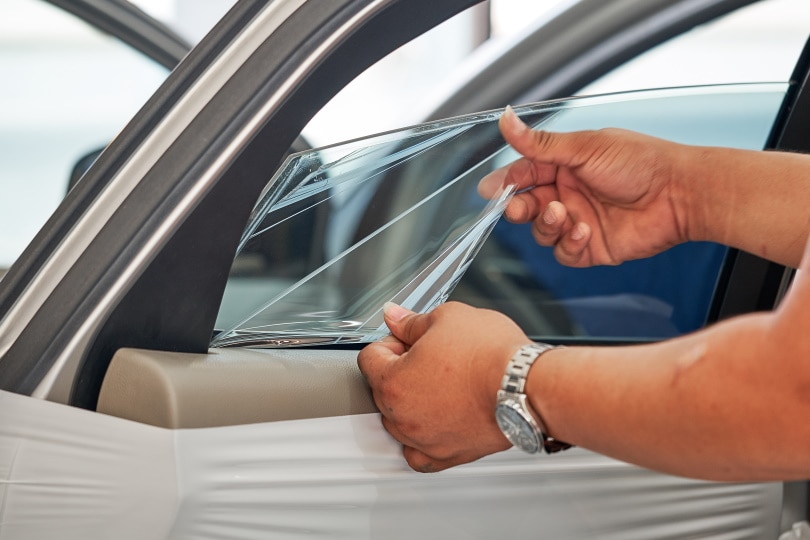
You have two options at this point. Either you can lift the tint and reapply it to remove the bubbles. You’ll need to add a dab of adhesive to get the tint to stick again. This way is best if they are larger or cover a bigger area.
The alternative is to pop them with a pin or needle—the finer, the better. If there are only a few bubbles, it’s the quickest fix. The trick is just pricking the surface to release the trapped air. Don’t pull at the tint to avoid damaging it. Wet the trouble spot using a spray bottle, preferably one that has a light mist. Then start popping the bubbles.
4. Flatten Out the Window Tint
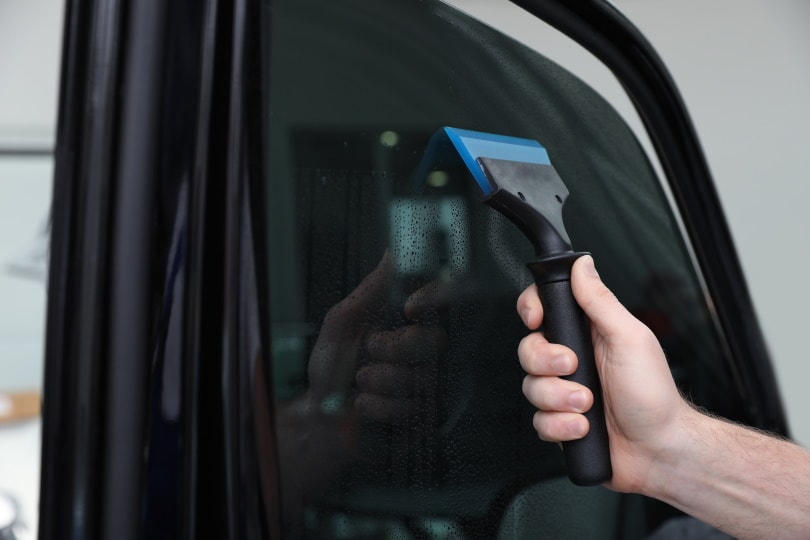
No matter which method you use, flattening out the tint is the next step. It will get the peeled-up film to stick again. If you used the pin method, it would flatten the bubbles and redistribute the warmed-up adhesive. You can use a squeegee or flexible putty knife. Make sure to use a gentle hand to avoid marring the surface.
5. Clean Your Window
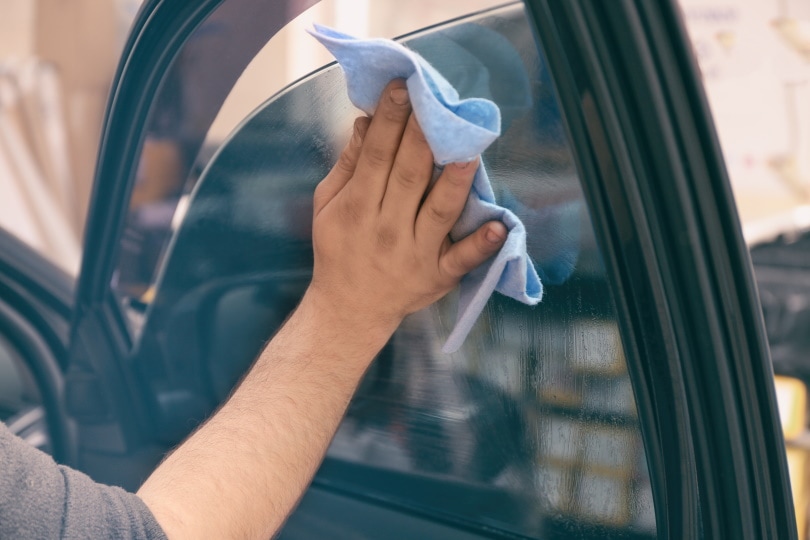
You’ll need to clean your window again after pawing on it with this repair. Use a lint-free cloth to wipe the surface gently. We suggest inspecting the area to ensure that you’ve fixed all the bubbles. You can repeat the procedure if needed.
Final Thoughts
We can understand how annoying it may be if you notice bubbles in your window tint, especially if they’re in your line of sight. Fortunately, it’s not a difficult job. The hardest thing about it is making sure you use a gentle hand. It’s a manageable DIY task you can do in less than an hour with tools you probably have on hand already.
Featured Image Credit: And-One, Shutterstock
Contents
