
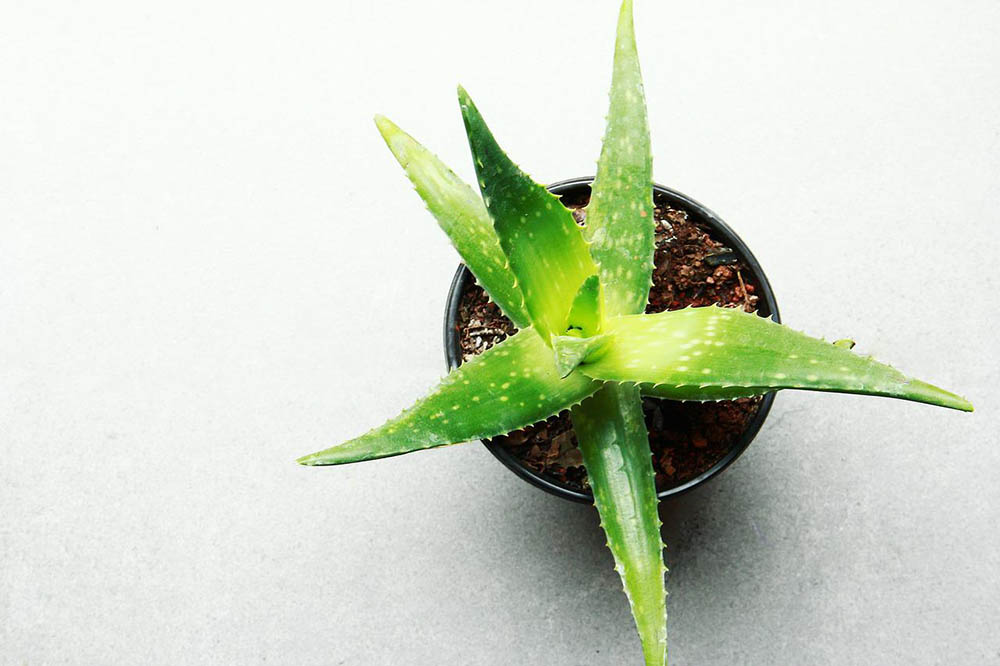
Did you know that about 33.1 million people in the US have indoor plants? A majority of them have diverse collections that often include succulents like Aloe Vera.
The Aloe Vera plant has been a favorite for many plant lovers because of its beauty and multiple uses. The gel or sap acquired from the Aloe leaves is used as a major ingredient for healing wounds and burns. It’s also used in skin and hair care products worldwide.
In this article, we’ll walk you through how to grow this plant indoors along with some other useful tips for growing this multi-purpose plant.

Types of Aloe Vera
Whether you are a novice or expert plant parent, you can have a wide range of Aloe Vera in your home. There are many lovely species available including:
- Aloe ferox
- Aloe aculeata
- Aloe broomii
- Aloe cameronii
- Aloe aborescens
- Aloe barbadensis miller
- Aloe marlothii
- Aloe maculata
- Aloe petricola
- Aloe striata
These species are excellent to grow indoors under the right conditions. Outside, they do well in USDA hardiness zones 8–11.


How to Grow Aloe Vera Indoors
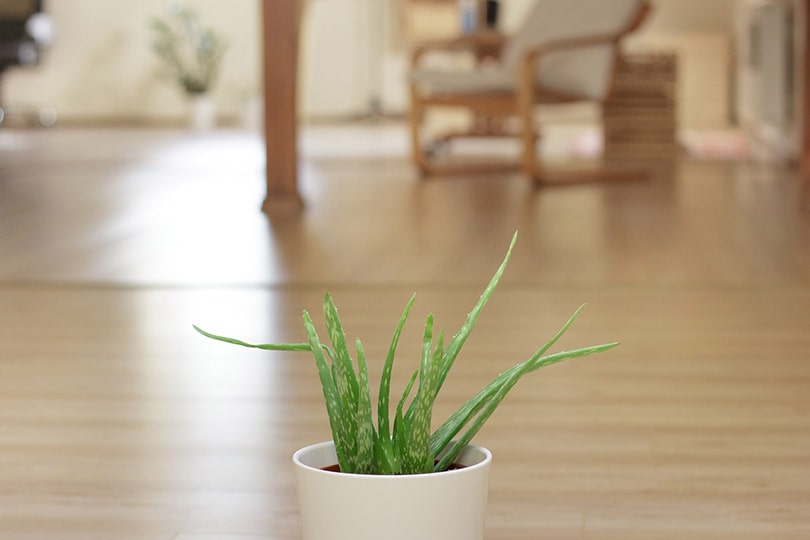
Aloe Vera is among the best plants for growing indoors. Not only does it have a unique look, but it also has numerous health benefits. The good news is there’s a wide range of Aloe plants that you can choose from.
Once you pick your preferred variety, consider the indoor environment. Succulents thrive under very specific circumstances. It is only after meeting these set requirements that you will have a thriving plant collection. Here is what you need to do to help them thrive:
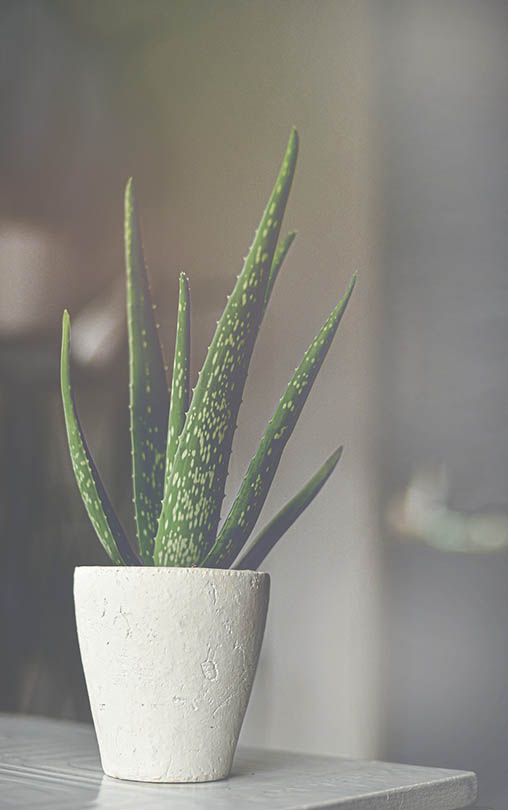
1. Pick the Right Container
Start by selecting the right container. Remember that succulents prefer dry soil with minimal water retention. For this, you need a pot made from a porous material, like terra cotta. While materials like plastic do work, such containers tend to retain lots of moisture. A terra-cotta pot has the capacity to keep the soil dry and not drown your plant.
Apart from porous materials, also ensure the pot has drainage holes at the bottom. Two or more drainage holes are ideal. This ensures all the excess moisture gets a chance to drain from the soil. A healthy Aloe Vera plant can survive harsh conditions, but you might end up killing it if there’s too much moisture in the soil.
Also, depending on the size of the plant, be sure to pick the right container size. Aloe Vera grows deep and wide but you should always use a pot that is a little large so that it has room to grow.
2. Pick the Right Soil
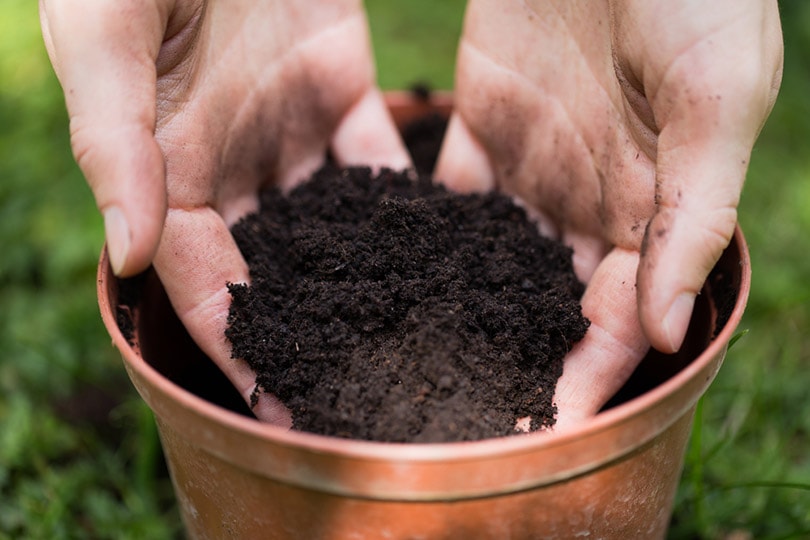
Succulents have different needs when it comes to the type of soil it needs. It’s usually better to go for a cactus mix if you’re unsure. This mix is different from others because it’s not meant for water retention.
In addition to choosing the right soil, layer the pot with gravel or stones. This layer needs to be at the bottom of the container where the roots won’t reach it.
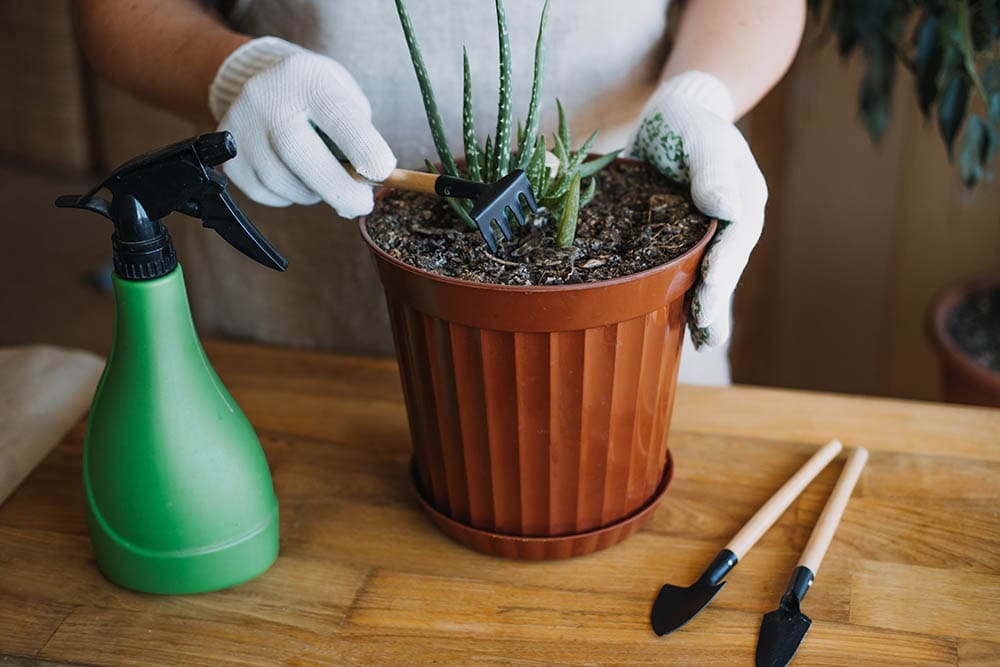
3. Plant Aloe Vera
You now have the right container and soil. Now it is time to pick your Aloe Vera plant. If it comes in a pot from the store, remove it and loosen the roots if they are packed together.
Gently breaking it apart and brushing off as much excess soil as possible allows you to observe the roots to ensure the plant is healthy. Proceed to transplant it into the new pot with the fresh soil.
Top off the soil until it covers the entire root system of your new Aloe Vera plant. Check that the bottom leaves of the plant rest above the soil line without touching it.
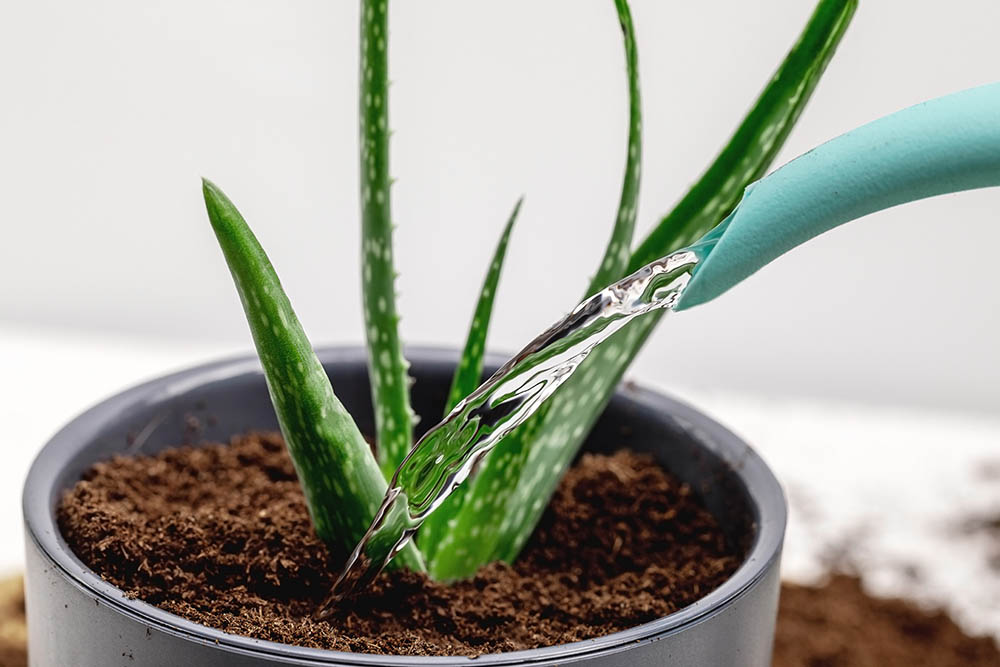
Note that you don’t water Aloe Vera after planting them. It thrives with a little neglect, so let it be for about 2–3 days before you water it. This allows the soil to dry up and reduces the chance of forming root rot.

The 6 Tips & Tricks on How to Care for Aloe Vera Indoors
Like any other plant that you grow indoors, care and maintenance play a crucial role in its health. Here are some helpful tips and tricks for helping them thrive in their new home:
1. Put Them in Bright Indirect Light
Succulents like Aloe Vera never do well in dark and poorly lit parts of the house. Therefore, pick the brightest spots in the house without the sun shining directly on the plant.
Direct sun rays can burn the leaves of the Aloe Vera plant. After some time, you start to notice discoloration and the leaves could end up dying.
Keeping Aloe Vera in an area with low to medium light will also cause the plant to grow leggy. This means that the plant has lots of new and fast growth as it tries to reach the light source. Because lighting is such a crucial part of growing healthy indoor plants, ensure that you find the perfect spot for your aloe.
2. Check the Room Temperature and Humidity

Room temperature is roughly 68°F, and with some slight humidity, these conditions will work well for Aloe Vera. These plants thrive in semi-arid conditions in the wild, though they prefer partial shade. Thus, ensure you maintain normal room temperatures indoors.
3. Apply Fertilizer
The right time to fertilize Aloe Vera is usually during spring when you start to notice new leaves on the plant.
The Aloe Vera will be happier with a light fertilizer application once a month. When winter dormancy kicks in, stop adding fertilizer to the pot.
4. Appropriate Watering
How much you water your Aloe Vera is going to make or break your efforts. If you don’t get the water application right, you might end up killing the plant pretty quickly.
Aloe Vera naturally grows in semi-arid conditions. It usually gets a little water per year and still thrives. This is why the species is among the most drought-tolerant indoor plants that you can get for your home.
Therefore, when it comes to watering Aloe Vera, always water deeply and allow it to dry out completely before watering it again. This means letting the water run through the soil until it comes out of the drainage holes. Doing this ensures all the soil gets ample moisture to sustain the plant.
However, the watering should be as infrequent as possible. The plant can do better with some neglect to ensure the soil is bone dry. About half of the soil should be completely dry before you water it.
During the fall and winter seasons, watering should be even more infrequent because less evaporation takes place during these months than in spring and summer.
5. Repotting Growing Plants
Houseplants tend to get rootbound over time. This can impact the health of your Aloe Vera and even cause stunted growth. Also, compact soil and roots tend to cause moisture retention, which isn’t good for succulents.
Therefore, after some time and growth, you must repot your plants. This is a chance to change the potting mix and loosen up the roots. Since the plant is larger than it was before, it also needs a wider pot to grow in. If you’re unsure if it is time to repot your plant, check underneath the container for the roots peeping from the drainage hole. If you can see the roots, you need to repot the plant as soon as possible.
6. Pest and Disease Control
You should always be on the lookout for pests and diseases, even when growing plants indoors. Some of the pests that affect Aloe Vera plants are:
- Snout Beetles
- Spider Mites
- Fungus Gnats
- Gall Mites
- Aphids
- Mealybugs
While checking for these pests, some diseases to note include:
- Black leaf spot
- White scale
- Sooty Mold
- Root and stem rot
- Aloe rust

Things to Keep in Mind
The Best Way to Remove and Repot Aloe Vera Offsets
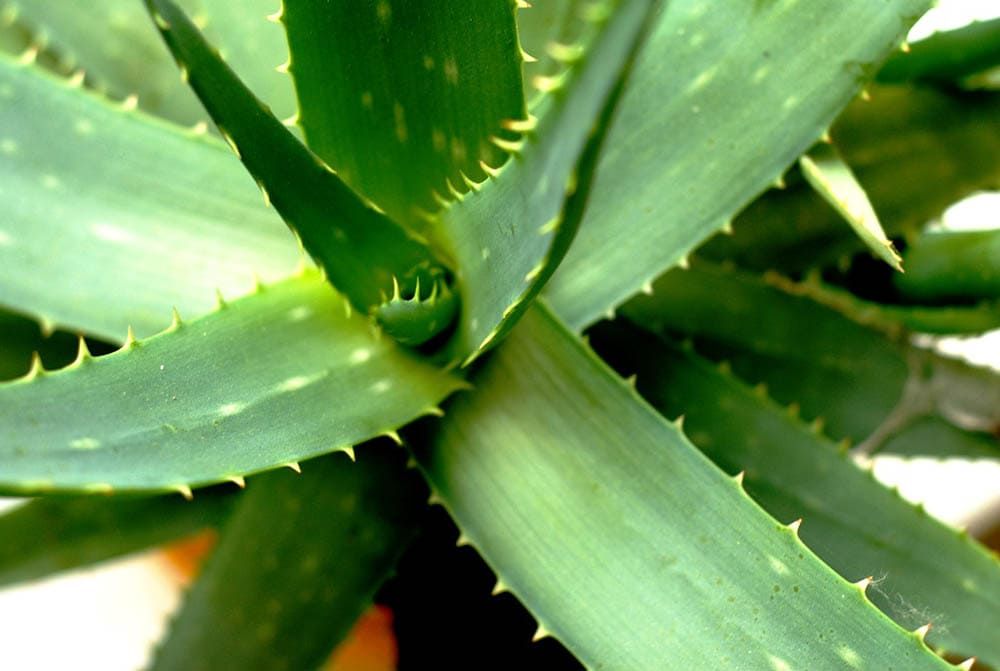
Aloe Vera care and maintenance have great rewards when you do it the right way. In time, you start to notice little offsets or pups growing on the side of the plant. These pups grow when the Aloe Vera plant matures and gets all its requirements met.
When the pups grow to the size of a fist, you can repot them in smaller pots. The first step to repotting the offsets is detaching them from the mother plant. Find where the pups connect to the main plant and cut them off with a clean kitchen knife or gardening shears.
Keep the pups in a cool, dry area for 7 days to allow them to form a callous. This is the best way to protect it from root rot, which may occur if you plant it immediately after cutting it.
Take a small pot made from porous material and add stones or gravel to the bottom of the pot followed by a succulent or cactus mix. Pick a spot with indirect, bright light. Allow the soil to dry up before watering it.
How to Get Aloe Vera to Flower
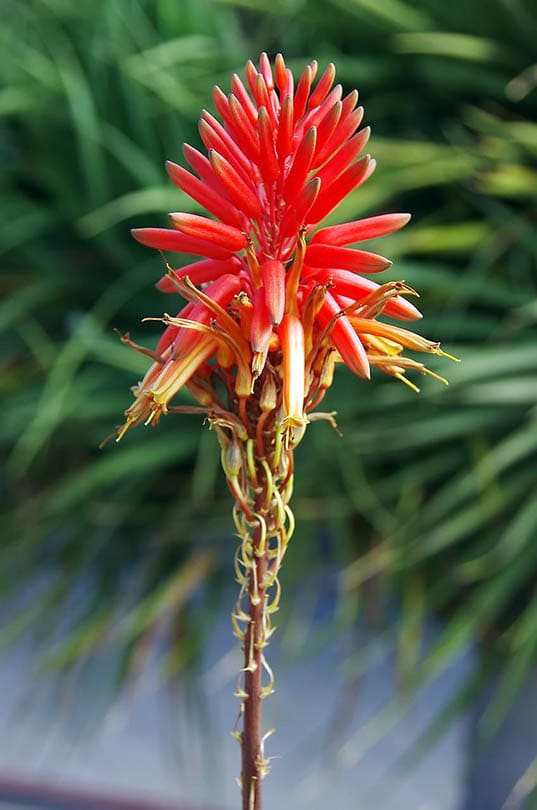
Have you ever come across a blooming Aloe Vera plant? The blooms from this plant are exquisite. Unfortunately, it’s not easy to get indoor Aloe to bloom.
A blooming Aloe Vera plant means you’ve met all the conditions that the plant needs to thrive. This includes the perfect amount of light, proper watering schedules, and ideal temperatures.
Another point to note is the importance of the dormancy period. Aloe Vera, like many other succulents, blooms in winter or early stages of spring. So, to ensure dormancy starts, reduce the watering and make the house a little cooler. Hopefully, come springtime you’ll get to witness the plant’s beautiful flowers.
Proper Harvesting of Aloe Vera Gel
Apart from its beauty, the Aloe Vera plant has numerous uses at home. The main interest for many people is the gel or sap in the leaves.
Before harvesting the gel, wait for the plant to mature until it has thick juicy leaves. At that time, you can pluck several leaves from the outer section of the plant. Inspect each leaf for pests or diseases.
Cut the leaf off at the base of the stem and avoid snapping it in the middle. After that, wash the leaves and leave them to air dry.
Use a sharp knife to trim off the thorny edges of the Aloe Vera leaves. Follow this by slicing off the outer skin of the leaves to access the inner gel. Scoop the gel off the leaves and place it in a clean container.
The fresh Aloe Vera gel is now ready to use. Apply it to your skin or hair to soak up its many benefits. Some people add it to drinks, like smoothies and juices. However, be cautious as fresh Aloe Vera sap can cause nausea and vomiting.
Still, using it on the skin can be quite beneficial. It has a cooling and soothing effect, especially on wounds and burns. It’s also a great moisturizer that protects the skin from dryness.

Conclusion
Aloe Vera is among the loveliest and hardiest succulents you can add to your indoor plant collection. Plus, there are some health benefits that you get when you harvest the Aloe Vera sap from a mature plant.
However, when grown indoors, certain conditions must be met, and this includes ample indirect light, regular fertilizer applications, proper watering, and ideal indoor temperatures. After some time, you can remove the pups or offsets from the mature plant and repot them.
Featured Image Credit: marcegaral, Pixabay
Contents
