

Doors are quite essential in any building or structure. They serve a wide range of purposes, including maintaining privacy and keeping the elements out. A sturdy and lasting door starts with how you hang it.
Perhaps you are installing a new fixture in the house, such as a new carpet, which may require you to remove the door and fix it back later. Or, maybe you need to replace an existing door. Whatever the case, it’s important to have some skills on the topic. You should not have to call a professional when you can do it yourself.
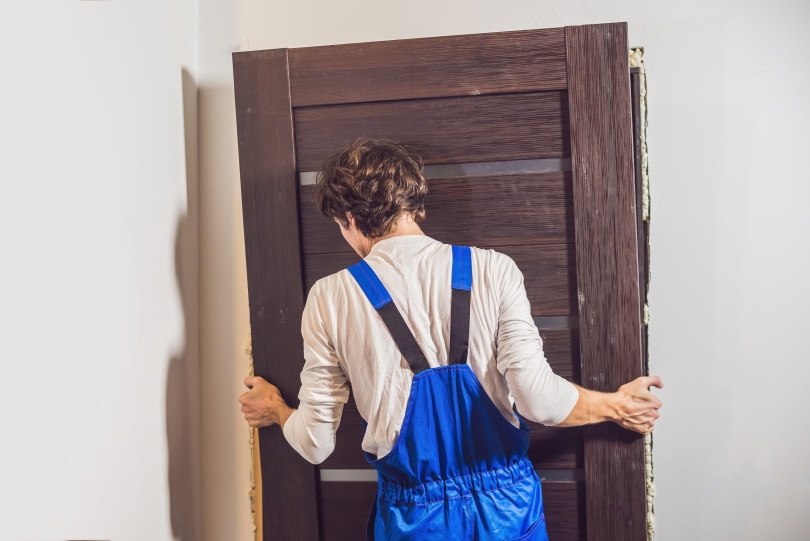
In this article, we look into the right way to hang a door. Never be deterred since you can master this skill by following these easy steps.

What You Need to Hang a Door
Before delving into details on how to hang the door, start by gathering the tools and items needed for this task. They include:
- Planer
- Spirit level
- 15-gauge 2-inch nails
- Tape measure
- Hammer
- Shims
- Screwdriver
- Pencil
- 5-inch construction screws
- Circular saw
- 18-gauge 2-inch brads
- Rafter square
- 18-gauge brad nail gun
- 5 wooden blocks

The 10 Steps to Follow When Hanging a Door
1. Pick the Right Door
You want a door that will not only ensure the room is safe, but also add to the aesthetics. So, even before you plan on hanging it, you have to find the right one. As you do so, think of what you like and the budget you want to work with.
Most people like wooden doors. But there are others like metal. But, wood doors are the most popular and easy to fit.
Apart from the material, keep in mind the color and theme you like. While some people like colors and patterns on doors, others prefer the natural color of the wood. Color is important, especially when thinking about the aesthetics of the room.
2. Ensure the Door is the Correct Size
Picking the right door is followed closely by making sure it’s the right size. Measure the space where you intend to hang the door and compare that with the size of the door in question.
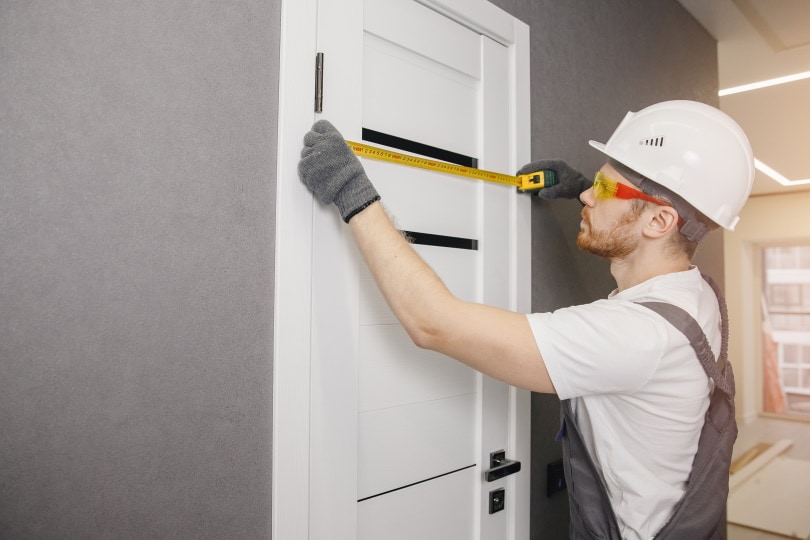
Using a tape measure, get a reading for the height of the door followed by the width at the top and bottom. In addition, measure the sides, especially if this is the first door for this space.
Study the measurements you get. Are your sides out of plumb? If so, some alterations will be needed for the door to fit perfectly.
3. Inspect Whether the Floor is Even
For a door to hang perfectly, the floor surface has to be level. An uneven floor can give you such a hard time when you try to fix the door the right way.
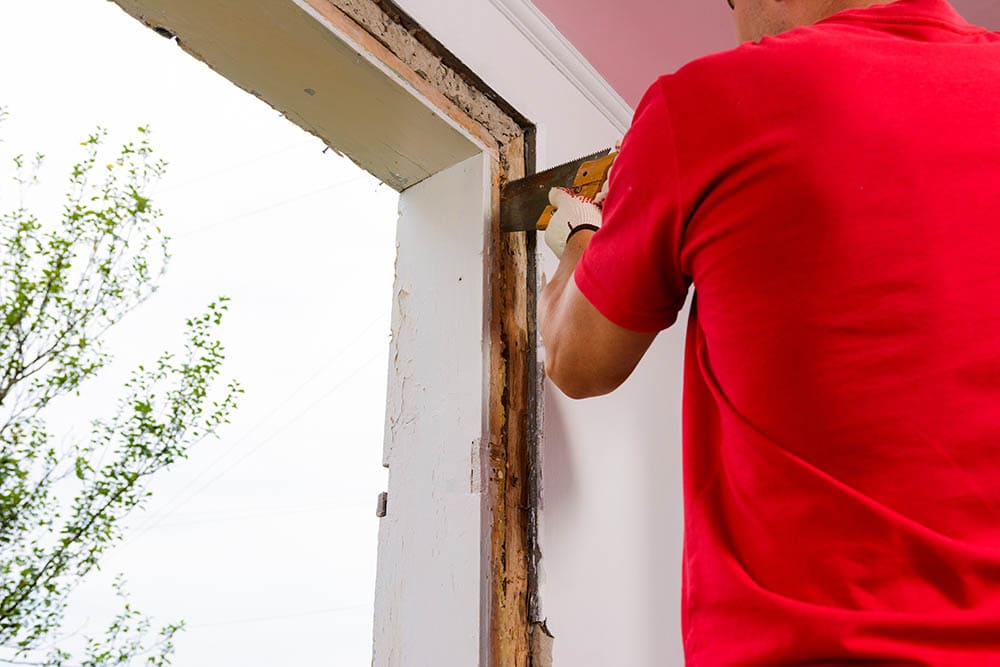
The spirit level is used to measure the evenness of the floor. Go on your knees and place the spirit level on the floor. If there’s some unevenness, you have to adjust the door. This is done by trimming part of the door jambs.
Use a shim to ensure the spirit level is at the best position, then use a pencil and mark the shim where you find the biggest gap and take a measurement of its size. The reading you get is the amount you have to remove from the door jamb on the opposite side. Trimming the jamb is done using the circular saw to achieve the perfect cut.
4. Place Blocks of Wood on Door Jambs
As you work on the door, it’s important to find a way to keep it in place. You can use some wooden blocks. While these are temporary blocks, you need to keep them in a fixed position. Use a nail gun to attach these blocks on the jambs for some time. This way, you won’t see any nail holes when you remove the blocks later.
On the side of the door where you have the latch, attach three wooden blocks. Space them at the bottom, middle and top. On the other side, also attach two wooden blocks at the top and bottom, but ensure these aren’t near the hinges of the door.
5. Find the Right Height for the Door
Think of this. You hang a door today but, in a year or two, you want to install a carpet. If you fail to position the door at the right height, you might be forced to take it down and start again. Therefore, as you consider the right height, leave some space at the bottom.
Have an idea of the carpet you want in terms of thickness. This will give you a clearer idea of how much space you need to leave. The maximum can be about 5/8ths, perfect for quite a thick carpet. If you can, lay the carpet first before you embark on hanging the door but all the same, if you leave the space, you are all set.
You have to rest the door jambs on top of the wooden blocks. Therefore, start by cutting the blocks to the right size. After that, you can rest the jambs on top of the blocks and ensure they’re level using the spirit level.
6. Steady the Door
The next step is placing the door on the opening and keeping it steady. Start by attaching wooden blocks to the wall again. Bring the door to the opening and make sure it’s in the middle. This will mean measuring both sides to ensure the gaps are even.
As you do so, the door jambs must rest on the blocks to ensure the door is the right height. There’s an obvious evenness if you cut the door jambs correctly. If you don’t find them even, use the pencil to mark this and even things out before you can proceed.
Ensure the hinge side of the door is plumb, and then you can continue. When everything is okay, you can begin to connect the wooden blocks to the wall using two nails.
7. Check If the Door Closes Correctly
The whole purpose of having a door is to open and close it with ease when need be. So, after you attach it in place, check to see if this is possible or not. Begin by removing the slab holding your door in place, then swing it open and shut.
Make sure the side of the door comes into contact with the doorstop at the same spot from top to bottom.
If there’s one part that hits the spot before the rest of the door, some adjustments are needed on the jambs. Resolve this problem before proceeding to the next step.
8. Add Shims to the Back of Hinges
On each hinge of the door, you have to remove the middle screw for this next part to work. Place a shim behind each of the middle holes and check if the door jamb is still in a perpendicular position to the wall. If this isn’t the case, you have to adjust the shims until it is.
After that, inspect the evenness of the door jamb and slab. Also, check that the door stop and slab are at an even position as well. Once all is even, you can secure the shims with two nails.
9. Add the Hinges
Achieving evenness is so crucial because the next step means no turning back. Add the hinges by screwing them into position. Start by placing a screw at the bottom of the hinge plate and screwing it into position.
There’s a hinge for the bottom and the top part of the door. In some cases, there is one in the middle too. Add screws on all hinges. After that, swing the door to make sure this is done correctly.
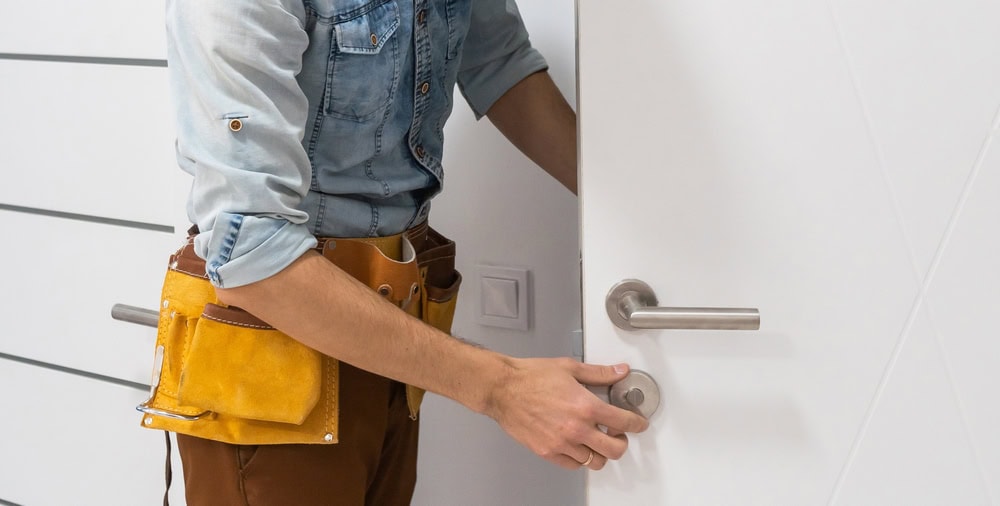
10. Insert the Latch
At this point, you can breathe easy because you’re almost done hanging the door. But, you have to hang a latch on it. The best way to do so is to pick two shims. Place one of the shims four inches from the bottom of the door and the other four inches from the top.
Fix the shims in place using nails and the nail gun. Proceed to reinforce the latch plate to ensure the door won’t sustain any damage when it’s too windy.
Drill and countersink a hole at the top where the latch plate will go. Pass a large screw from behind the plate through this hole to help keep it secure.
Again check to see if the door is still opening and closing with ease. If so, remove all the blocks holding the door in place. Remove the nails and fill in any visible holes.
Conclusion
Hanging a door doesn’t have to seem like a daunting task. In this article are 10 steps to help you achieve this easily. Start by gathering all the tools you need for the best results. Then proceed to follow the steps until you finish setting the door in place. Remember, it’s always best to try and fail than not to try at all.
Featured Image Credit: Prostock-studio, Shutterstock
Contents
