
Whether you want to transform your home or simply hang a single picture, hanging pictures on the wall is an art all on its own. That said, it is an easy task when you have the right tools, know the weight of the picture, and have the correct procedure.
Here are a few tips to help you hang your pictures successfully.

The 9 Expert Tips on How to Hang a Picture With Wire
1. Collect the Required Materials
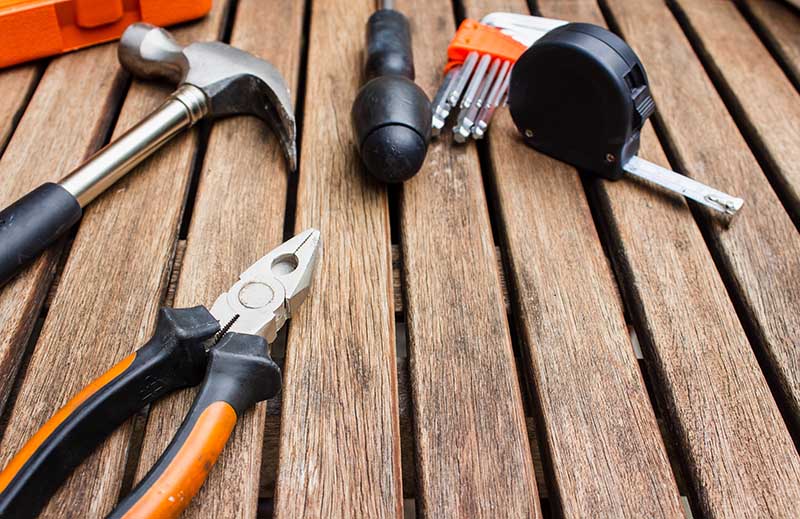
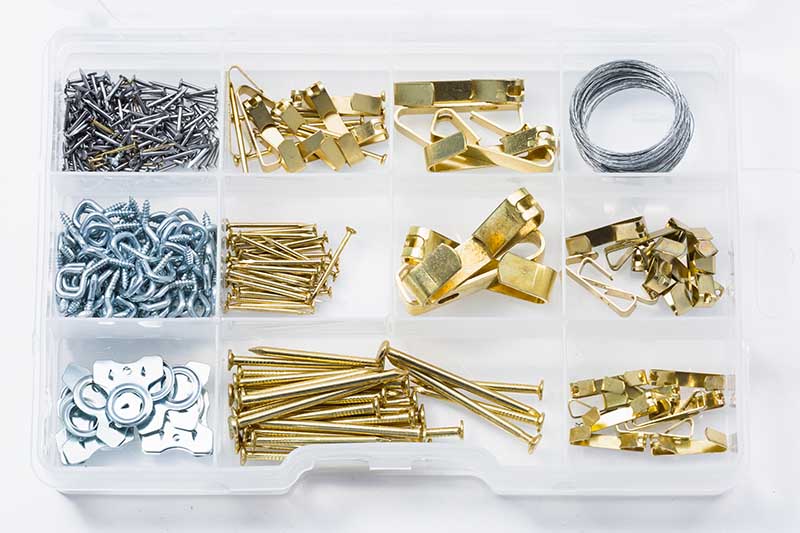
Before hanging a picture on the wall, you will need a tape measure, screwdriver, wire cutter, hammer, pencil, spirit level, a small piece of wire, and a pair of same-sized D-rings.
It’s important to bring these materials and tools closer to your preferred hanging area to successfully complete the project easily and in good time. Speaking of time, this beginner-level project takes less than 30 minutes.
2. Prepare the Working Area
After bringing tools to where they can be easily accessed, the next thing is to prepare your working area. You’ll need a hard, flat surface to work on. Spread a towel or a small blanket to cushion the picture against the hard surface you’re working on, such as a table or concrete slab.
3. Prepare the Picture
Most homeowners either screw the picture on the wall or place it on shelves. To hang it using a wire, you need to prepare the picture. Here, take note of the following.
If the picture doesn’t have a frame, prepare one. Cut softwood lumber according to the picture’s dimensions and assemble a frame.
Another thing is if the picture has thin frames that may split when you drive a screw into them, replace them with better and sturdier frames. Also, using softwood lumber frames, cut them into correct dimensions while keeping in mind their size.
4. Calculate the D-Ring’s Attachment Point
This is another crucial tip you should be careful about when using wires to hang a picture. D-rings are D-shaped metallic pieces used as lashing points in a tie-down system. Correctly placed D-rings will uniformly balance the picture on the wall. If you fail to place D-rings in their correct position, the picture will tilt to one side.
Calculating D-ring attachment points is easy.
With a tape measure, take the frame’s height from the bottom of the side rail to the top and multiply it by two-thirds. Next, measure the distance from the bottom of the frame using the value calculated above and mark that point. For example, if the height of the frame was 12 inches, you get 8 inches after multiplying it by two-thirds. Now measure 8 inches from the bottom of the side rail to a point just past the midpoint and mark it using a pencil.
Alternatively, you can measure 4 inches (a third of 12 inches) from the top of the frame to a point before the midpoint. You will find yourself arriving at the same mark.
Do the same to the other side rail.
5. Create a Pilot Hole at Marked Points
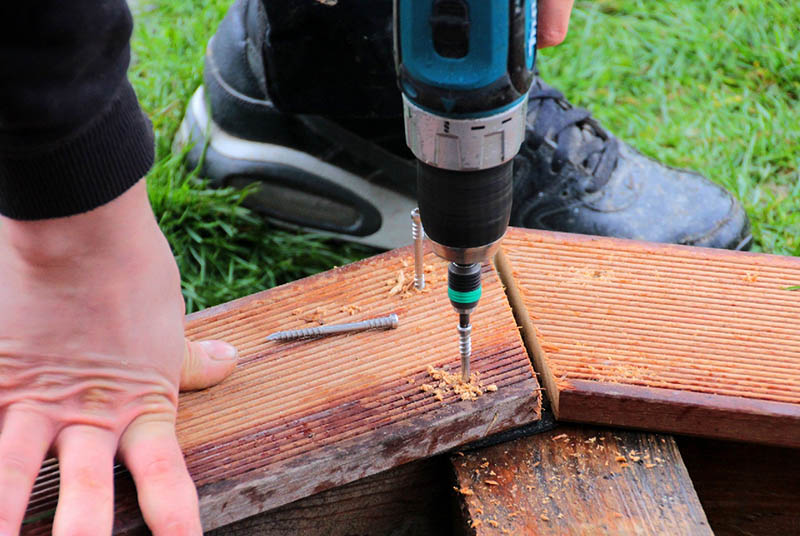
A pilot hole is a small shallow hole drilled into a piece of construction material to provide clearance for self-threading screws. Use a nail or any other sharp pointed object to create the pilot hole by simply forcing it into the frame. Twisting the nail may help enlarge and deepen the hole. Do not be tempted to hammer the nail into the marked point. It may split the frame, or the resulting impact may destroy the picture’s glazing.
6. Install the D-Ring
A D-ring for hanging pictures comes with a flat attachment with a provision for the screw. Position the ring with the attachments on the pilot hole, then gently rotate it until the D-ring is facing sideways. Secure it in place using a screw.
Another option is to secure the D-ring in the pilot hole but before tightening up the screw, rotate the D-ring to the correct position.
Repeat this procedure on the other pilot hole. Though all the procedures are the same, the D-ring will point in the opposite direction of the first ring after fixing it correctly.
7. Slide the Wire Into One of the D-Rings
Slide about 4 inches of one end of the hanging wire through one of the D-rings. Knot the wire on the D-ring.
It is common for some homeowners to twist the wire on the D-ring and overlook the importance of a knot. Yes, the wire may hold for some time, but it may untwist itself.
After safely securing one end of the wire, you must be left with a very long piece in your hands which you must also cut to the correct size. If your picture’s width is, for example, 10 inches, measure 16 inches of wire from the secured side, and cut.
Finish off by forming a knot on the other D-ring.
8. Hammer Wall Hangers Into Place
Locate a good spot on one of the walls and hammer the hanger in place. Ideally, a hanger should be between 55 and 60 inches off the ground.
If the picture is more than 20 inches wide, you will need two hangers hammered 6 inches apart. But before hammering the second hanger, use a spirit level to ensure it is horizontal.
9. Hang the Picture on the Wall
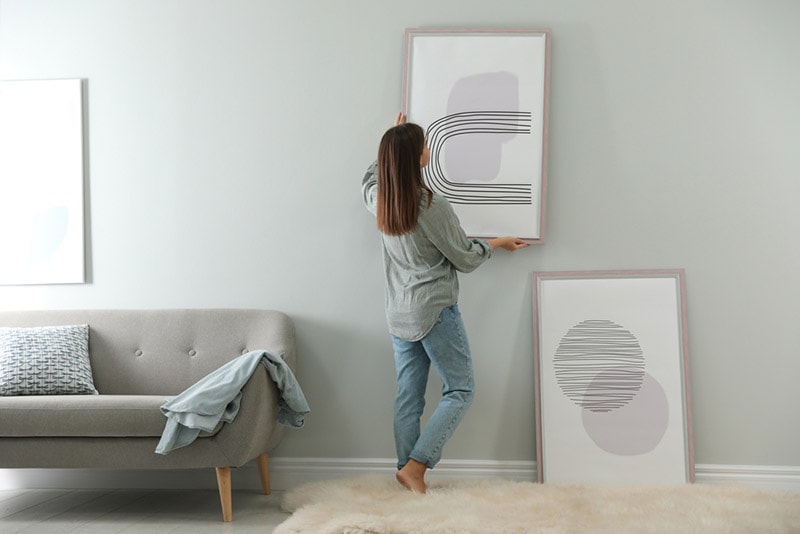
Hold the picture with one hand and use the other to hang the wire over the wall hangers. Place the spirit or bubble level on the top frame to ensure the picture is balanced.
Conclusion
Hanging pictures using a wire is easy once you know the steps. The process starts with bringing tools together, preparing the frame for mounting, and doing some mathematics. Use the two-thirds rule when finding a point to attach the D-ring on the side rails. Don’t forget to install wall hangers, and if the picture is more than 20 inches wide or heavy, two hangers will be required.
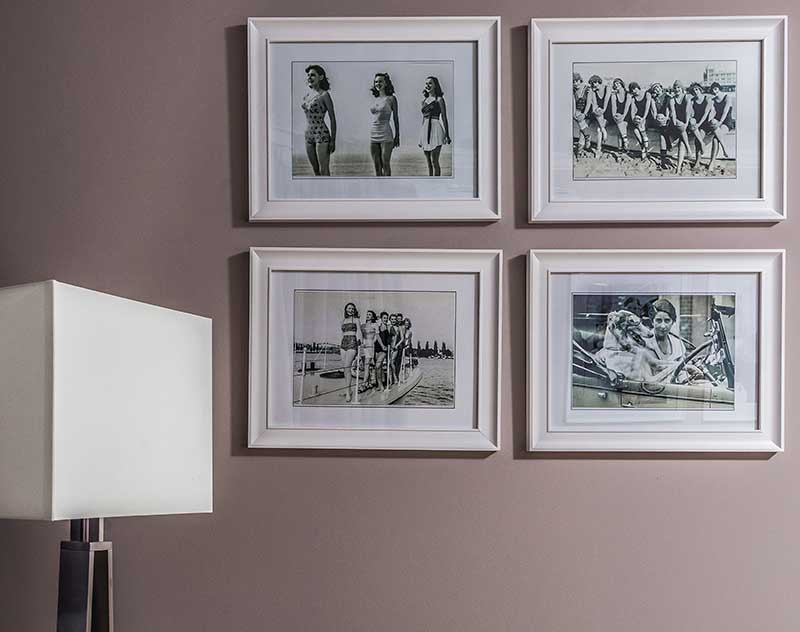
Featured Image Credit: Max Vakhtbovych, Pexels
Contents
