

If you are in the process of decorating your home, hanging pictures is more than just figuring out which way they face. It is a way to transform a room because even the barest hint of color can go a long way. It’s also fun to show off your personality by decorating a space.
Hanging a picture doesn’t sound too challenging. You pick up a hammer, a nail, and maybe some measuring tape. Then, you get started. Right? Not so fast! There’s more to it if you want to hang that picture level!
Picture hanging can be tricky, but it doesn’t have to be. If you are having difficulty hanging that picture, look no further! We have a guide for you with six expert tips on hanging a picture.

The 6 Expert Tips for Hanging Pictures
1. Consider the Wall Surface
Whether you’re hanging a single picture or creating an entire wall gallery, you must think about the wall surface before you start. Some wall surfaces may be more challenging to hang pictures than on others.
You can use anchors when hanging a picture on drywall, plaster, or bricks. For drywall, measure the distance between two studs before you start. It’s crucial because drywall anchors are designed to go into studs, not in regular wallboard.
Plastered walls are a bit more difficult when it comes to hanging pictures because paint and plaster expand and contract with temperature changes. It means that nails can loosen over time. However, you will follow the same procedure used on drywall with plastered walls, but you have to pre-drill holes.
2. Choose Your Frame Hanging Hardware
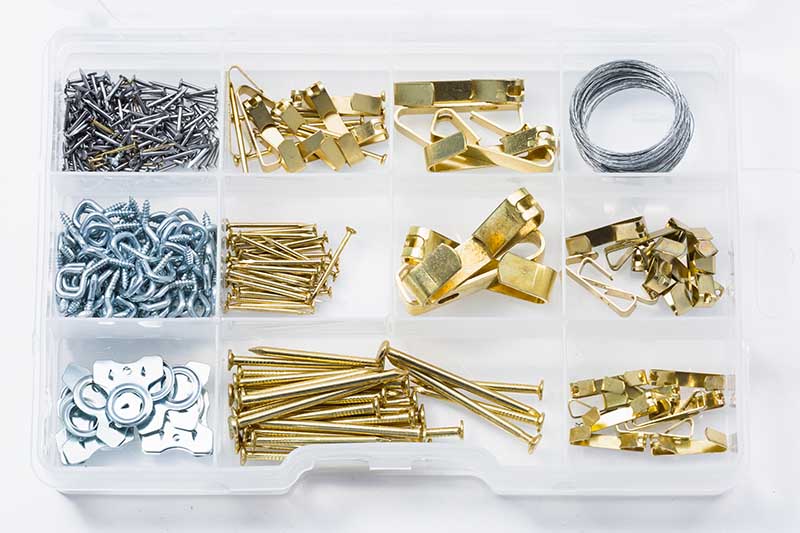
The frame’s weight and size determine the hanging hardware you’ll use, including hanging wire, D-rings, hooks, and saw tooth hangers. Here are some things to keep in mind when choosing hanging hardware:
- Hanging wire is thin and usually used with lighter frames. It comes on a roll, and you can twist it easily into place by hand.
- Wire hangers come in various diameters. Ensure you get one that matches the thickness of your frame, or else it won’t stay in place.
- If you want to enhance the stability of your picture, hang it using a wire. Then, suspend it between two D-rings.
- Picture hooks are similar to wire hangers but have an open hook at one end instead of being solid wire throughout. They’re meant for heavier frames and work best when there’s enough room between studs.
- If you have a brick or plaster surface and don’t want to make holes in the wall, you can use strips or adhesive-backed picture hooks.
3. Have the Right Tools
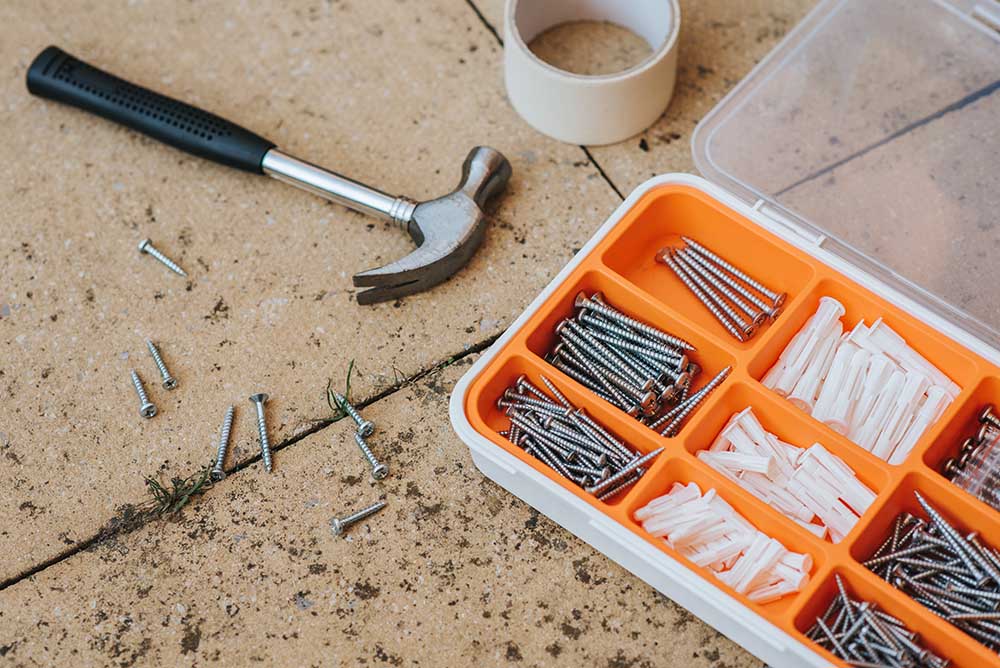
You don’t need an entire toolbox to hang a picture, but you only need some basic items:
- A power drill and bits of different sizes
- A hammer or rubber mallet
- Nails or screws for mounting the frame to the wall
- Drywall anchors
- Right-sized screwdriver for your screws
- A level to ensure the picture is hung straight and at the correct height
- A masonry hammer if you want to drive nails into concrete or brick walls
4. Measure the Perfect Height
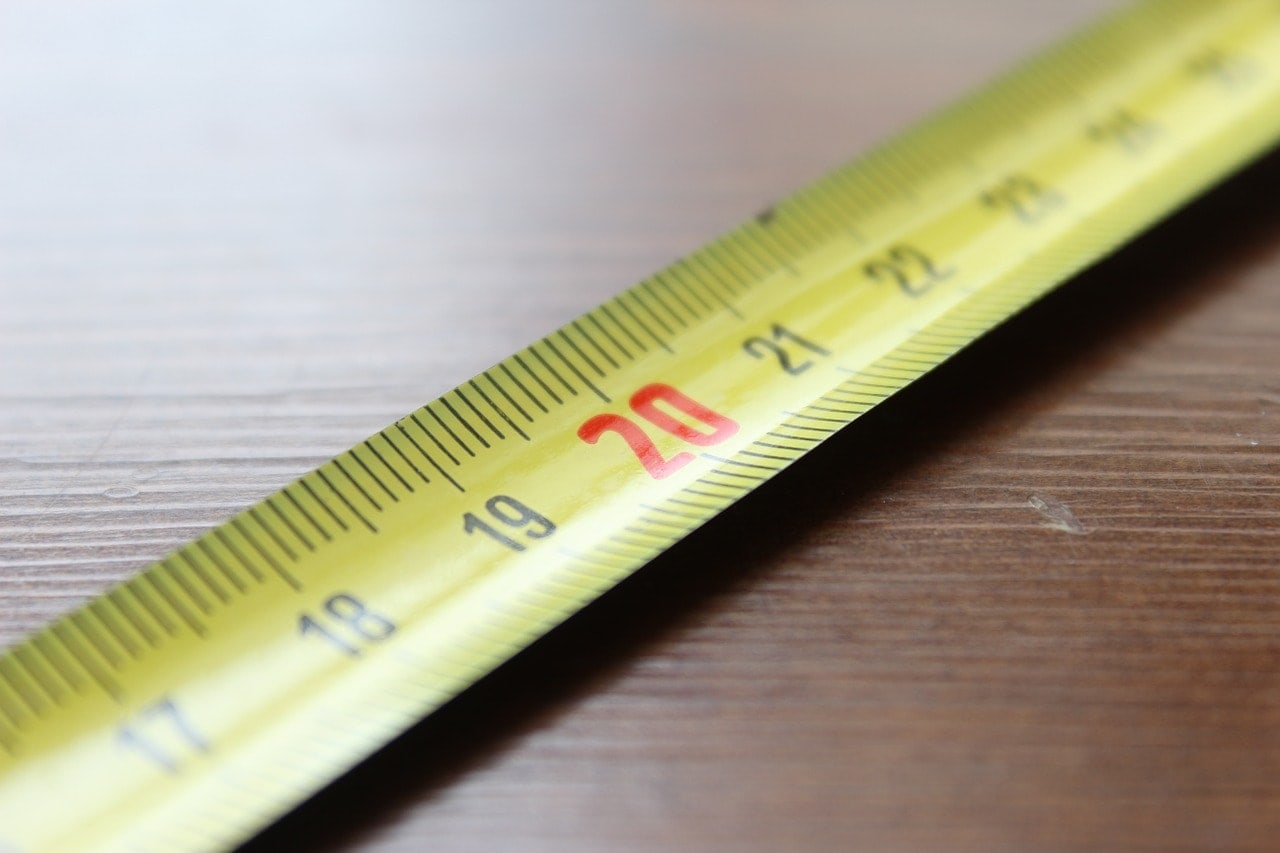
The most common mistake people make when hanging pictures is hanging them at the wrong height on the wall. If the picture is too high up on the wall, this creates an optical illusion. It seems like there’s no space between the top of your head and the top of your eyes. Hanging at a suitable height makes the space look balanced and proportional.
Using some measuring tape or a piece of string, measure from the floor to eye level. The ideal eye level is between 57 and 60 inches from the floor. That’s the perfect spot for you to hang your picture.
The key to a successful picture hanging is to ensure that the picture is at eye level and not too high or too low. Now, count how many inches up from eye level you want your art piece hung and mark that on your wall.
5. Ensure It’s Perfectly Level
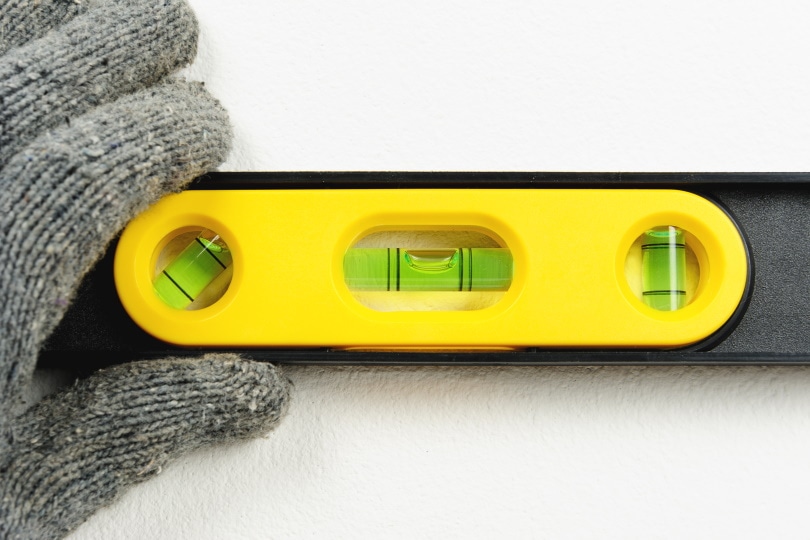
If you want your picture to hang straight, ensure it is perfectly level and well-centered on the wall. Pictures hung without leveling look unprofessional and make the room appear unbalanced.
You can level the picture using a laser, bubble, or a mini-level.
- Place the level in the center of the tool on a wall where you want to hang your picture. Don’t use those lines if there are two lines on either side of the bubble, as they may not be accurate (only use one line).
- Hold your level against your wall, making sure it touches both corners where you want to hang your picture (or as close as possible). Then, move it up and down slowly until both sides read “level” on your tool. It ensures that all four corners are perfectly straight and level.
- Besides, position your picture so that it looks evenly balanced with any furniture or other objects nearby. Place a level at the top of the frame on the wall to check if your picture on the wall is level.
- Adjust it well, ensuring that the air bubble in the level is in the middle of the tube. It tells you that the horizontal frame is parallel to the floor. With that, your picture is level.
6. Place Your Wall Fastener and Hang the Frame
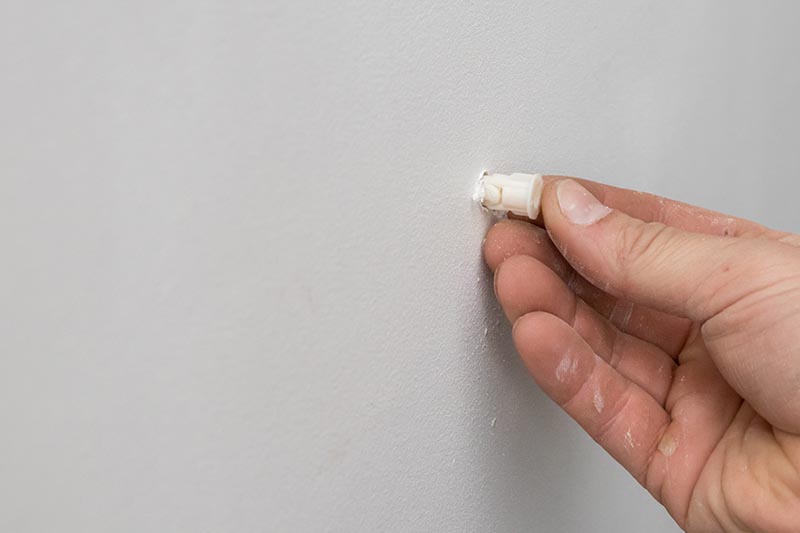
Place your wall fastener in the desired location on the wall and trace around it using a pencil or chalk. Make sure you keep an inch or two of space between the wall fastener and any other furniture or objects that might be close by. This way, you have enough room for screwing into them when hanging the frame.
You can use nails or screws for this step. The type of fastener you use depends on the weight of your frame and how much pressure you want it to bear against the wall. Use screws instead of nails if you plan on displaying heavy frames. The nails or screws ensure the frame doesn’t fall off when hung from its hook or wire hanger. Don’t screw too tightly because it may damage the wall.
The next step is to pull out the screw by reversing the direction of the drill.
After pulling it out, insert your anchor and hammer it into the wall. Then, drive the screw into the anchor using a screwdriver or a driver drill. The driver drill is ideal when driving screws into drywall.
Don’t drive the whole screw into the anchor as it will expand the anchor. Leave a small space between the wall and the screw head where you’ll hook the picture’s wire. Then, hang your picture.
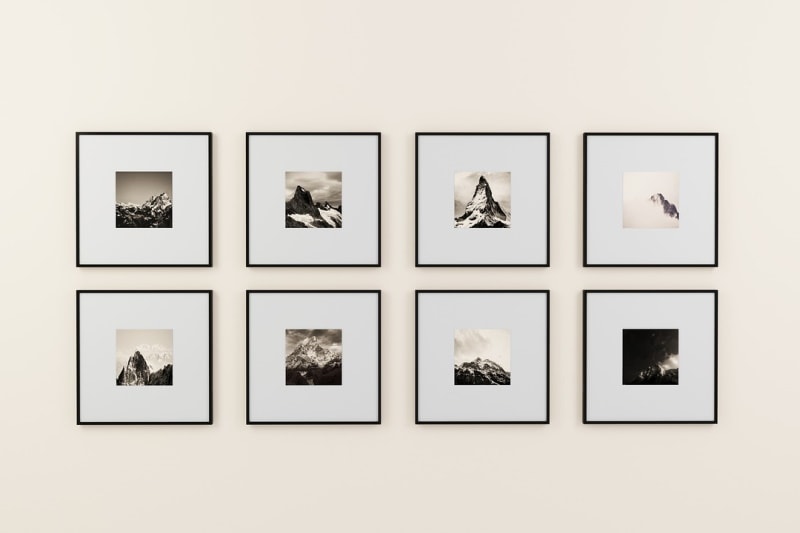
Benefits of Hanging Pictures or Art in Your Home
Finding the perfect picture to fill up your walls can be a challenge. But once you do, the results are worth it. Pictures and art can bring a room to life. They can add color, style, and meaning to a space.
Hanging pictures on the wall also has other benefits.
They Spark Creativity
A picture is worth a thousand words, and art reflects the artist’s personality and style. Pictures and art are perfect ways to express yourself. When you hang a picture or a piece of art on your walls, it’s like inviting that artist into your home and letting them share their creativity with you.
It’s an excellent way to encourage your creativity too! Whether you’re an aspiring artist or like to experiment, displaying pictures and art around your home can inspire you to try new things and get creative in other areas of your life. Besides, it can motivate you to work on a DIY project or tackle a new skill like painting or photography.
Pictures Enhance Your Mood
Hanging pictures and art can enhance the mood of a room and make the space feel more inviting. If you want to create a tranquil environment, consider hanging up some serene landscape pictures or art that will give off that vibe!
You can also choose artwork that depicts nature scenes or serene portraits to create a peaceful space. Choose a picture or artwork with bright colors and bold designs if you want a more energetic atmosphere.
Art Stimulates Conversation
When someone comes over for dinner, they’ll ask you about your pictures or artwork. They may ask you where it came from and how much it cost. These questions stimulate conversation between family members and friends alike.
Another way to start conversations with guests is by asking them about the art on your walls. You can ask them what they think about the piece and why they like it. It can also lead to some interesting discussions!
They Promote Childhood Development
Children benefit from having pictures around their rooms. They can look at them, talk about them, and draw themselves. When they see a picture that reminds them of a memory or experience they had, they can relate it to this picture.
They may even feel comfortable asking their parents questions about these memories. It helps them grow up with a better understanding of what’s going on in their lives.
In Conclusion
Your home décor is a personal choice, and if you wish to add some pictures or art on the wall, you definitely should go for it. But how do you hang these pictures to bring out the desired effect? The tips above should come in handy. Just remember to consider the type of wall, have the right tools, and hang the picture straight while positioning it to create balance.
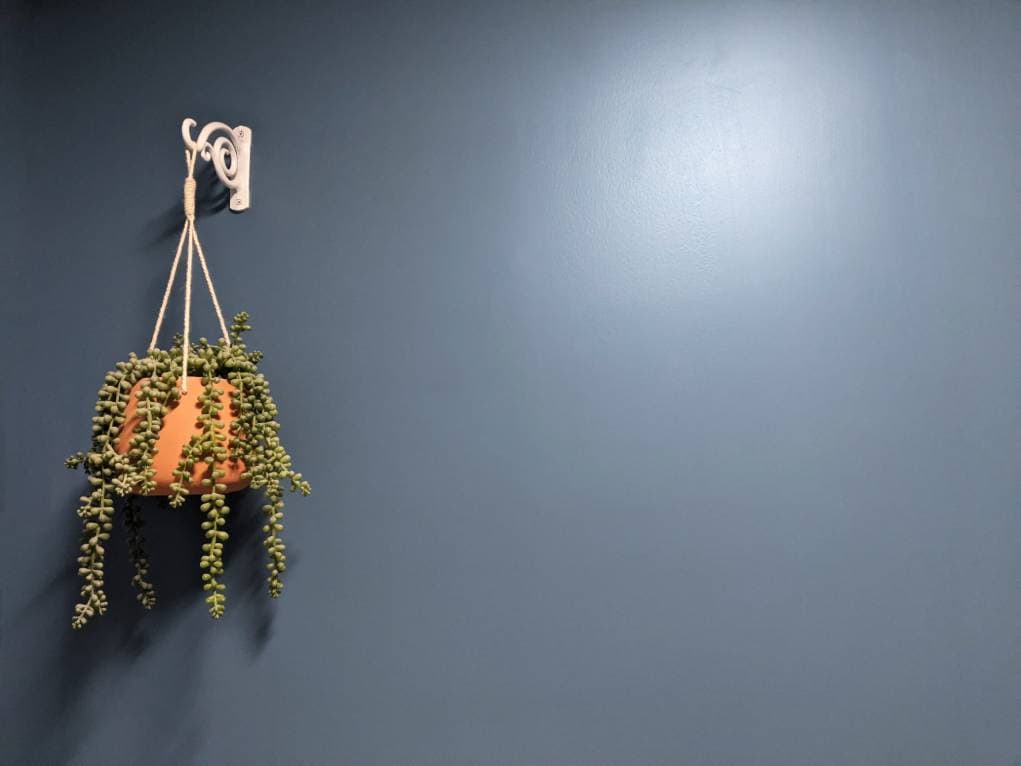
Featured Image Credit: Popov, Shutterstock
Contents
