8 Expert Tips on How to Hang a Frame With a Sawtooth Hanger
-
Pete Ortiz
- Last updated:

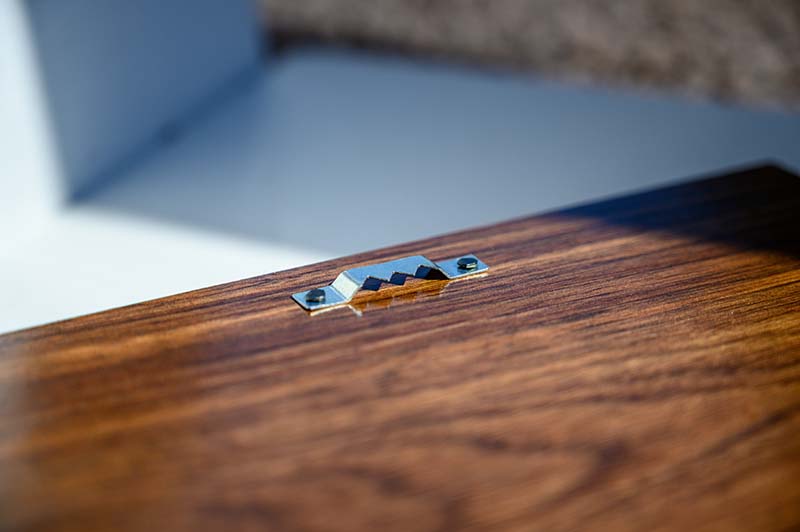
Whether you just purchased a new frame and it already has a sawtooth hanger, or you’re putting a sawtooth hanger on the back of a frame you have, it can be a little frustrating. While they’re inexpensive and widely available, they do have their limitations, and it can be a challenge to use them to hang your picture up the way you want.
But if you follow these tips on how to hang a frame with a sawtooth hanger, you can get your picture up in no time and you won’t have to worry about it again until it’s time to redecorate!
The 8 Expert Tips on How to Expertly Hang a Frame with a Sawtooth Hanger
1. Use Enough Sawtooth Hangers

| Importance: | High |
| Ease of Completion: | Moderate |
If your frame doesn’t already have a sawtooth hanger or only has one, you need to ensure enough. If the frame is longer than 2 feet, you’ll need two or three sawtooth hangers to secure it properly.
Part of this reasoning comes down to the weight, larger picture frames tend to weigh more, but the primary reason is simply the bulkiness. If you don’t want the frame to swing to one side or the other or to fall down completely, you’ll need to use more than one sawtooth hanger for larger frames.
2. Secure the Sawtooth Hanger Properly
| Importance: | High |
| Ease of Completion: | Easy |
Just because the sawtooth hanger doesn’t support a ton of weight doesn’t mean you should skimp out on firmly securing it to the back of the frame. If the sawtooth hanger can only support ten pounds, that’s if you install it correctly.
If you don’t, then it can’t even support that much! Firmly and completely install all the hardware; that way, it doesn’t rip out after you hang the frame. It’ll also give you a flush fitment against the wall. If one of the pieces of hardware is sticking out a bit, then it won’t hang up right.
3. Consider the Weight

| Importance: | High |
| Ease of Completion: | Easy |
If you’re using sawtooth hangers, please do yourself a favor and look at the frame’s weight. Most sawtooth hangers can only support between 7 and 25 pounds. They’re simply not suitable for heavier pieces.
And while adding a few extra sawtooth hangers can up the weight capacity, you shouldn’t use sawtooth hangers for any frame that weighs over 25 pounds.
4. Don’t Worry About the Stud
| Importance: | Low |
| Ease of Completion: | Easy |
Since you shouldn’t be using sawtooth hangers on heavier frames, there’s really no reason to find a stud when you’re hanging them up. While there’s nothing wrong with using a stud, you will have to work a bit harder to get the nail or the screw into the wall if you’re at a stud.
But with sawtooth hangers, you can do yourself a favor and simply find the place on the wall you want to hang the frame!
5. Mark the Wall

| Importance: | Moderate |
| Ease of Completion: | Easy |
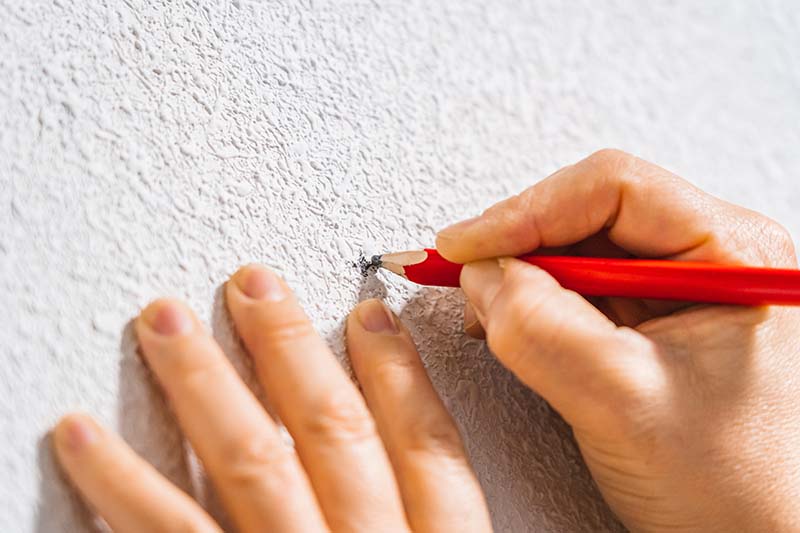
Once you figure out the exact place you want to hang up the frame, use a pencil to lightly mark the wall. Mark from the top of the frame and ensure it’s exactly where you want it. Not only that, lightly mark each side of the frame.
While you can try to eyeball things while you’re hanging everything up, it’s only a matter of time until you’re a little off with something with this method. By taking the time to mark out everything, you can ensure you hang up everything the right way the first time.
6. Measure!
| Importance: | Moderate |
| Ease of Completion: | Moderate |
After you’ve marked the location on the wall where you want to hang your picture, you need to make a few measurements for each sawtooth hanger. First, measure the distance from the top of the frame to the bottom of the sawtooth hanger.
Second, measure from each side of the frame to the center of the hanger. At this point, you should have three different measurements. Use these measurements to mark the right area of the wall where you want to insert the nail or screw.
While taking these measurements might take a bit longer, it ensures you only put one hole in the wall for each sawtooth hanger and that you have your frame exactly where you want it.
7. Use a Nail or Screw

| Importance: | Moderate |
| Ease of Completion: | Easy |
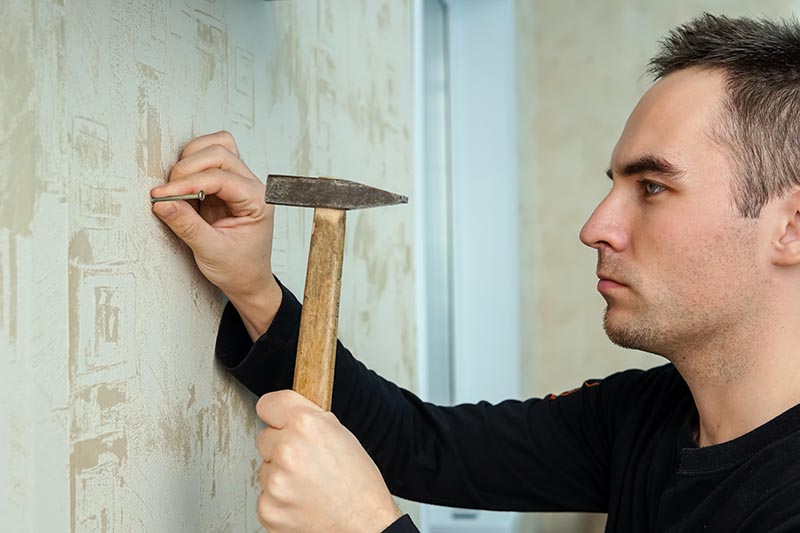
When you’re hanging up a sawtooth hanger, don’t overthink it. Nails work just as fine as screws, just use whatever you have on hand and are more comfortable using. If you don’t want to put a hole in your wall, we recommend avoiding sawtooth hangers altogether and using an adhesive strip of some sort instead.
But with sawtooth hangers, simply put a screw or a nail in the spot you marked in the wall and hang up the frame!
8. Use the Right Sawtooth Hanger
| Importance: | High |
| Ease of Completion: | Easy |
All sawtooth hangers are not the same. There are different styles, and these different styles use different mounting hardware. The difference in hardware affects the size of the nail or screw you should use when hanging them up and how much weight the sawtooth hanger can hold.
Take your time and find the right sawtooth hanger for your frame, and you’ll get much better results than just going with the first thing you find.
In Conclusion
Now that you know a little bit more about how to use a sawtooth hanger, all that’s left is for you to get your pictures up on the wall! While sawtooth hangers might not be the highest-quality hangers out there, they’re easy to use, affordable, and extremely effective!
So go ahead and hang up your picture frames, and then sit back and enjoy the view of your pictures on the walls.
Featured Image Credit: Lost_in_the_Midwest, Shutterstock
Contents


