
Garland draped across a mantel is a classic holiday look that has been cherished for ages. Sure, you can run out and buy a piece of garland that has already been decorated and is ready to hang, but where’s the fun in that? Designing, hanging, and decorating your own garland for your mantel is where the holiday magic comes into play. To help you tackle this fun project, here are 10 expert tips to help you hang your garland and make your mantel look festive.

The 8 Expert Tips for Hanging a Garland on a Mantel
1. Gather the Materials and Decorations
Whether you’re simply laying your garland across your mantel or draping it, you’ll most likely place other decorations on the mantel afterward to create a festive look. You may even want to attach things to your garland once it’s strung. Make sure you gather enough garland, extra decorations, and tools. This will make things go much smoother. For this list, we’re using Command hooks to help avoid damaging your mantel, so make sure you grab the right size hooks for the garland you’ve chosen.
Things You’ll Need:
- Command hooks (Or hanging method of choice)
- Garland
- Decorations (if desired)
- Floral wire
- Wire cutters
- Rubbing alcohol
- Cleaning cloths
2. Clean Things Up a Bit
Before you start hanging your garland, you need a clean workspace. To do this, simply grab a bit of rubbing alcohol and wipe down the entire area. Using rubbing alcohol instead of other cleaning materials makes your Command hooks adhere better. Make sure your mantel is free of dust and debris so that things look great when you’re finished. If you’re using hooks that screw in, this step may not be necessary.
3. Place Your Hooks
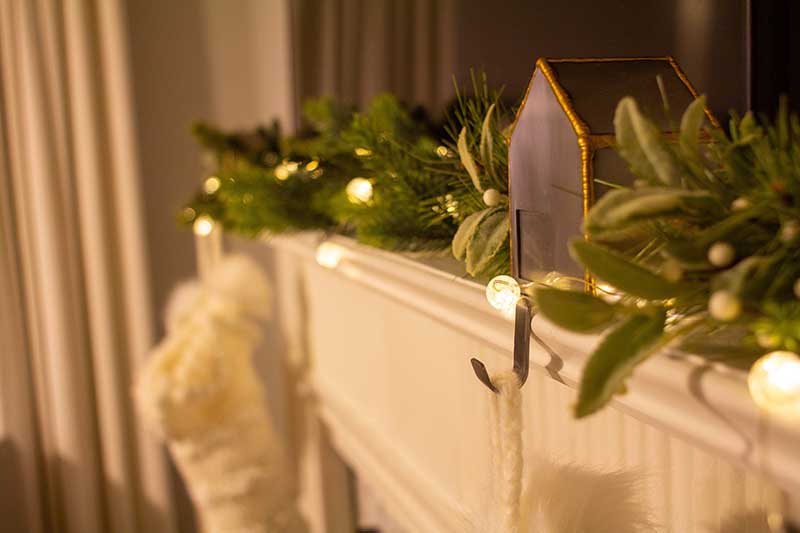
Your hooks should be attached to a horizontal surface instead of a vertical one. This means the top of your mantel instead of the front. This will help secure garlands of any size. Do not place your hooks close to the edge of your mantel. Instead, take back about an inch. Start in the corners and work your way around placing hooks where you want them according to the design you’re going for. Swagging garlands may require more hooks so keep this in mind when you purchase your materials.
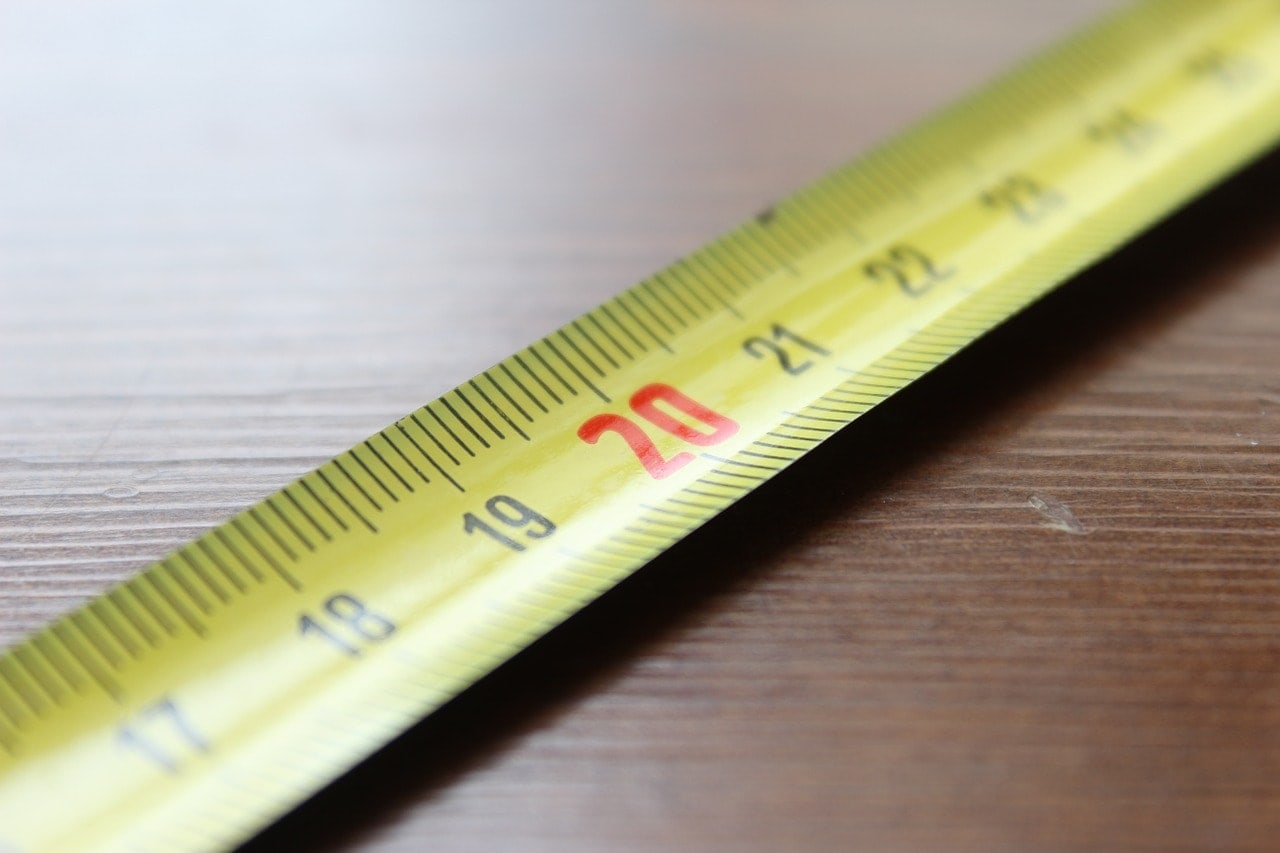
4. Measure Your Garlands
When decorating your mantel, most people have a clear vision of what they want. If you’re going for a straight-across design that hangs at the end, measure your garland by hanging it that way to see how much you’ll need. If you plan on swagging your garland, follow the same measuring protocol but go in the style you choose. This will help you determine if you need more than one piece of garland or not.
5. Combine Your Garland
For those who need more than one piece of garland to achieve their desired look, wiring your garland together makes hanging it easier. To do this, you can simply use floral wire. Place your pieces of garland together, making sure to take note of the direction of the branches. Overlap the ends a bit then use your wire and start wrapping. Once things feel secure, you’re good to go.
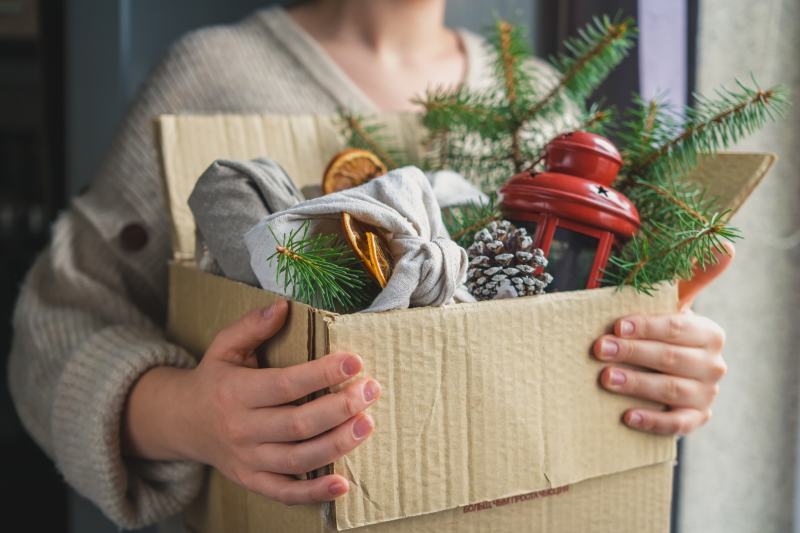
6. Add Your Decorative Additions
Garland isn’t the only thing we love hanging on our mantels during the holidays. Adding another type of garland, decorative scarves, pine cones, or even flowers is all possible. Simply use your floral wire to place your decorative additions until you’re satisfied with the final result.
7. Attach Your Garland
When it comes time to attach your garland, there’s more than one route you can take. If your garland is heavier or full of other decorative additions, you may want to use your floral wire to help. Simply wrap the wire around a part of your garland, then around the hooks. If you feel your garland should hang without issues, slide a bit of your garland into the “u” of your hook and make sure it’s secure.
8. Make It Beautiful
With your garland attached to your mantel, it’s time to make it look full and beautiful. Do this by taking your time and spreading out the branches. You want to try and fill in any gaps. Keep in mind, however, that the garland doesn’t need to be perfect. Natural is often the best way to go.
9. Add Branches If Needed
If your garland looks a bit thin or isn’t what you imagined, no worries. You can add extra branches and sprays of garland to fill things out and make your garland look better. Your floral wire will come in handy for this part if you feel you need it.
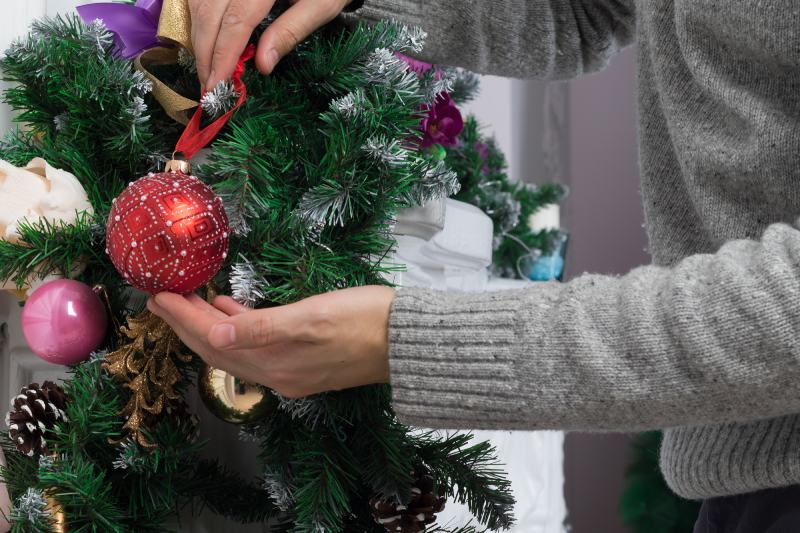
10. Add in Accents and Decorations
Now comes the fun. Your garland is hung so you get to decorate a bit. Magnolia leaves and berry sprays look adorable as accents to your garland. You can also add your holiday decorations too. Christmas ornaments, stockings, or small wreaths can be attached to your garland using floral wire or other types of hooks to truly bring your design to life.
Things to Keep in Mind
Our tips for hanging garland focus on using Command hooks. Unfortunately, not every mantel is the same, meaning Command strips aren’t always the best option. These hooks work best for flat surfaces. If you have a mantel made out of concrete or stone, Command hooks wouldn’t be your best choice. However, they are less damaging. You can also use deco nails, garland hangers, or tacks. It is completely your decision which method you use. Just remember, several of these methods can leave behind remnants for years to come so choose wisely. Once your method is chosen, simply follow the same steps to achieve your final result.
In Conclusion
Now that you know how to create, hang, and decorate your own garland for your mantel, the sky’s the limit. Have fun coming up with themes and additional decorations to make your mantel come to life. When your family and friends stop by to visit for the holidays, they’ll be in awe of your creativity and the beauty you’ve brought to your home. The mantel is just the first stop, however. Don’t hold back and let your holiday cheer run wild.
See Also:
- How to Hang Stockings Without a Mantle: 11 Expert Tips
- 7 Expert Tips on How to Hang a Balloon Garland
Featured Image Credit: Calvin Hanson, Unsplash
Contents
