

Instead of paint, wallpaper has been used for decades to dress up many rooms in American homes. It offers several advantages over paint and other wall coverings. For example, wallpaper quickly adds character to a dull room. It comes in a stunning variety of patterns and colors, and it’s an economical choice that lasts longer than paint (up to 15 years or more). Wallpaper can also hide any imperfections in your walls and is easy to clean. Lastly, it is as trendy as wall coverings come, allowing you to modernize a room in mere minutes.
Wallpaper does have one big drawback, and it’s this; it’s difficult to hang correctly, especially if you’re not an expert. However, prepasted Wallpaper takes one of the messiest steps of hanging wallpaper, applying the paste, and eliminates that step completely. Still, if you’ve never hung wallpaper before, even prepasted wallpaper can be challenging. The good news is that below, we’ve collected 18 expert tips on how to hang prepasted wallpaper to make it a little easier for you to get the job done.

The 18 Tips On How To Hang Prepasted Wallpaper
1. Gather Your Tools and Materials
Before starting any wallpaper project, gathering your tools and materials is ideal. You’ll need a surprising number of tools to do the job well, including the following:
- A water tray for water to wet the wallpaper’s glue
- A razor knife with a snap-off blade
- A level
- A large, clean sponge
- A bucket filled halfway with water
- A plastic smoothing tool or smoothing brush for wallpaper
- A tape measure
- A 6-inch straight edge. Plastic or metal will both work, including a 65-inch putty knife.
- A carpenter’s or another type of pencil
- A step stool
- A plastic or canvas drop cloth
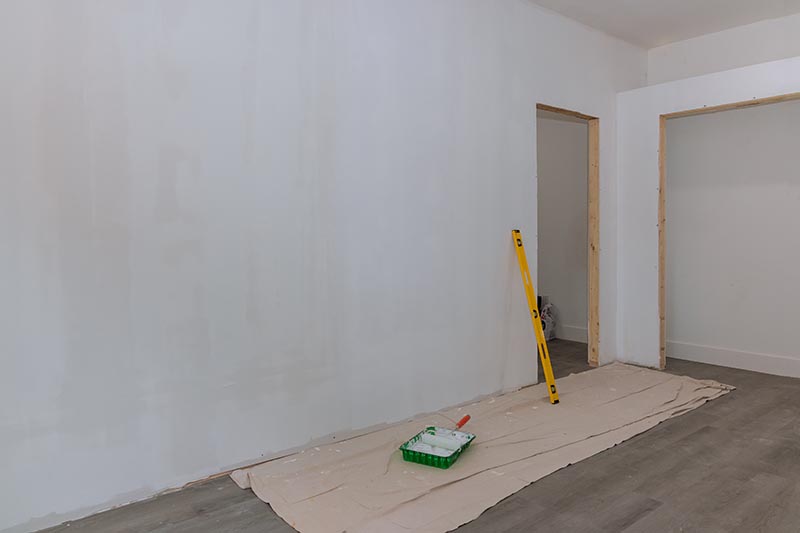
2. Fully Prepare Your Walls Before Starting
One mistake many homeowners make is hanging their new wallpaper before properly preparing their walls. While it might seem a time-saver, not prepping your walls can be just the opposite and slow you down at every turn. For example, if you already have wallpaper hung, it should be completely removed.
The walls should then be lightly sanded to remove any old glue left behind. If you’re wallpapering for the first time, fix and sand any holes in the wall. Also, just before you start, turn off the power and remove all faceplates and socket covers. The better prepared your walls, the better your chance of success when hanging prepasted wallpaper.
3. Prime Any Walls That Are Bare Drywall
One piece of advice professional paper hangers have for homeowners is this; prime your drywalls before hanging prepasted wallpaper. The reason is that if they aren’t primed, the glue on the wallpaper will dry out quickly, making the wallpaper difficult to move into place perfectly. Depending on your DIY skills, you may need to move your wallpaper a lot, but that won’t be possible once the glue dries.
Also, if the day comes when you want to change your wallpaper, taking the old paper off the drywall will be practically impossible if you don’t prime it first. Even if you can remove the wallpaper, it will likely tear off large swaths of the drywall’s paper “skin” when you do, leaving a gigantic mess behind.
4. Start Your First Sheet of Wallpaper in an Inconspicuous Location
Unless you have stellar DIY skills, experts recommend starting your first piece of wallpaper in an inconspicuous place, like behind a door or in the back corner of the room. That way, any small mistakes you make while you get used to hanging will be hidden from view. Also, it will hide the plumb line you make (coming up next).
5. Use a Carpenter’s Plumb to Make a Vertical Plumb Line

This wallpaper hack is a good one that involves using a carpenter’s plumb to make a vertical instead of a horizontal line. You need the plumb line to ensure that your first and all the following wallpaper sheets are perfectly vertical. In this case, you would hang the plumb line from a nail at the top of the wall.
Then, let the loose, larger end of the plumb line hang until it’s level. If needed, check your carpenter’s level. Once level, snap it quickly, and you’ll have an instant plumb line to follow. Do this every time you start a new wall, and all of them will be perfectly level and vertical.
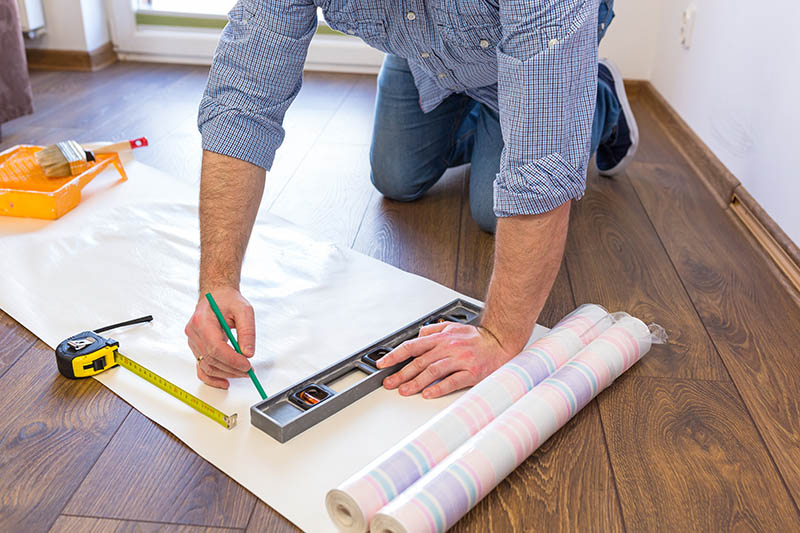
6. Cut Sheets of Wallpaper That Are 4 Inches Longer Than your Walls
One mistake many first-time wallpaper hangers make is to put sheets of wallpaper that are the exact length (or, in this case, height) of the wall. This small mistake leaves you no room to move the paper into the perfect position, which you will need to do with most, if not all, of the wallpaper strips you hang.
To avoid having gaps at the top or bottom of the wall, measure your walls and add 4 extra inches to each sheet of wallpaper you cut. That will give you two extra inches at the top and bottom, which is plenty of extra material to position your wallpaper correctly and cut it perfectly at the top and bottom.
7. Cut the Next Sheet to Match the Last Sheet
Another minor error many 1st-time wallpaper hangers make is to cut a sheet of wallpaper to length and then realize that it doesn’t match the pattern of the last sheet. This “match” needs to be made and might entail adding a few extra inches to every subsequent piece of wallpaper you cut so you can line it up correctly with the last one.
You should note that you don’t usually need to add more than 6 or 7 inches to get to where you can match both sides. Yes, it’s slightly wasteful, but that’s how things sometimes go when hanging wallpaper.
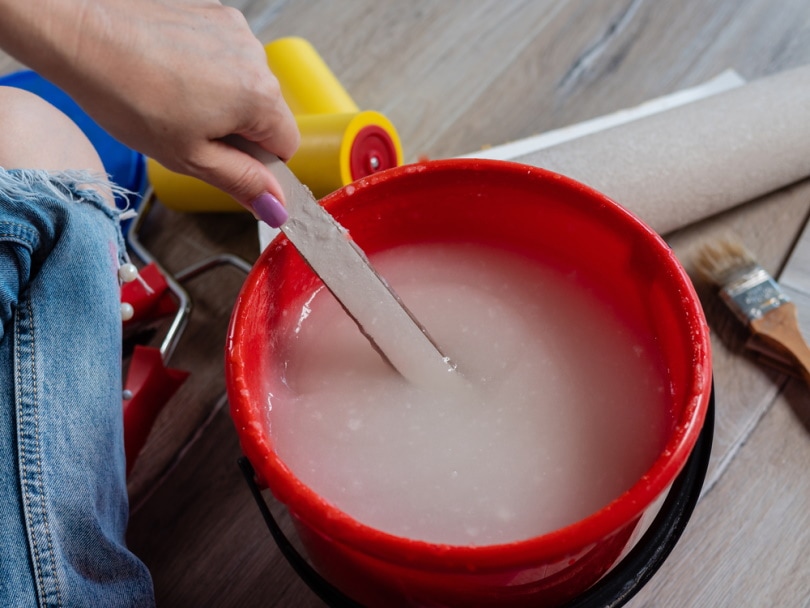
8. Submerge the Wallpaper in Water Pattern-Side Inward
This step is crucial to getting beautiful results. First, determine which end of each strip of wallpaper is the bottom. Then, starting from there, roll it up with the paste on the outside and the pattern on the inside. Once rolled, submerge the entire sheet in your water tray and let it sit for 30 to 40 seconds.
Check the manufacturer’s instructions to be sure. Some need shorter or longer soaking times.
9. Book your Wallpaper Sheets Gently

After soaking a sheet of prepasted wallpaper for the correct amount of time, it’s time for a simple process called “booking.” Booking is when you fold the bottom half and the top half of the wallpaper sheet until they meet in the center of the sheet. This step needs to be done with the paste side in so that both pasted sides face each other. Also, and this is crucial, don’t crease the folds. Once the sheet is folded, you need to leave it for about 2 to 5 minutes before you place it on your wall.
10. A Step-by-step Guide to Booking your Wallpaper
- Take the sheet of rolled wallpaper out of the water.
- Unroll the sheet completely flat, pattern side down, on a table or the floor.
- Grab the top or bottom and gently fold it over until the top edge and the center of the sheet are lined up.
- Do the same with the bottom half, folding it to meet the top half in the center of the sheet.
- Don’t crease anything!
- Leave the wallpaper to sit for 2 to 5 minutes.
11. Make Sure Each Sheet of Wallpaper Is Right Side Up Before Hanging
Although there aren’t any “tops” and “bottoms” to wallpaper sheets, per se, each sheet will have a top and bottom based on which side matches the last strip of wallpaper that you hung. Be sure you’ve got your next sheet with the top up and the bottom down before you place it on the wall. If not, moving it around could be messy and cause you to ruin a sheet.
12. Work Quickly but Carefully
If you’ve primed your walls, you should have between 5 and 10 minutes to move a sheet of wallpaper around a bit, but try your best to move it as little as possible. Also, work quickly but carefully. Time is of the essence, but you’ve got a few minutes, so take your time and get everything lined up correctly. Smooth the wallpaper with your plastic smoother or smoothing brush, line up the edges perfectly, and be careful not to stretch the wallpaper.
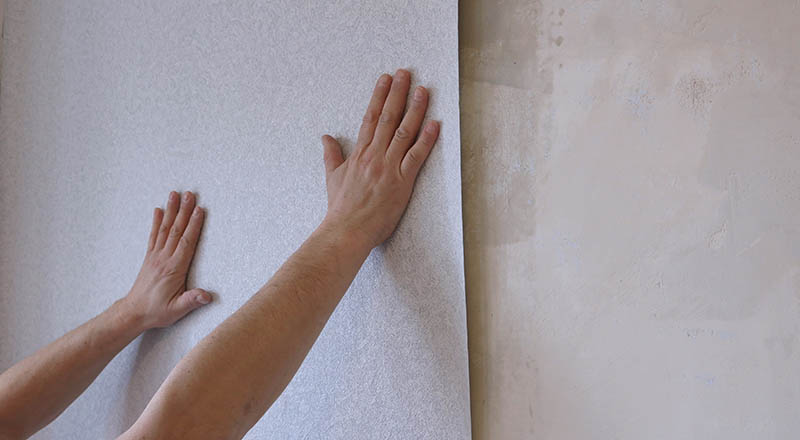
13. Start Smoothing at the Top and Work Your Way Down
Professionals will tell you that starting at the top and smoothing your wallpaper as you move downward is best. Also, move it from the center to the sides as you go, forcing out air pockets gently from the center to the side. This step is crucial; you need to work relatively fast so that the glue doesn’t become too dry and the wallpaper won’t move. You can also leave the bottom half of the wallpaper booked (folded in on itself) while you smooth the top, letting it down once you’ve reached it.
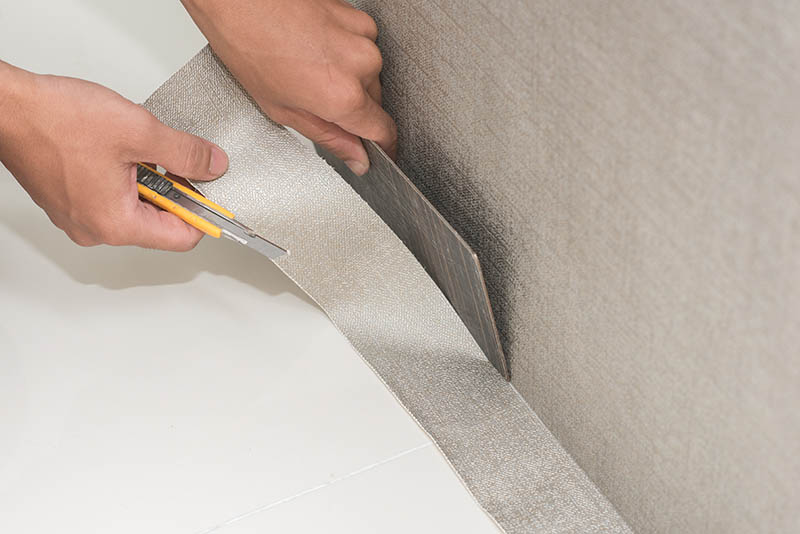
14. When Trimming, Don’t Lift Your Razor Knife Off the Wallpaper
To get a smooth cut when trimming your prepasted wallpaper, start cutting and don’t stop or pull your razor knife away until the entire cut is done. If you start and then stop, you risk a blemish in the cut that might look bad when you’re done. Take your time, cut slowly, and, if needed, use a straight edge to help. A steel yardstick is one of the best straight edges you can use for making every cut.
15. Don’t Forget to Wipe Off the Excess Glue
When you’re done smoothing out every strip of wallpaper, excess glue will inevitably be left over. When you’re done, be sure to use a damp, clean sponge and gently remove the excess adhesive, making sure not to damage the edges of your wallpaper when you do. If you forget this step, the excess glue will dry and could leave stains on your wallpaper that get uglier over time. Some glue will inevitably get on the ceiling and baseboards, so remember to wipe it off those areas, too.
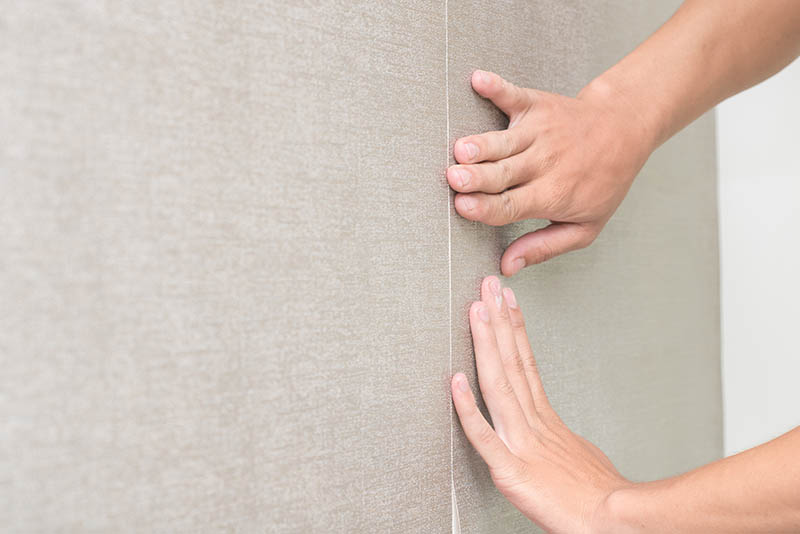
16. Never Overlap the Strips
One important thing to remember when hanging each strip of wallpaper is that they need to be perfectly lined up edge to edge with no overlapping whatsoever. If you overlap the lines where each strip of wallpaper meets, the overlap will be noticeable and unattractive. Make sure this doesn’t happen by lining the edges up tightly without overlapping in any area.
17. Ask Someone for Help
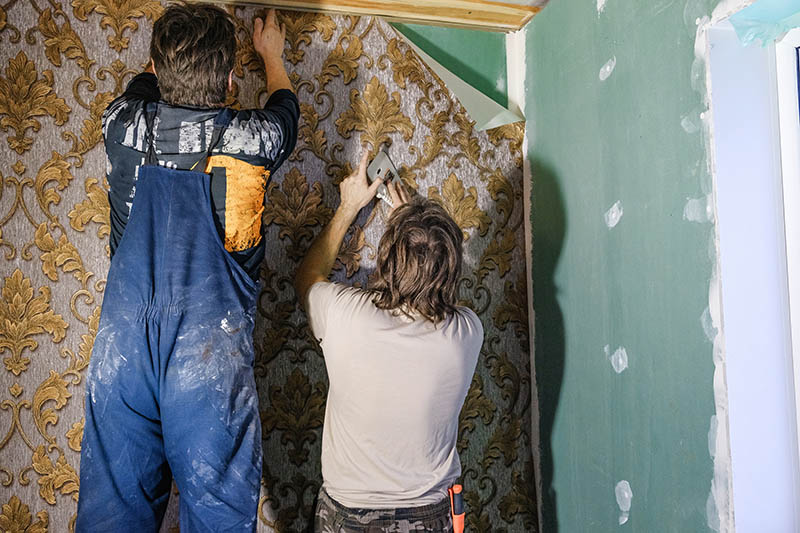
Unless your DIY skills are off the charts, it’s always best to ask at least one person to help you hang wallpaper, preferably an adult with decent DIY skills. Professional wallpaper hangers can put up wallpaper alone, but they do it every day and have years of experience. Remember, it’s not difficult, but it takes some finesse. An extra set of hands can be invaluable and prevent ugly mistakes.
18. Measure Twice, Cut Once
This last expert tip for hanging prepasted wallpaper is one that’s used in many professions, from seamstress to carpenter and several more. It’s simple; measure everything twice to be sure your measurements are correct, then cut once. If you follow this rule, the chance of making a bad cut and wasting wallpaper will drop significantly. This easy tip will inevitably save you time, money, and frustration.
Final Thoughts
Hanging prepasted wallpaper isn’t the world’s most difficult DIY project, but it takes time, effort, and patience to do it well. Preparing everything beforehand is a must, as is having at least one person to help you. Take your time, be precise, and follow the wallpaper manufacturer’s instructions as well as you can. If you follow the tips, you should get fantastic results and a beautiful, new wallpapered room!
Featured Image Credit: Fio Creative, Shutterstock
Contents
