
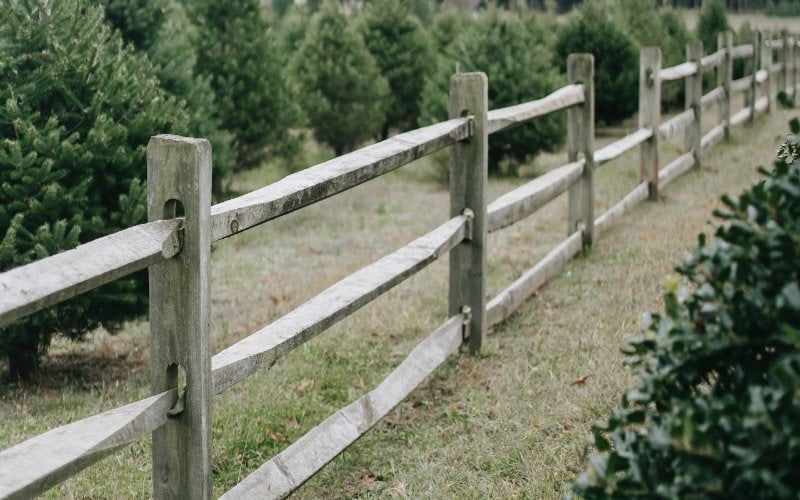
Fences and houses have one thing in common—for them to be even and well-supported, they’ve got to have a solid foundation. If the foundation is sturdy, all your posts will remain upright and firm for years to come. But to achieve this, you need concrete.
DIYers often steer clear of projects that involve concrete, because to them, mixing several batches is a time-consuming (if not a complicated) process. The good news is, we now have a low-effort product that makes everything a lot easier.
If you’re about to take on a fencing project, look for a fast-setting mortar mix. It’s a pre-blended product that only requires water, so you won’t spend the whole day sweating in the sun, trying to figure out what the right cement, sand, and water mixing ratios are.
Before we get to the steps, let’s first look at the tools and materials that we will require to get the job done:
- Dust Mask
- Protective Eyewear
- Construction Gloves
- Carpenter’s Level
- Fast-setting Mortar Mix
- Bucket
- An auger/Post-Hole Digger
- Treated Wood or Metal Posts
- Shovel
- Gravel

Step-by-Step Guide: How to Install Fence Posts
1. Check the Condition of the Posts
Fences are always aesthetically pleasing if all the posts are arrow-straight. This obviously won’t be something to worry about if you’re working with metal posts. But if the posts that you’re planning on using are wooden, you need to check and double-check to be sure none of them appear twisted or warped.
Also, there’s a reason why we usually use pressure-treated wood on fences. They have preservatives meant to protect your installations against not just the environmental elements, but the biological agents as well. We’re referring to termites and fungal decay.
2. Check Your Property Deeds

Before you start digging, go get the property’s deed. It’s illegal to dig any hole if the deed says that your neighbor (if you have one) is actually responsible for any changes made to the shared boundaries. So go ahead and check it to be sure you’re not crossing any lines.
Assuming the deed doesn’t give them any authority over the boundary, you’re free to make whatever changes you like. But it’s wise to inform them of your plans beforehand to avoid any awkward conversations.
3. Start Digging the Holes
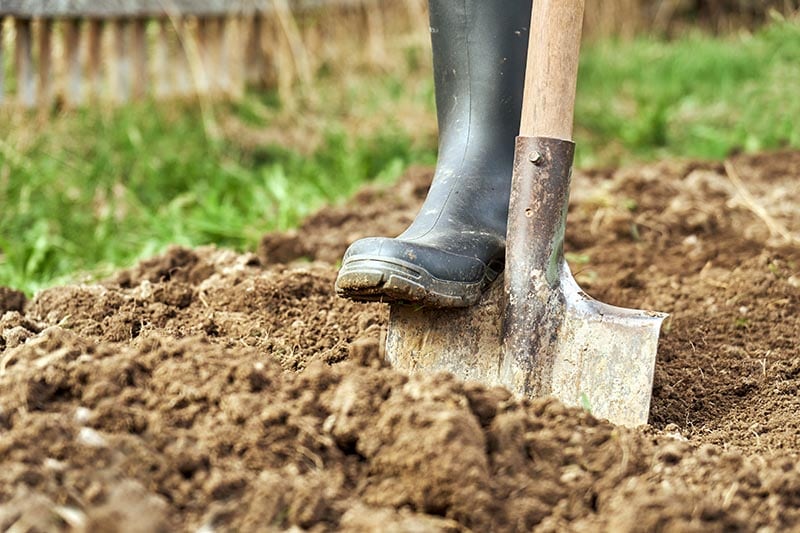
Some property owners prefer taking the old-school route when it comes to digging holes—that is, using the grub hoe.
And that’s okay, as long as it gets the job done. We, on the other hand, find that augers or post-hole diggers are more efficient and effective. You’ll be utilizing the least amount of energy to get the most out of the activity.
Your holes should be deep enough to bury at least one-third of the fence post. We like burying half of it, but one-third is fine. You must not forget that some neighborhoods have local building codes that dictate the minimum depth required, so reach out to the local building authority for clarification.
4. Measure the Size of the Holes

First off, all the holes must be the same size. If some of them are deeper than others, the posts will create a zigzag pattern around the property. Once you’ve established your preferred depth, add an extra 6 inches. That space will be occupied by the gravel that’s supposed to act as a barrier between the soil and the post.
“How wide should the holes be?”
Well, that depends on the width of the posts that you’ll be using. Although there’s this standard rule that says they should be at least three times the diameter of the posts. So, for instance, if you’ve decided to install the traditional wooden posts—which are typically 4 inches wide—your holes will have to be at least 12 inches wide in diameter.
5. Add Gravel
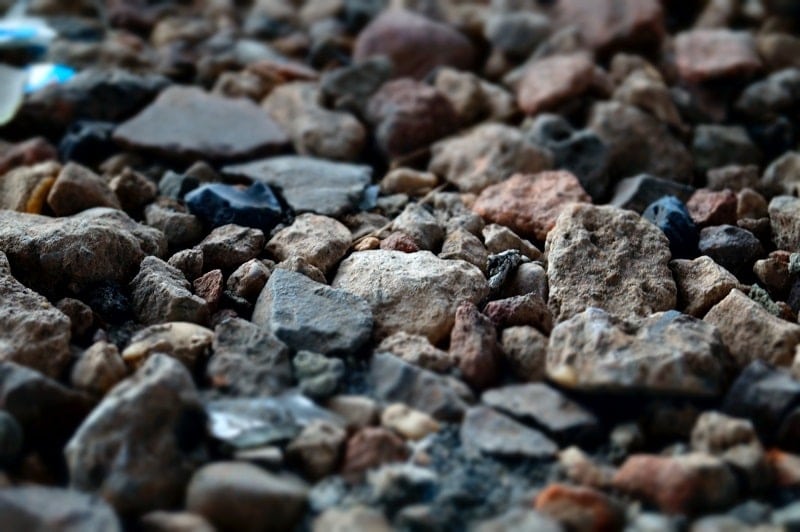
It’s time to add approximately 6 inches of gravel to the hole before setting the posts. You could use ordinary gravel if that’s the only type that you can easily access, or go for an all-purpose material. It doesn’t matter, as long as it ensures the bases of your posts are solid and no amount of soil gets to them. That would lead to rotting, something that we’re really trying to avoid.
Use one of the posts to tamp down the gravel to eliminate any air pockets. Tamping down means compacting the gravel using the bottom of your post several times until it’s flat.
6. Position the Fence Posts and Add Concrete
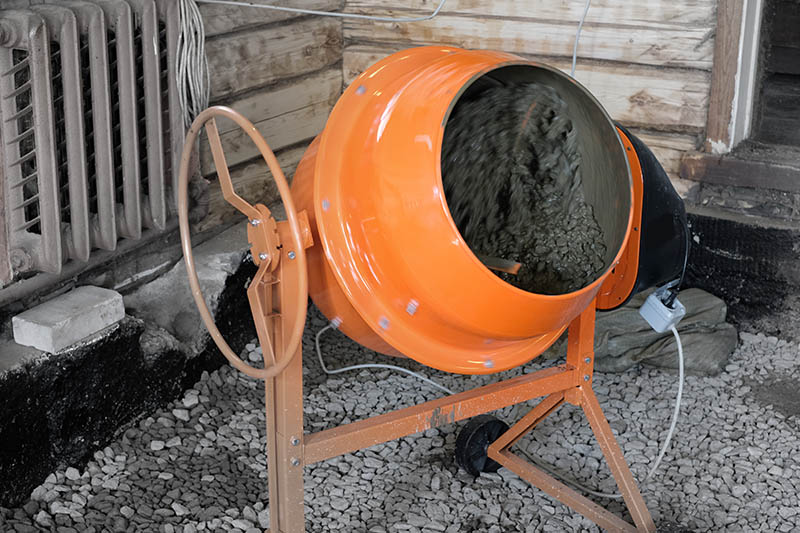
You’ll certainly need help positioning all those fence posts because it’s a two-man (or woman) job. One person must hold the posts in place while the other fills in the mortar mix.
While pouring the fast-setting mortar mix into the hole, the person holding the posts should ensure they are all well-centered. Your other responsibility will be to ensure you get an even amount around all sides. The holes are to be filled until the concrete sits 3 inches below ground level.
A 100-pound bag of the fast-setting mix will give you around 0.75 cubic feet of concrete when mixed with water. Therefore, if your holes were 12 inches wide and 30 inches deep, you’ll only need 2.5 bags.
If you’re not sure about how many bags you’ll need, take an accurate measurement of the holes and hand them over to the guy selling the mix at the store. They always have a ratio-mixing calculator that lets you know the total amount of concrete needed to set up standard posts.
7. Add Water
Water will be added AFTER you’ve added the concrete mix, and not before or during. Our ideal ratio is one gallon per 50-pound bag. The goal here is to create a paste that has a nice, thick consistency.
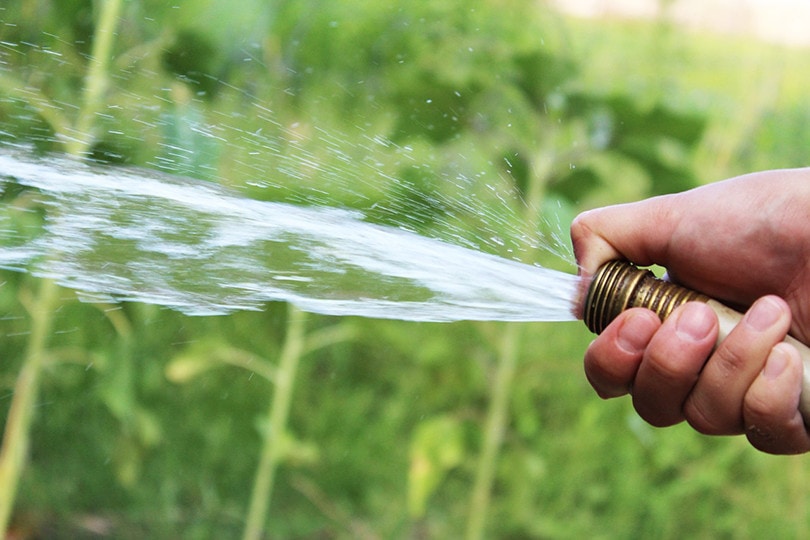
Assuming the holes were 30 inches deep, you’ll need around 5 gallons of water. But don’t pour all the water in at once. Add the liquid slowly, to give it time to seep down and saturate everything that’s at the bottom. You don’t need a shovel for this part as the fast-setting mix is designed to react on its own in the presence of water.
Side Note: If your holes were more than 30 inches deep, you should probably add the fast-setting mix and water in two steps. You could add a small amount to half of the required concrete, then add some more to the other half. That will ensure sufficient water gets to everything that’s at the bottom of the post.
8. Leveling the Posts
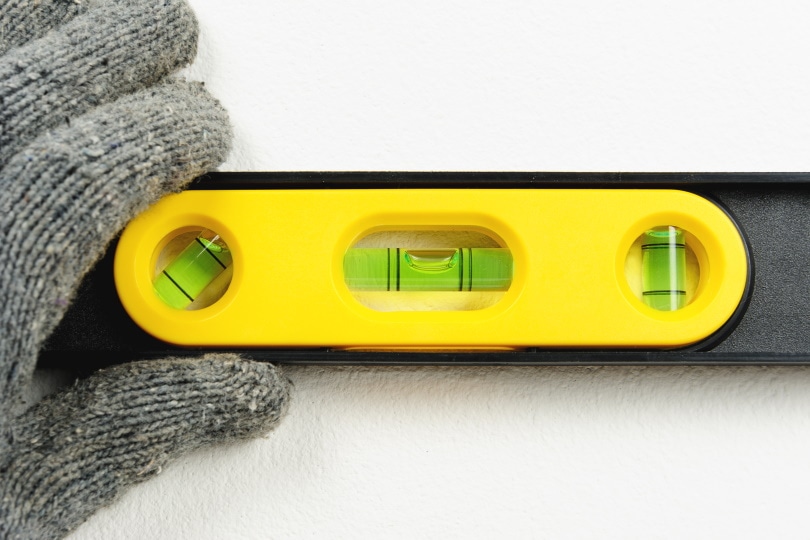
As soon as you’re done pouring in the water, start leveling the posts. It’s your job to ascertain that all the posts are plumb before your concrete mix sets. So, take out your carpenter’s level and place it along two adjacent posts. Repeat the process as many times as you need to, to make sure all of them are in line and perfectly vertical.
Once you’re certain all the posts are level, start pressing the wet concrete at the base with a shovel. You have to work fast, as it only takes 40 minutes for the mix to completely set. Then give it a couple of hours to cure before adding other features to the fence.
Frequently Asked Questions
How Do You Prevent Wooden Posts from Rotting?
First off, ensure you have gravel at the bottom of the hole before adding concrete. The work of the gravel is to let water seep down, thus taking away an element that’s crucial for decay to happen.
Then again, that doesn’t mean that the gravel will completely protect your posts from rotting. It will only slow down the process, seeing as concrete holds constant moisture and temperature.
How Do You Preserve Wooden Fence Posts for Decades?
The secret is using coal-tar creosote. It’s a super heavy oily liquid with properties that make it insoluble in water. Those same properties also offer protection against fungi and insects, while at the same time fortifying the wood’s resistance to different weather elements. This substance is so effective that it’s often applied on electric poles, construction timber, railroad crossties, and of course, fencing posts.
How Far Apart Should the Fence Posts Be?
This will depend on two things: the owner’s preference and the type of fence being installed. If the owner prefers a high-tensile wire fence, the posts could span 25 feet. But if they are into the treated wooden fence, 8 feet is just about enough.
In Conclusion
While making fencing decisions, don’t forget to factor in additional costs. Even if it’s a DIY project, you’ll still have to budget for some expenses. If you’re going to install wooden posts, remember to check the type of preservative applied.
Installing a fence post is not difficult once you know the process. Hopefully, the article above has helped you speed up your next fencing project.
Featured Image Credit: Any Lane, Pexels
Contents
