

Solar panel installation is a complex project, but it’s possible to do most of the work yourself. In fact, self-installation is becoming popular these days as homeowners want to take advantage of the savings solar provides while cutting costs on hiring contractors.
Save the planet and save money on your power bill—with solar, you can have your cake and eat it too. The downside? You’ll need to do some extensive preparation before you even get up on your roof. There are permits, tax incentives, number crunching, not to mention ordering your panels and other equipment.
We would recommend hiring a solar energy consultant, even if you’re doing the installation yourself. They’ll be able to give you more detailed information about the tricky parts of solar systems and other relevant advice.
Let’s dive in so you can get your solar system up and running ASAP.

Preparation Steps
1. Size Your Ideal Solar System
First, you’ll need to determine how big of a solar system you need. It helps to understand your local weather, how much sunlight you get, local electricity rates, and how much power your household uses.
Use this handy calculator to determine how big of a system you need according to local weather data and electricity rates. PVWatts is a free government-provided tool to help figure out your ideal solar system size according to roof size and angle as well as house location.
On average, a 4 kWh solar system is enough for most average-sized homes, while 2-3 kWh systems are enough for smaller homes.
2. Get Permission To Install Solar
Now that you’ve planned out what you need, it’s time to get permission to actually go through with the installation. Typically, you’ll have to file building and electrical permits to be able to install a solar-electric system. This varies widely based on your municipality, so you will need to do some research on the topic.
Bear in mind that when you get the permits, you’re agreeing to an inspection of your system after installation.
If you have a homeowner’s association (HOA), you’ll need to consult with them and find out if they have requirements for solar installation. In some cases, they might require any solar systems to be installed by qualified and licensed contractors, so it’s best to find that out before you go any further.
3. Apply For Incentives
Many states have tax incentives for installing solar systems, and there’s also a federal tax credit, the ITC, which slashes your property taxes for a certain number of years. You should ask your consultant about which incentives you’re eligible for according to your region and apply for these prior to installation.
4. Get Your Solar System
While some solar systems have different equipment, the majority of them are the same, if not similar. The project may call for something not listed below because of unique factors, which is ideally where your consultant comes in handy.
Let’s go over what you need to install your solar system, including tools and other equipment.
- Scaffolding and/or ladder
- Fall arrest system
- Solar panels
- Solar panel mounting system
- Solar power inverter
- Charge controller
- Solar batteries (optional but recommended)
- Energy meter
- Wiring
- Roof sealant
- A licensed and qualified electrician
It’s a bummer to do a lot of the work yourself and still need a contractor’s help, but electrical work is no easy task. It is extremely complex work, and unless you’re qualified to do it, we very strongly recommend an electrician to do a lot of the wiring, grounding, and other complicated stuff.
It is well worth the cost of hiring the electrician to know that your system is wired properly, plus many localities require an electrician to do the wiring for electrical permits.

How To Install Solar Panels: A Step-By-Step Guide
Because the exact process of installing a solar system varies so much depending on your home and the system, we can’t give you a blow-by-blow of how to perform each task in the guide. For that, you’ll need to refer to your solar energy consultant or the manufacturer’s instructions provided in your solar system. Let’s get to it!
1. Erect Scaffolding or Ladder Work Area
If you choose to use scaffolding, this will probably be a bit costly but much safer than using a ladder. Either way, you should be using a fall arrest harness system to secure yourself so you don’t accidentally fall and hurt yourself. Wrapping a rope around your waist doesn’t constitute a fall arrest system, either! Don’t cheap out on safety.
2. Install Solar Mounting System
This part involves physically attaching the racking or mounting system to your roof in order to support the solar panels. The mounting system is usually tilted between 18 to 36 degrees upward, depending on what your local sunlight exposure is like.
It can’t be understated how important it is to make the mounting system sturdy. Your solar panels may face some harsh weather, and the mounting system has to be durable enough to keep the whole structure in place.
After you attach the mounting system according to the manufacturer’s instructions, you need to seal around the holes in your roof. The two most common tools for the task are silicone caulking and cold-processed roofing tar.
3. Install Solar Panels
Solar panels are attached to the mount via bolts, clamps, or brackets. Regardless of which your system uses, you have to make sure the panels are securely attached to the mount. For example, if your system uses bolts you should tighten them as much as possible. You may have to wire each individual PV solar panel to adjacent panels as you place them using junction connectors.
4. Install Charge Controller
The charge controller monitors and regulates electricity flow from your panels to your inverter and if you have one, the battery bank. As such, the charge controller should be wired in between the panels and the inverter, and battery bank.
5. Install Solar Power Inverter
The solar power inverter is what converts the raw DC current generated by your panels into AC current that your home can use as power. It is very important to install the power inverter in a cool place because it can easily overheat if left on your roof with the panels. We’d recommend an attic or garage.
6. Call a Licensed Electrician To Finish Up
The rest of the installation requires grounding your solar system and connecting it to the power grid, which are very complex tasks best left to a professional. It’s also a good idea to have the electrician go over and check any wiring you’ve done yourself.
See Also:
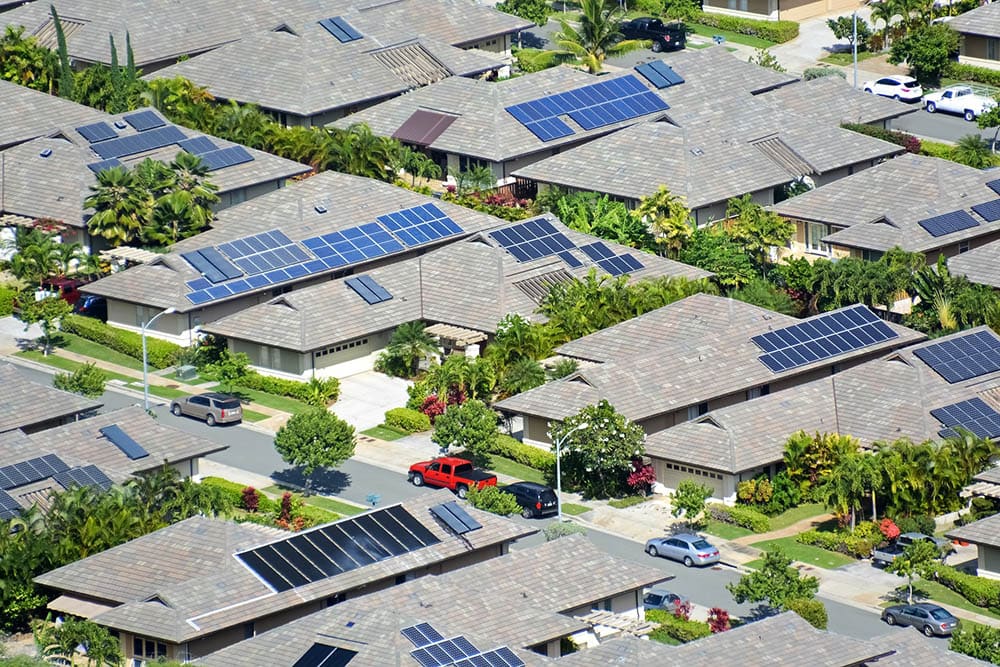
Featured Image Credit: Vivint Solar, Unsplash
Contents
