

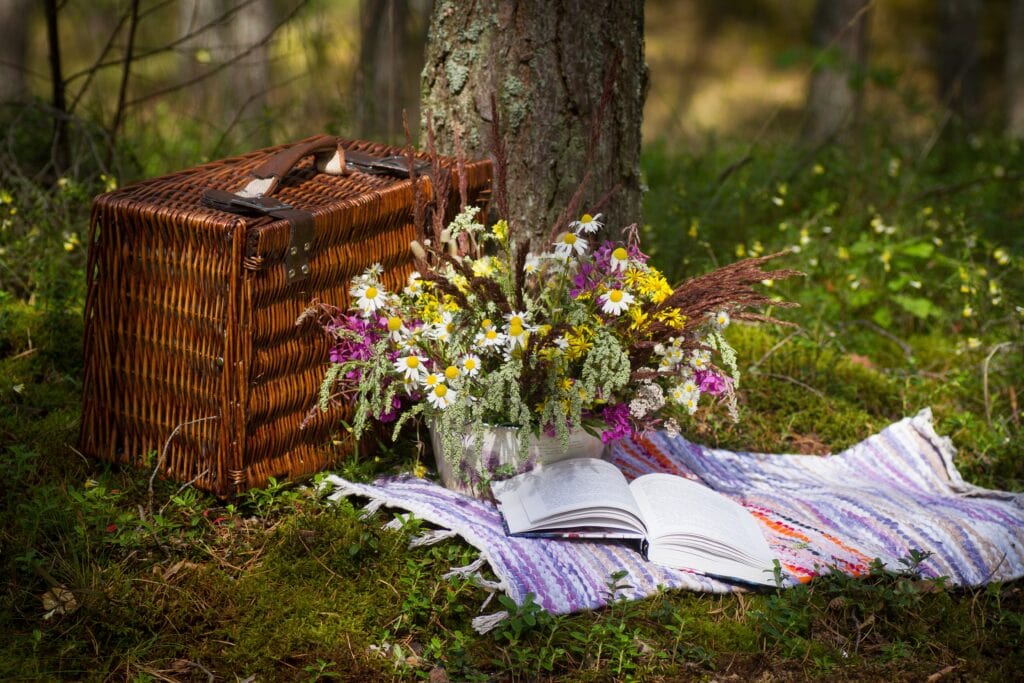
Picnics are fun times to enjoy company while creating togetherness and love, and you can add a little spark with a made-at-home picnic basket. These accessories speak of elegance and class while helping to pack your picnicking items and food.
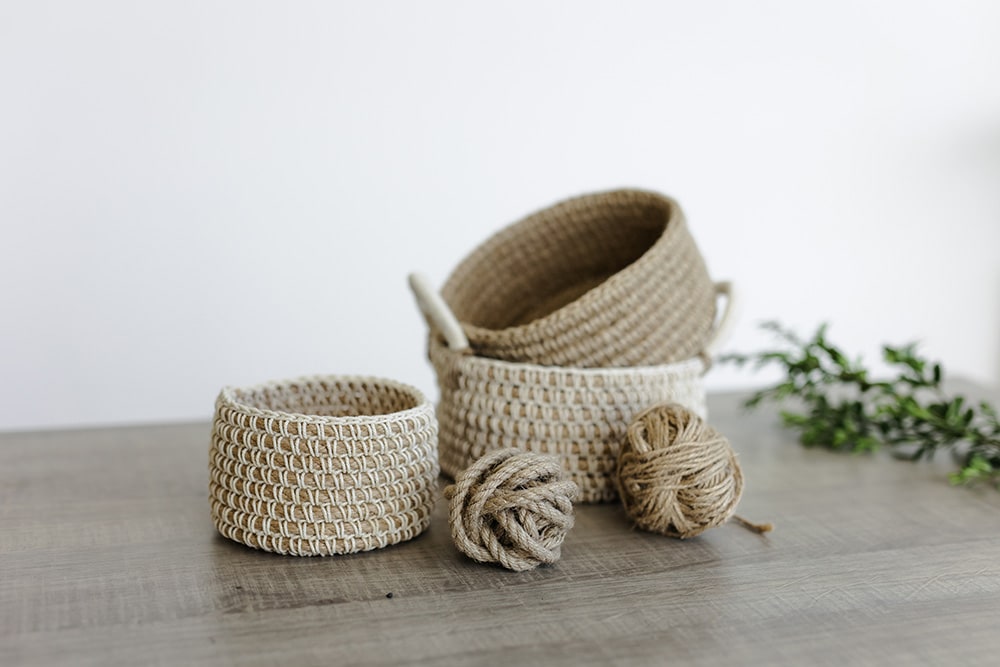
Let your creativity take the lead using materials you can readily find around the house, and fine-tune your DIY skills at this activity. Natural fibers like straw, reeds, or rattan are preferable to plastic as they support local artisans and are biodegradable. They provide storage space, décor ideas, and baskets of all types, which you can buy or outfit an existing one for your picnic.
You want your outdoor excursion to be affordable, so here’s a step-by-step guide for making a picnic basket at home.
 Preparation
 Preparation
Depending on the available materials, you can either upscale an existing wicker basket and outfit it for a picnic or create one from scratch. Initially, you’ll need to decide the robustness and durability of your picnicking accessory or whether you’re using it once or repeatedly.
A picnic basket should have a stout structure to withstand the rigors of outdoor placement and inclement weather such as rain. It’s also insulated and lidded, preferably to keep your food uncontaminated and prevent pests like ants and other bugs from accessing its interiors.
For easier carriage, your picnic basket has handles and a secure compartment where you place dining utensils and cutlery.
To get on with your picnic while the sun is still shining, let’s start with a reusable picnic basket with upcycled materials.
- Any old basket with a lid or lidless
- Reusable utensils and cutlery
- Lining fabric depending on the size of your basket
- ½ inch elastic band
- Scrap paper
- Sewing kit with thread, scissors, pins, and measuring tape
- Fabric pencil and pinking shears
- Glue gun with hot glue sticks
The Step-By-Step Guide on How to Make a Picnic Basket at Home
Your homemade picnic basket should be attractive and well thought out for efficiency and to save time. It’ll contain all amenities that mark a great outdoor outing while staying ergonomic and stylish, with space sufficient to take on flatware, glasses, picnic blanket, or a tablecloth.
The following steps will take less than two hours to complete, but if you decide to customize your picnic basket with some staining or painting, that may take more than a day to dry.
1. Measuring the Inside of Your Basket

Use your sewing tape measure to find the length and height of your basket inside and the total interior measurement. Add an extra inch for each measurement, including the thickness, to allow for material folds.
2. Tracing the Lid & Bottom of the Basket
Take the fabric you’re planning to use as lining and unfold it, marking all the areas where they should connect with the inside walls of your basket with a pencil. Your marks should be at the very edge of the fabric, and remember to include the bottom and the lid.
Add ½ inch of fabric for the lid and bottom pieces, and afterward, trace this on your basket. You can either:
- Trace around these by placing your fabric’s wrong side up to avoid leaving pencil lines exposed.
- Use a piece of scrap fabric as a tracing negative, after which you’ll pin it to your primary cloth before cutting it out. While that seems unnecessary, it helps get the exact measurements for your lid and bottom to prevent material wastage.
3. Cutting, Pinning, and Sewing
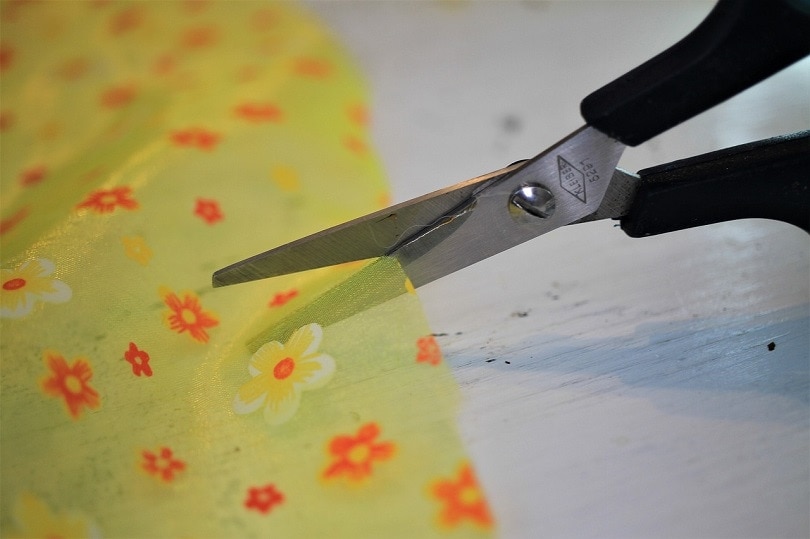
After marking all your fabric pieces, cut them out and fold over ½ inch of the edge of each piece before pinning. Sew using a medium stitch down the bottom piece’s side, repeat for the lid piece, and then pin them together with the wrong sides facing each other.
While taking extreme care, especially for circular baskets, use pinking shears to trim your fabric’s raw edges.
4. Adding Elastic Bands
Your picnic basket should hold cutlery, plates, cups, or glasses; to keep them in place, you’ll use elastic bands sewn into your basket’s lining. Cut the appropriate length by placing the utensils on the basket’s lid or sides to figure out the best positions, and then use your fabric pencil to trace them out.
When measuring the elastic band, add between 1/8 and 3/8 to each end to hold it, then pin it before sewing each side to the basket liner. Test your bands with utensils to see if they’ll hold before you glue the liners to your picnic basket.
5. Gluing the Liners
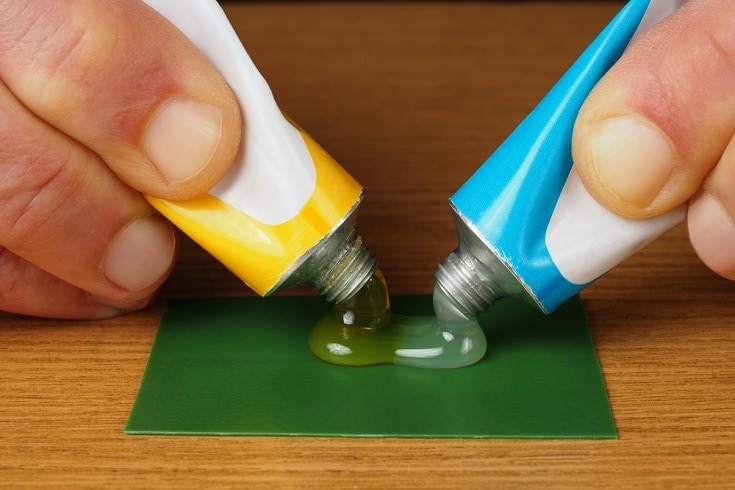
After ensuring that everything fits snugly, it’s time to glue the liners onto your homemade picnic basket. Use a hot glue gun and start with the bottom piece, placing small dabs at your basket’s corners. Keep the liner flat while working to the top, and then glue the lid liners.
Before placing your favorite snacks and drinks inside your homemade picnic basket, wait for the glue to dry.
6. Painting or Staining Your Picnic Basket
The last step would be to stain or paint your made-at-home picnic basket, which is optional since you can leave it in natural colors. You can use a water-based stain or spray paint and use two coats, waiting for the first one to dry.
How Do You Set Up a Picnic Basket?
It doesn’t take much to pull off the perfect and leisurely outdoor feasting affair with a few gastronomical ideas and common tableware placement. You’ll need suitable ideas for food and drink, a picnic blanket, and excellent company for a successful outing.
While it aims to transport previously prepared food and drink to a designated outdoor venue, a DIY picnic basket is only complete with knowing what to include in the setup.
To help ensure that your picnic basket is packed with the right items, plan your menu, considering the location and time of your picnic. Choose foods that will keep you the longest as if you’re going to a sandy beach. Avoid salads with dressing or creamy, frosted cakes and magnets for sand.
Meats, cheeses, and mayo or tuna-based sandwiches also spoil fast if left out in the sun, so select potato or pasta salads and vinegar dressings instead. While keeping food safety in mind, choose containers to control everything’s temperature. Keep perishables and heat-sensitive items like bread in a thermally protected container or separate cooler.
You may also chill out canned drinks or use ice packs to maintain temperatures when you’re outdoors for a while before your lunch or snack break. Freeze items like water bottles, yogurt tubes, and cling-wrapped sandwiches so they’ll defrost when you’re ready to eat them.
Conclusion
Whether upcycled or created from scratch, your homemade picnic basket will hold your food, drinks, and hors d’oeuvres, but it is also a statement of your DIY skills. It’ll take a few hours and some elbow grease, but you’ll save money and show kindness to the planet by recycling available materials and creating a centerpiece for your picnic party.
Featured Image Credit: Jumpstory
Contents
