How to Make Potting Soil for Lavender Plants — 4 Simple Steps
-
Ed Malaker
- Last updated:
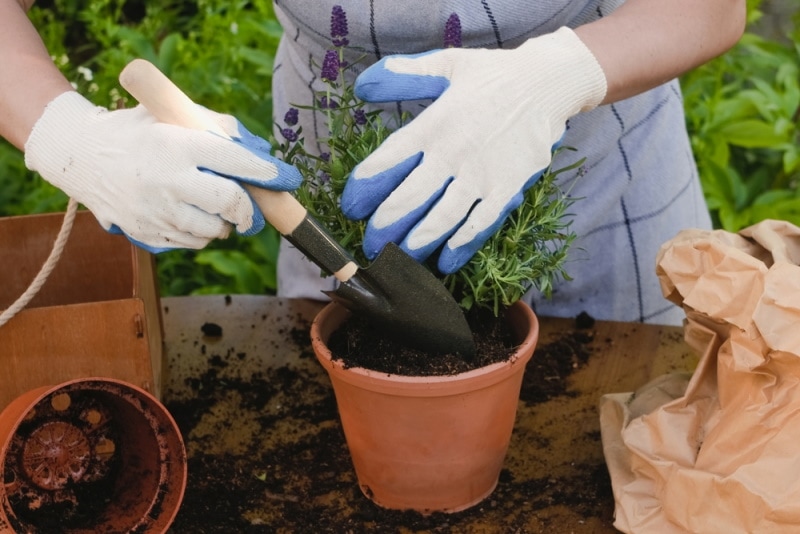
Lavender is an attractive and fragrant plant with many uses, which makes it a great choice for indoor and outdoor gardens. However, many people struggle with growing it correctly, and commercial lavender soil can be quite expensive and hard to find in many stores. Fortunately, it’s not that difficult to make your own with ingredients that you might already have. So, keep reading as we provide a step-by-step guide to creating potting soil for lavender to help your plants grow faster and healthier.

What Kind of Soil Does Lavender Require?
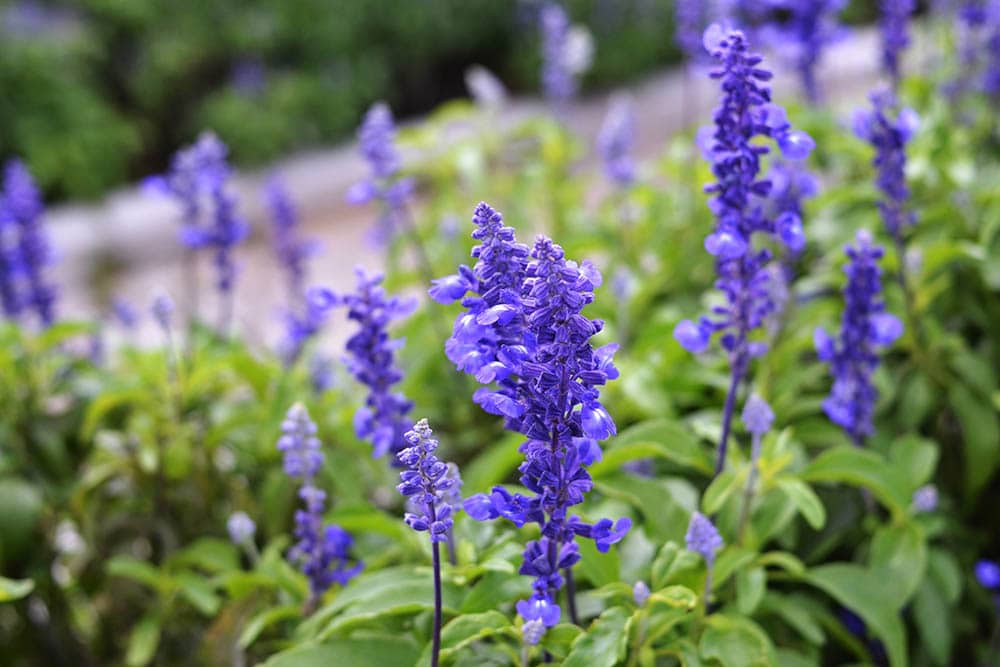
Lavender prefers to grow in well-draining, well-aerated soil. In nature, you usually find these plants in rocky and sandy areas that don’t get muddy or soggy even after heavy rain. It also prefers soil with a neutral pH, unlike many garden vegetables that prefer slightly acidic soil, which is likely why many people struggle with these plants in their gardens. Lavender will not grow well in areas with a large amount of organic material because it creates an environment that is often too nutrient rich and might cause the soil to be more acidic.
Before You Begin
We recommend getting all your tools and supplies together first so you can finish your lavender potting soil in one go.
Potting Soil
While commercial lavender potting soil can be expensive and hard to find, regular potting soil is usually readily available and cheap. There are many brands and they will all work well, but if you are growing your plants indoors, we recommend more expensive brands because they tend to contain fewer bugs. You will also want to check the potting soil’s pH. It doesn’t need to be exact, but the closer to 7 it is, the better. Many potting soils use peat moss, which can make the soil more acidic. Choosing coconut coir soil instead will provide a more neutral soil.
Coarse Sand or Perlite
You will also need perlite or coarse sand to complete the mixture. You will need 1/3 as much perlite or coarse sand as potting soil.
Other Items
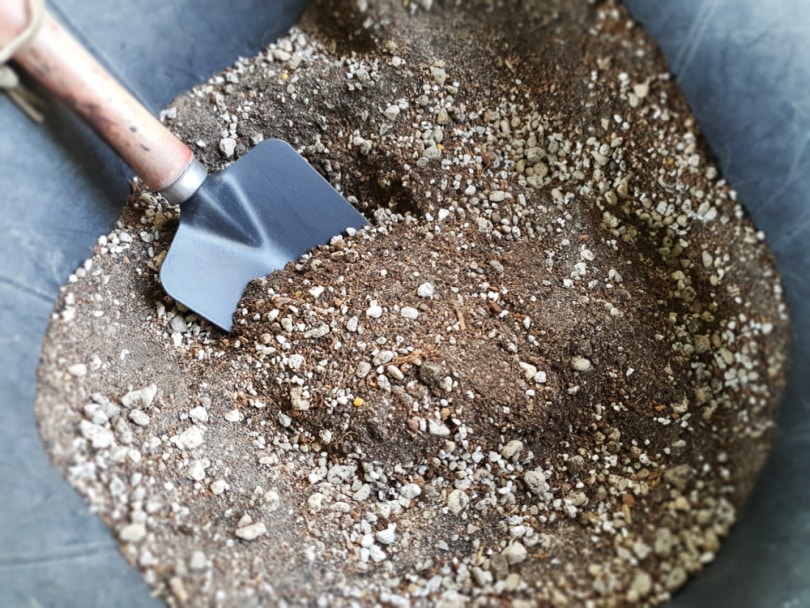
Besides the potting soil and perlite or coarse sand, you will need a few other items to complete the project. For example, you will need a large pail or bucket to hold the potting soil that you created so you can mix it. The bucket can also save the soil until you are ready to put it in pots. Many potting soils contain peat moss and other ingredients that can irritate the skin, so we recommend wearing a pair of gardening gloves. You may also need a small shovel to help you mix and move the potting soil.
- Potting soil
- Perlite or coarse sand
- Gardening gloves
- Shovel
- Large bucket or pail
- Smeller bucker or pail
The 4 Steps on How to Make Potting Soil for Lavender Plants
1. Start With the Potting Soil
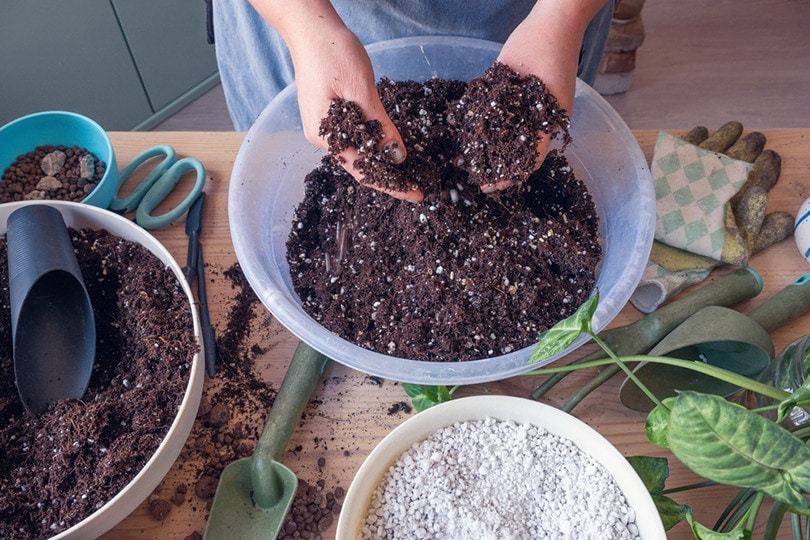
Start by dumping your potting soil into your large bucket or pail and stirring it up to ensure that there are no clumps. We recommend using gloved hands to stir the soil to make it easier to feel around, but you can use a small shovel if necessary.
2. Portion the Perlite or Coarse Sand
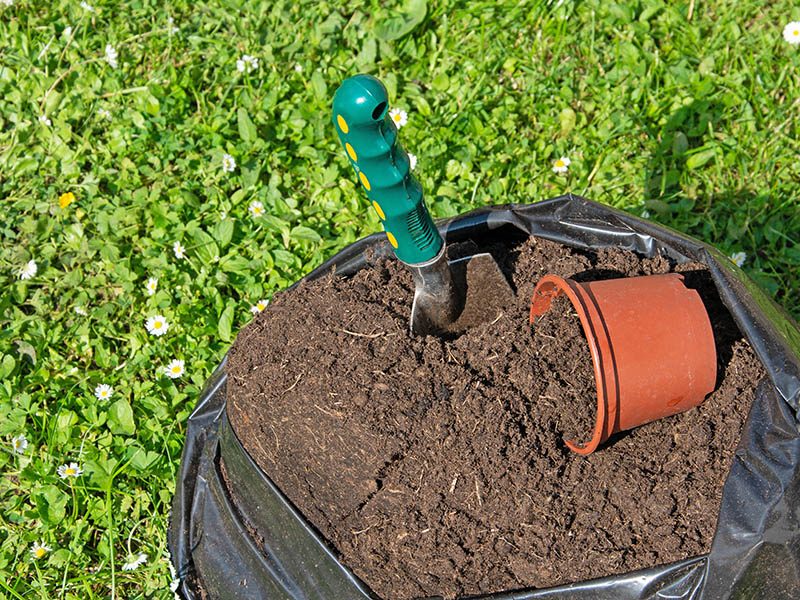
Both perlite and coarse sand work well to create well-aerated and well-draining soil without adding unwanted nutrients or changing the pH. We recommend perlite because it is easier to see in the topsoil, so you can get a more even mix. However, coarse sand works just as well and is usually less expensive. Portion out your perlite or coarse sand at the rate of one part per three parts of potting soil. For example, if you are using a 15-pound bag of potting soil, put 5 pounds of perlite or coarse sand in the small bucket.
3. Mix in the Perlite or Coarse Sand
With the proper amount of perlite or coarse sand set aside, you can mix it with the potting soil. It’s important to ensure that the mixture is uniform throughout, with no clumpy or bare areas.
4. Fill Your Pots
Once you mix the perlite or coarse sand evenly, your lavender potting soil is ready to use. Start filling your pots and adding your seeds or seedlings.

Other Tips and Tricks for Growing Lavender
- Avoid using too much fertilizer, as lavender doesn’t need much, and many brands of topsoil already include a large number of nutrients.
- Don’t work with the soil when it is wet.
- Wood chips and mulch can help improve soil drainage and is a good choice for soggy outdoor gardens.
- Transplant your lavender every 3–5 years to prevent it from becoming root-bound.
- Make sure there are plenty of drain holes in the pots you intend to grow your plants.
- Placing rocks or pebbles at the bottom of a deep container below the potting soil can help prevent water from building up and damaging the roots.

Summary
Creating your lavender potting soil is quite easy and only requires four steps once you choose the ingredients. We recommend coconut coir-based soil because it will provide a pH-neutral environment with perlite added to improve drainage and aeration. However, you can use any topsoil that isn’t too acidic, and coarse sand works just as well as perlite and is less expensive, albeit more challenging to ensure an even blend. Once the lavender is growing, it is low maintenance and won’t require much fertilization, just the occasional repotting every 3–5 years to prevent root rot.
Featured Image Credit: Meteoritka, Shutterstock
Contents