
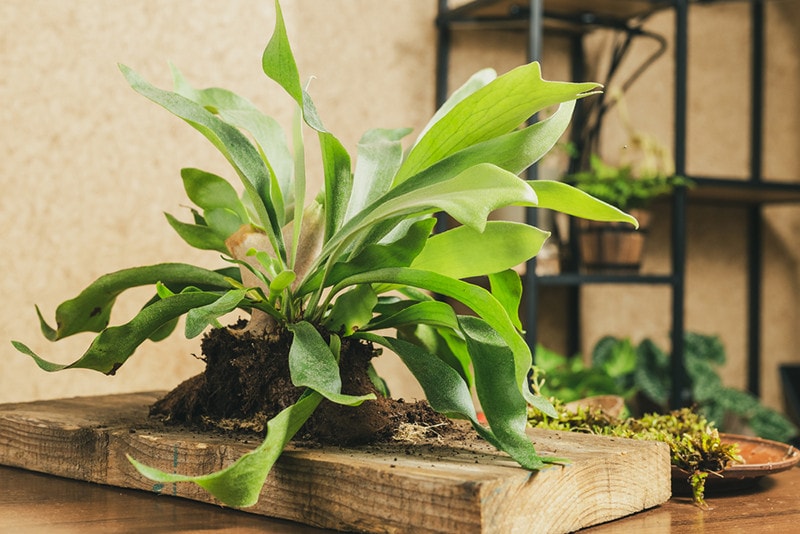
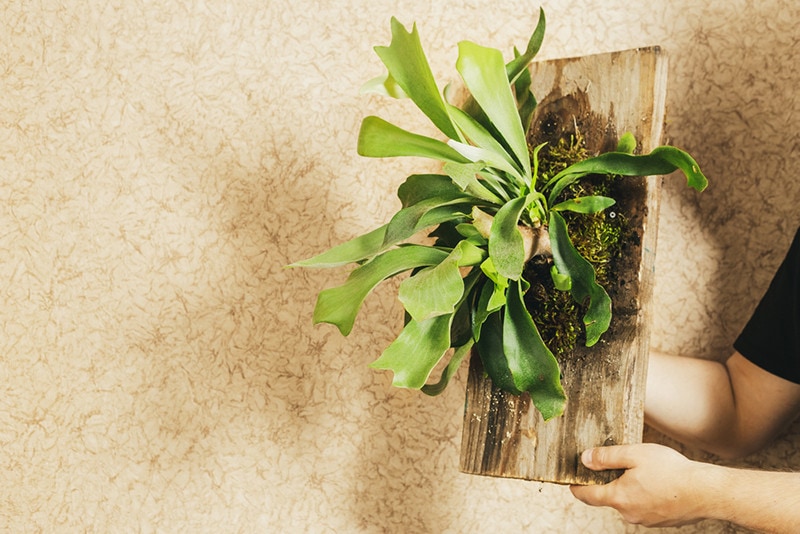
Unlike many other plants, a staghorn fern typically grows on the sides of trees instead of on the ground. If you have one of these ferns, mounting it can help it grow better, as you will be replicating its natural environment. However, many people aren’t sure how to properly mount a staghorn fern. If this sounds like your situation, keep reading as we provide you with a step-by-step guide.

Before You Begin
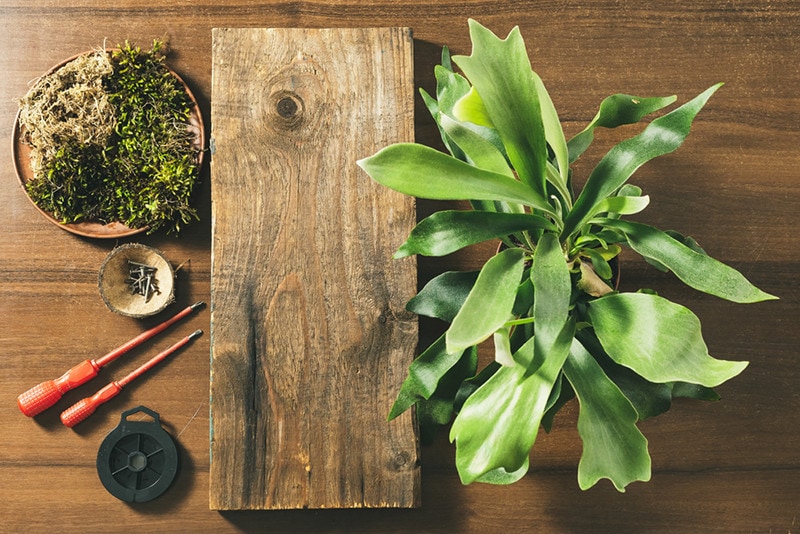
We recommend gathering your tools and supplies before you begin so you can complete the project in one go. Fortunately, you won’t require many items to mount a staghorn fern.
Tools and Materials
- 30-lb. fishing line
- Wooden plaque
- Long fiber sphagnum moss
The 8 Expert Tips on How to Mount a Staghorn Fern
1. Start Your Staghorn Fern in a Small Pot
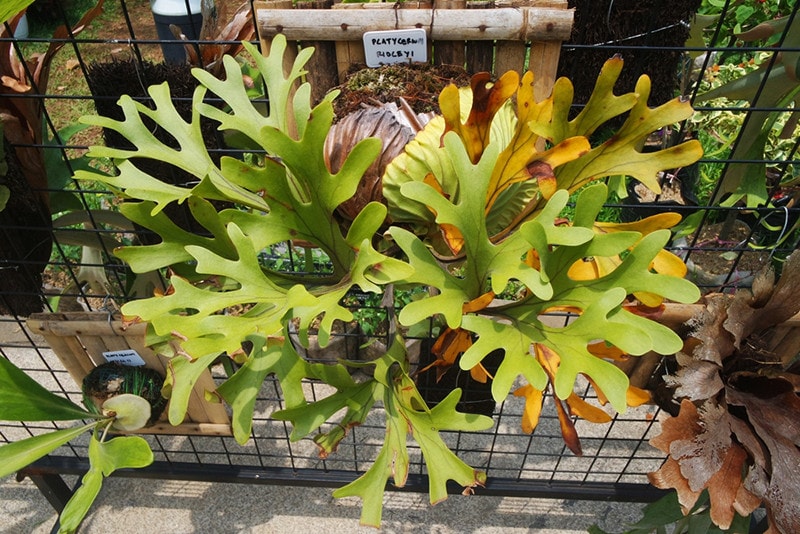
A staghorn fern is easy to start in a small pot and grows well, but once it reaches about 1 foot tall, it will be time to mount it on a plaque.
2. Choose a Mounting Plaque
A large, flat, square piece of wood about an inch thick makes a perfect mounting plaque for a staghorn fern. You can use a single board or glue several together to create your plaque. It will require making several small holes around the corners that you can use to attach the fishing line to mount the plant.
3. Remove the Staghorn Fern From the Pot
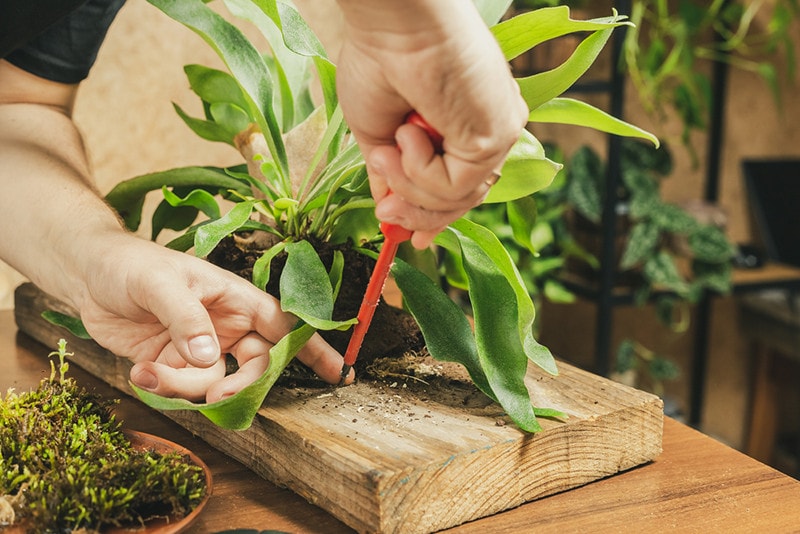
When your staghorn fern is ready for mounting, remove it from the pot. You will notice the roots are dense and fern-like. Turn the plant upside down, so the roots are facing up, and carefully pull them down to flatten them out so the plant will sit on the wooden plaque.
4. Position the Lead
If you look closely at your staghorn fern, you will likely see that it contains many different plants with a large lead or rhizome. When you position your plant on the mounting plaque, angle it so this lead or rhizome is at the top.
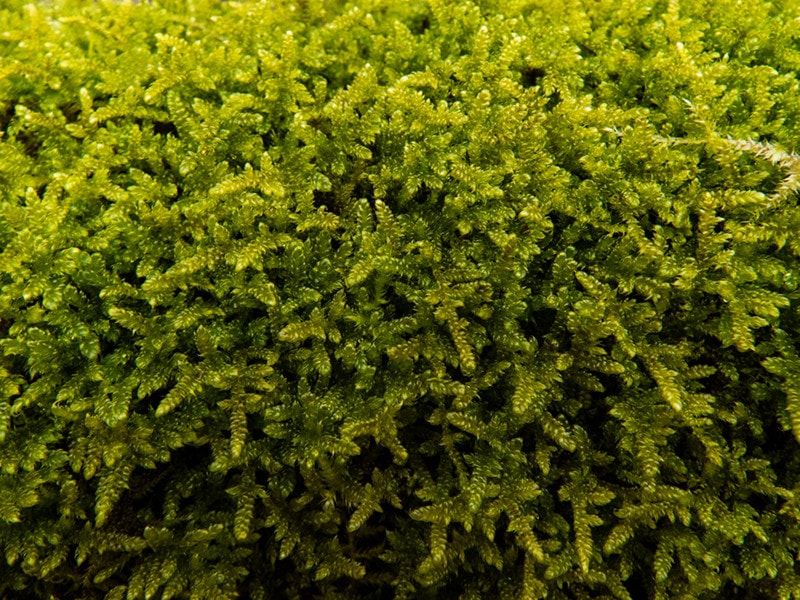
5. Add Sphagnum Moss
Purchase a long-fiber sphagnum moss from your local gardening center, and get it damp with water. With the roots of your staghorn fern spread out, place the plant flat on the mounting board, and pack the sphagnum moss around the base. Position the moss to create a cavity or shelf on the top that will help direct water to the roots.
6. Mount the Staghorn Fern on the Plaque
Use a small hole in your plaque to attach your 30-pound fishing line. Then, wrap the fishing line around your sphagnum moss and plaque several times to hold it in place. Place the fishing line over the original base to help keep it stable and wrap it many times in several different directions to hold it secure.
7. Mount the Plaque
With your staghorn fern mounted to the plaque, you will need to mount it high on a building or in a tree that will receive plenty of indirect sunlight.
8. Remount as Needed
As your plant grows larger, you can mount it onto larger plaques to help it grow even more. To remount it, cut the fishing line and repeat the steps listed here.
Tips for Growing a Staghorn Fern
- Water your staghorn fern frequently, but let the base dry out to the touch before watering it again.
- Water your staghorn fern once per week during the summer, but cut back to once every 3 or 3 weeks in winter.
- Mist your staghorn fern frequently to help provide moisture between waterings.
- Maintain temperatures between 55° and 100° for the best results.
- Avoid placing your staghorn fern in drafty areas of your home or near an air conditioner.
- A monthly addition of a water-soluble fertilizer can help your fern grow better during the summer.
- Placing your staghorn fern in a human area of your home, like the bathroom, can help it grow better. Having a humidifier can also help.
- Prune any dead or wilting leaves to help promote new growth.
The 5 Common Problems With the Staghorn Fern
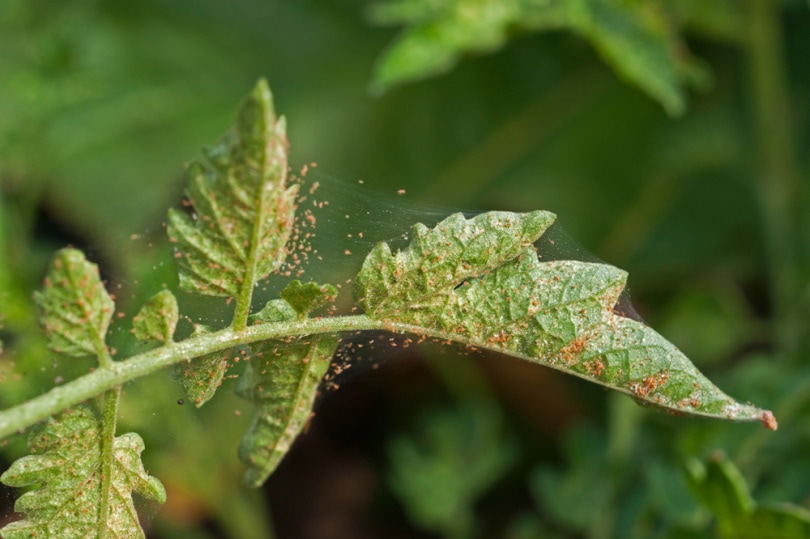
1. Spider Mites
Spider mites are tiny insects that are hard to detect with the naked eye. However, they suck the nutrients from your plant’s foliage and create small light-colored dots over the leaves. If the plants are indoors, you can eliminate the insects by removing the affected leaves and applying a natural insecticide.
2. Black Spot
Black spot is a fungal disease that leaves black spots that look like pepper across the affected foliage. Reducing humidity and watering less frequently can help eliminate this disease.
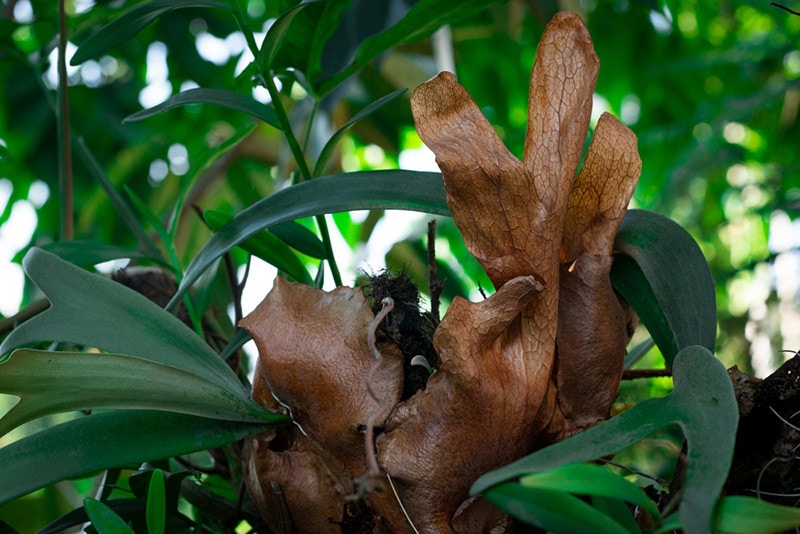
3. Brown or Black Base
The brown or black base of your plant is a sign that it’s receiving too much water. If you are certain that you are not watering too frequently, it can also be a sign that the plant is receiving too much sunlight.
4. Brown Leaf Edges
If you notice the edges of the leaves and foliage are starting to turn brown, it’s a sign that the plant is not receiving enough water. Increasing your watering frequency will help the leaves return to their natural green color.
5. Burnt leaves
If the leaves on your staghorn fern look burned, it’s a good sign that the plant is receiving too much sunlight. This plant’s leaves are sensitive to ultraviolet rays, and too much time in the sunlight can cause damage. Move the plant to an area where it will receive more indirect lighting to improve its health.
Summary
Fortunately, mounting your staghorn fern to a wooden plaque so it can grow more naturally is not difficult and requires only a large board and heavy-duty fishing line. You can remount it onto larger boards as often as you need to, and the process will always be the same. Make sure to place your staghorn fern in indirect lighting and water it when the soil feels dry for the best results.
Related Read:
Featured Image Credit: Andriana Syvanych, Shutterstock
Contents
