
Thanks to all the different cracks and crevices, trim can be challenging to paint. However, anytime you’re updating your home, it is often necessary to paint the trim as well, especially if it is extremely outdated.
Luckily, we’ve gone over all of the necessary steps to leave your trim with a smooth finish without too much trouble. Take a look at each step below to easily paint your home’s trim.

How to Paint Trim (8 Steps)
1. Shine a Light to Find Flaws
First, you’ll need to locate all the flaws in the trim, which may affect the paint job. You’ll need a suitably powerful handheld light. Then, shine it on the trim and look for flaws. If you find any, you should circle them with a pencil to make them easier to find later.
These flaws may include paint damage, rough edges, and any other obvious blemishes.
2. Sand the Trim
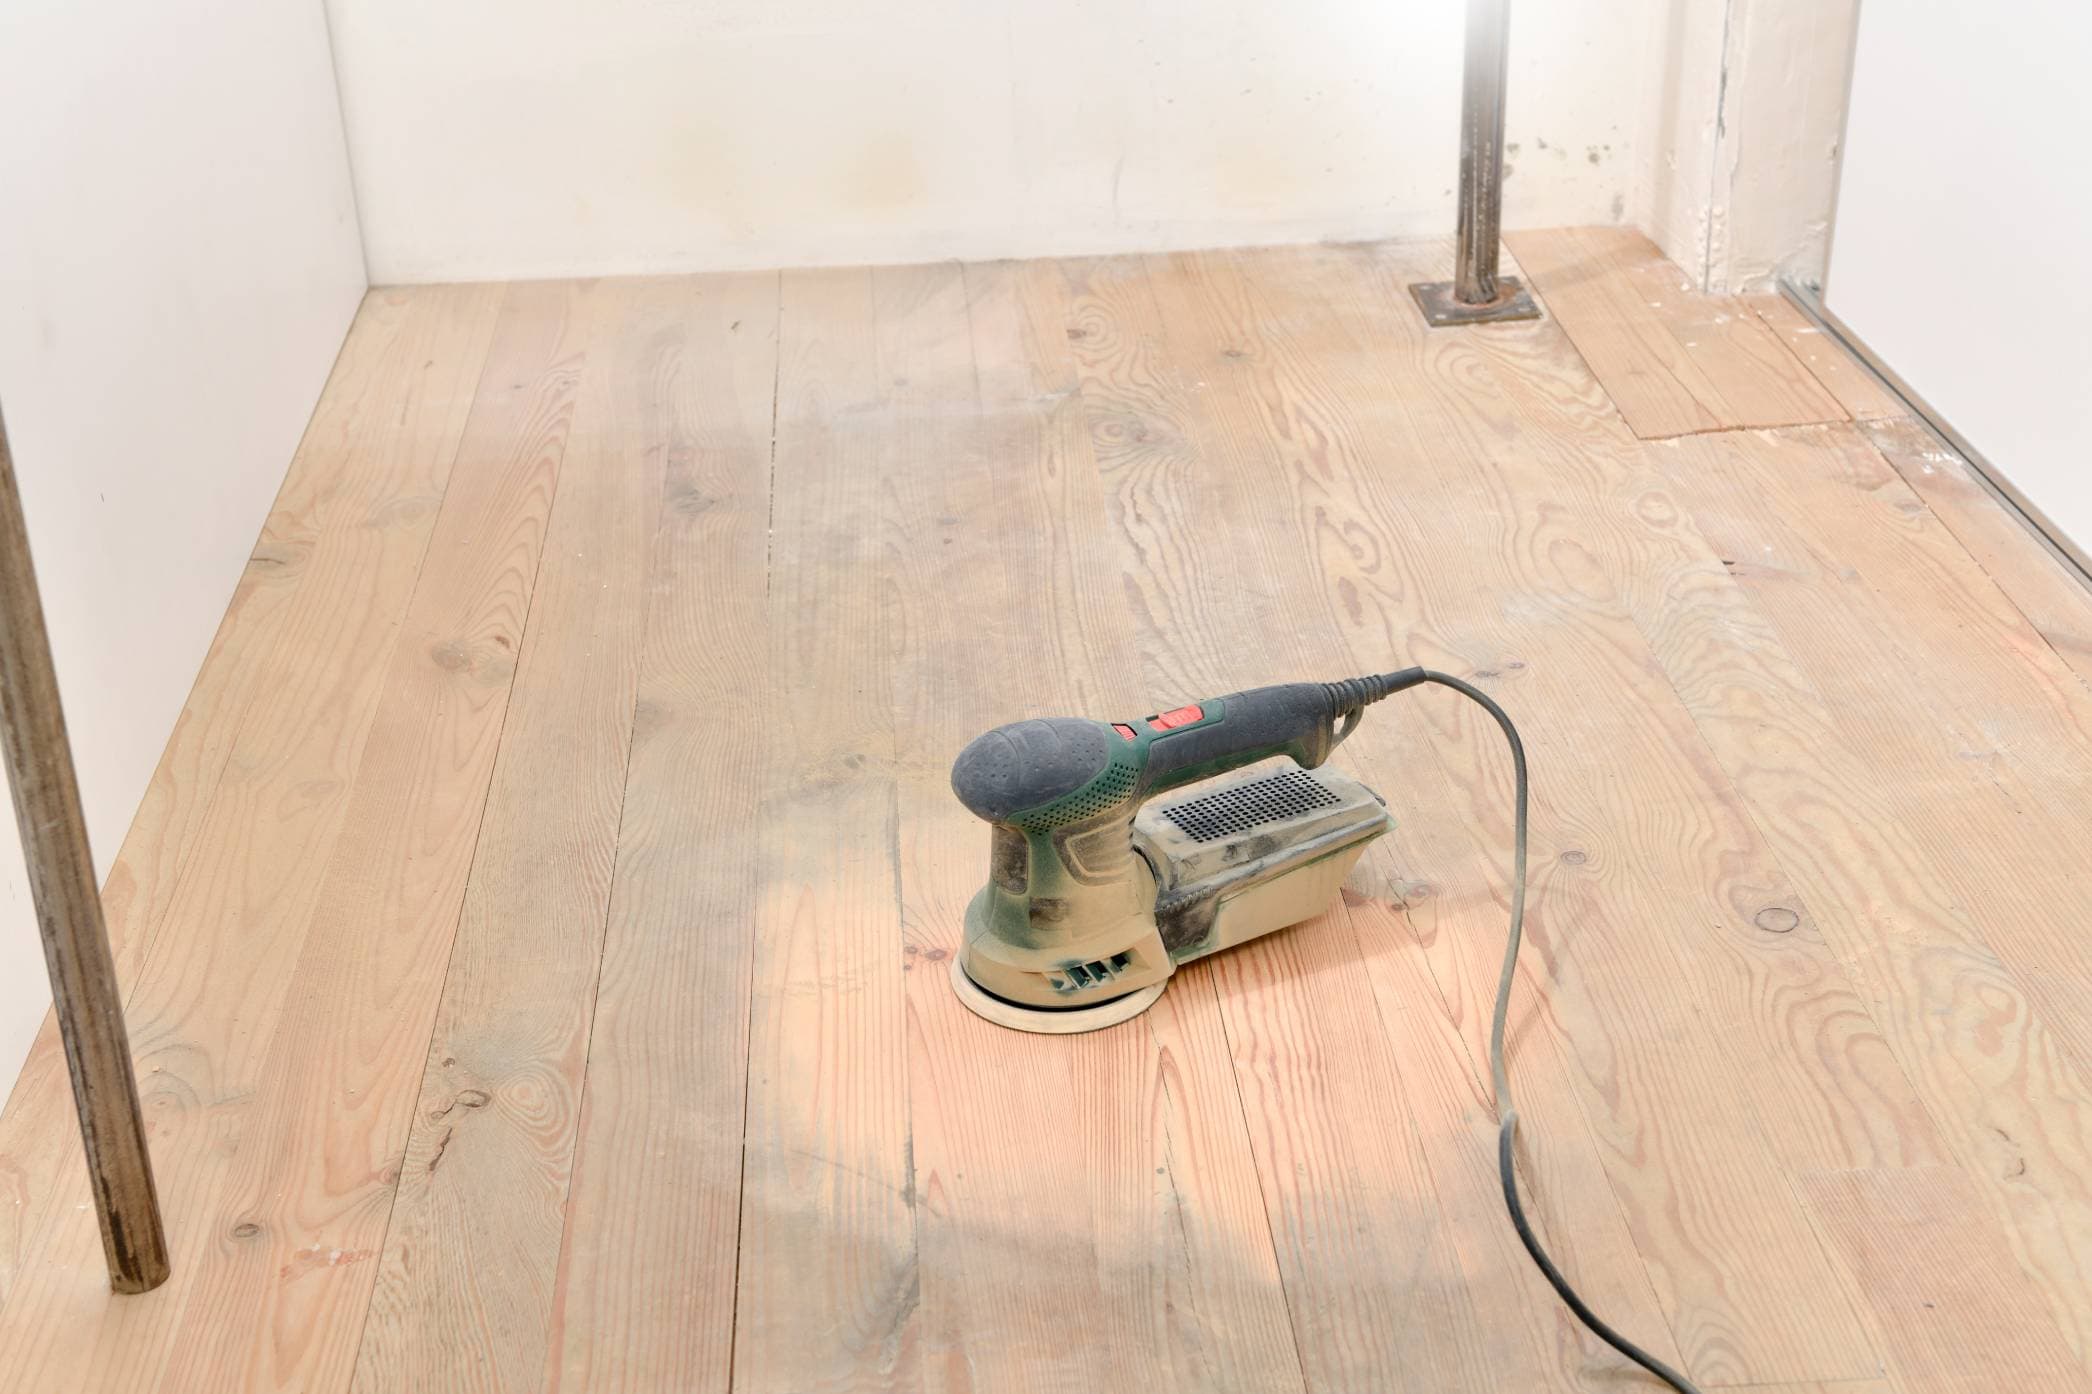
Before you start painting, you need a new and flawless surface. Because of the defects that have likely developed on your current trim, you’ll need to sand the trim down. Focus particularly on the flawed areas, especially if the flaws are bigger. Hopefully, you can sand them out and make the trim new again. If you can’t, you may have to purchase a new set.
You’ll need a piece of sandpaper for smaller areas and spot-work. You’ll also need a rubber sanding block for the bulk of the sanding since using only a piece of paper can be extremely tiresome. Sometimes, you’ll need a sanding sponge that conforms to the curves of the trim, but it does depend on the trim design.
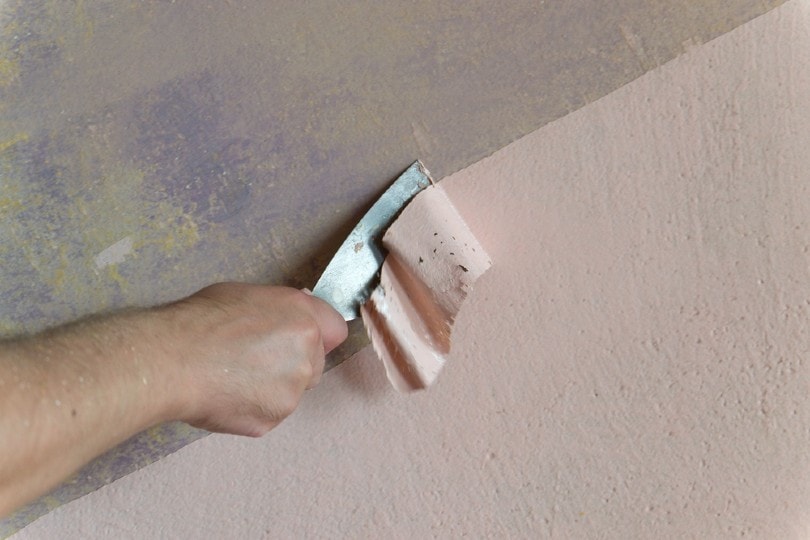
3. Use a Putty Knife on Tight Areas
For corners and other tight areas, you’ll have to use a putty knife to remove the old paint. Get as much as you can with the sandpaper first, and then remove everything extra with a putty knife. You want to renew the details of the wood while you’re at it but don’t damage the wood in the process.
4. Vacuum Thoroughly

Now that all the excess paint is removed, vacuum the trim thoroughly to remove any dust and debris that are leftover from the sanding process. You may also want to get an old, clean paintbrush to carefully remove any dust and debris from crevices and small details in the trim.
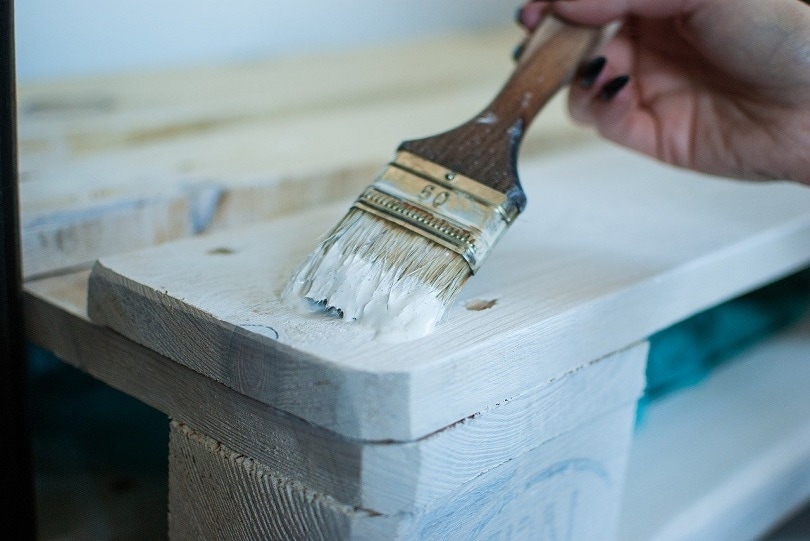
5. Prepare the Wood for Paint
Now, you can prepare the wood for actually painting. First, fill any holes or dents and prime them for painting. If you don’t, then the paint will be especially dull. Wipe down the wood with a damp cloth if you’re using water-based paint or a cloth if you’re using oil-based paint. You don’t want the trim to be wet at all if you are painting with oil-based paint, as this will cause the paint to not stick.
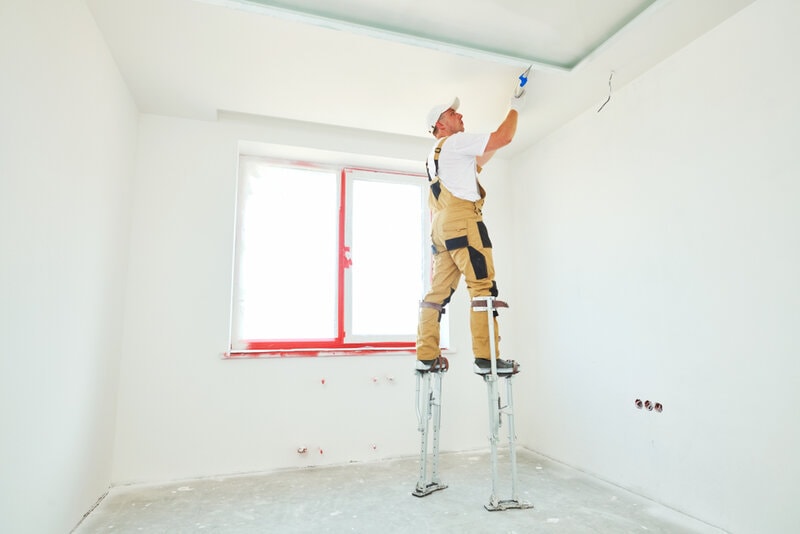
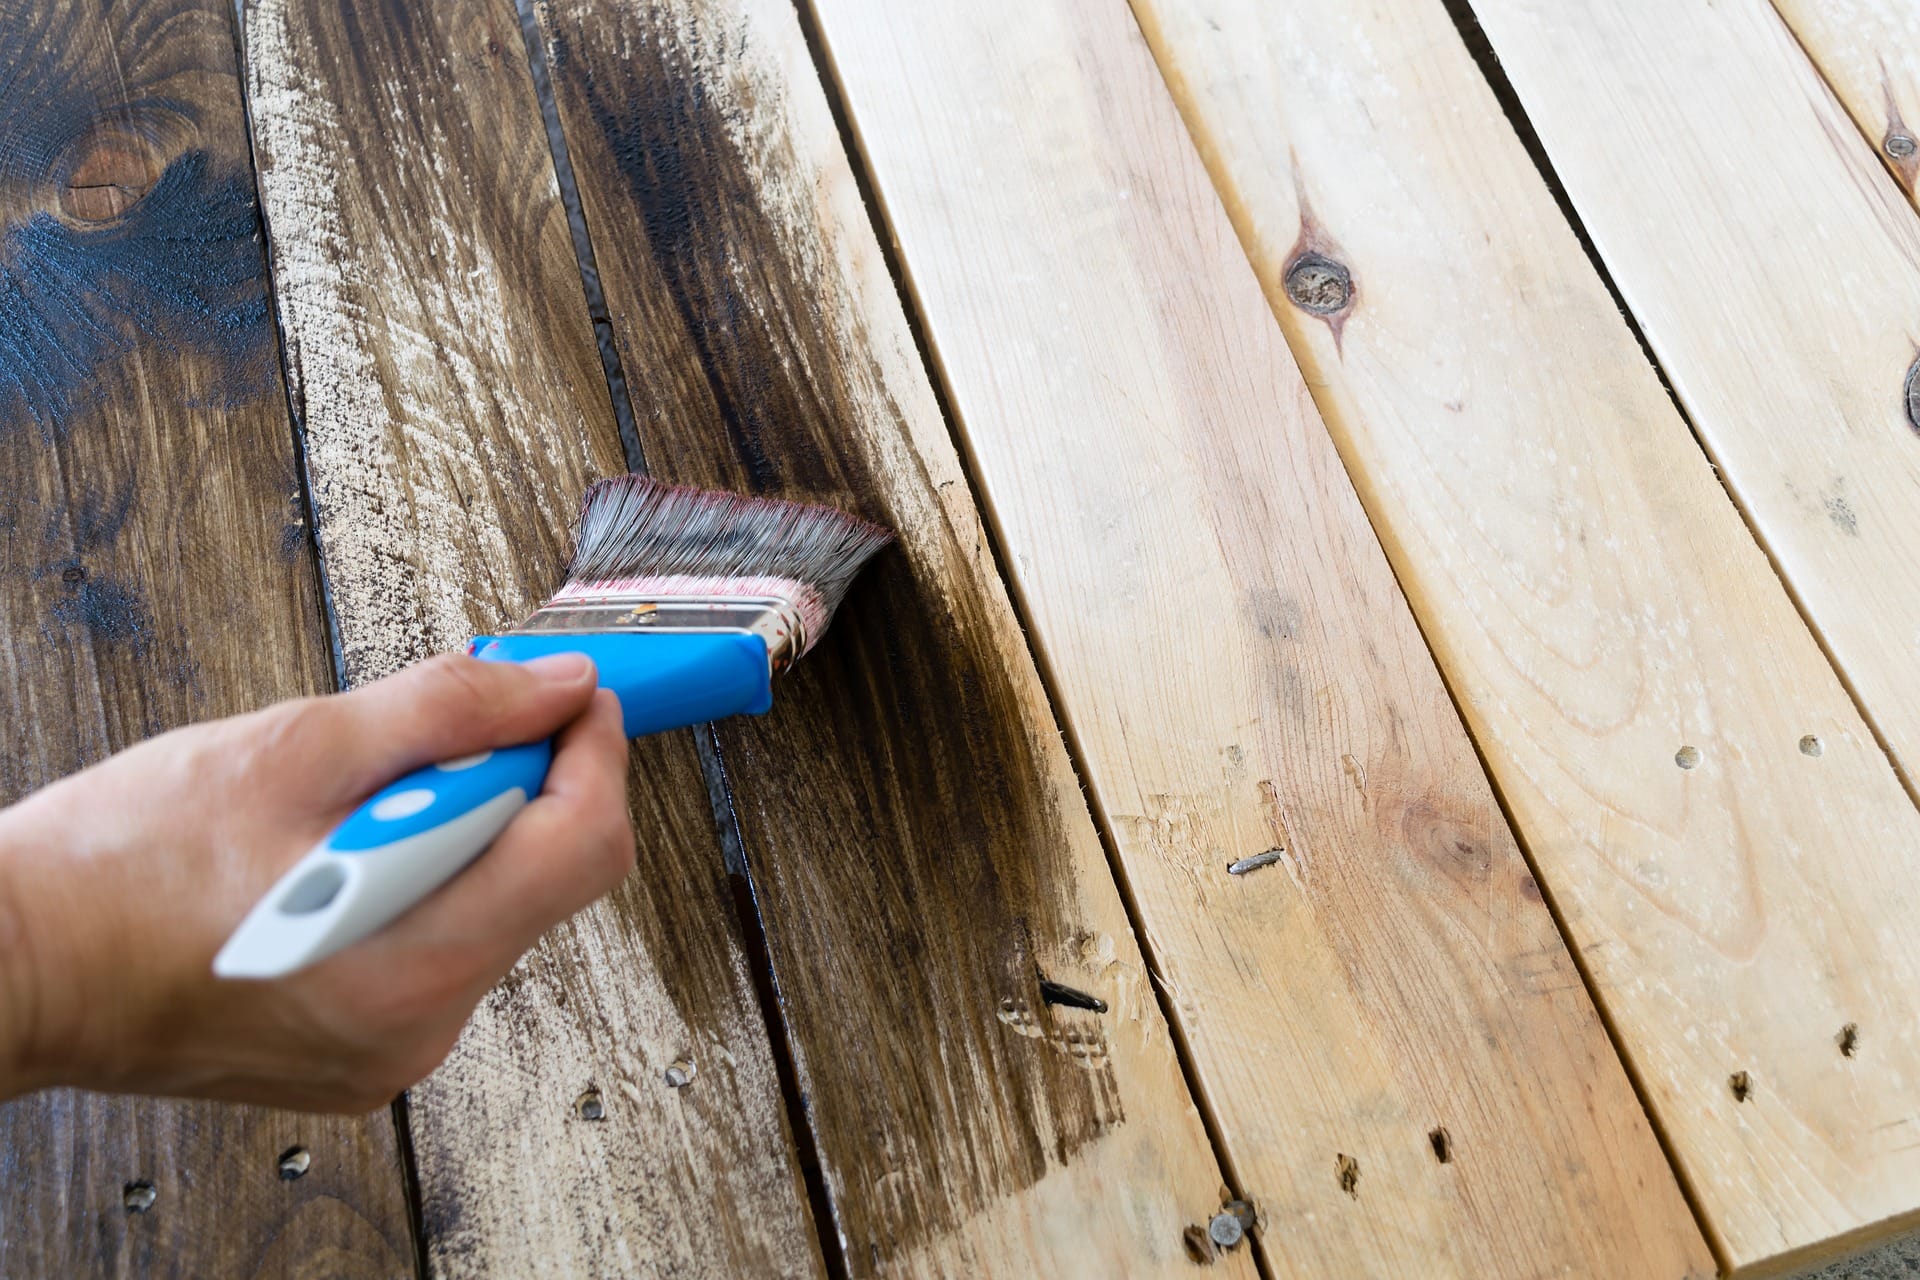
6. Paint the Trim
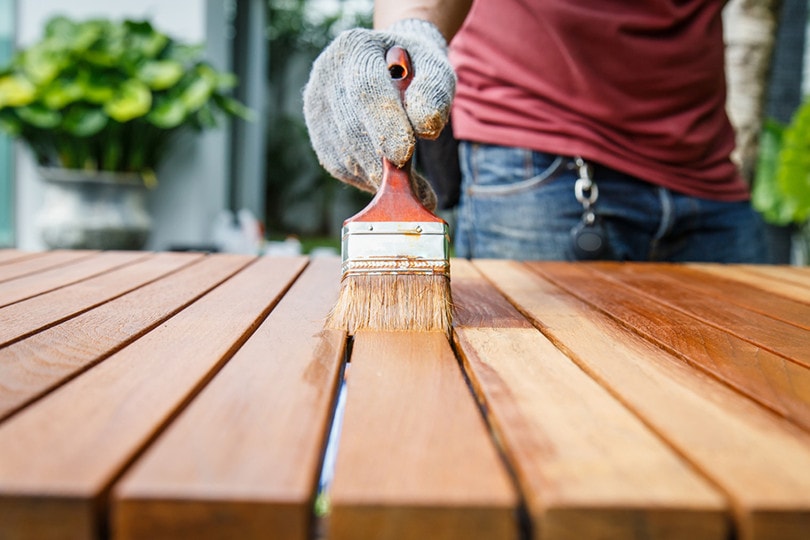
Next, you simply paint the trim! You’d paint the trim just like you’d paint anything else. However, you should sand it between coats to ensure that the finish is smooth—it prevents the finish from being grainy. You’ll likely need a sponge to get into the crevices but depending on your trim, you may not.
After you apply the first coat of paint, let it dry for 24 hours and then lightly sand it to smooth. Add a second coat next, which may or may not need sanding. Be sure to clean the trim before each coat to ensure that dust and debris don’t get stuck between the paint layers.
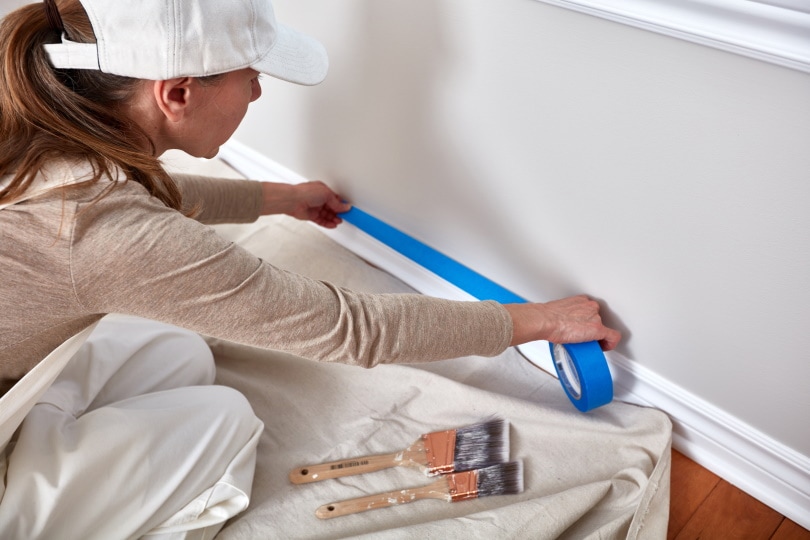
7. Caulk All Gaps
For a professional look, you’ll need to caulk any gaps, no matter how small they are. You’ll want a paintable blend to ensure that it looks like the rest of your trim. For the most professional look, you’ll need to have a very professional caulking job. Therefore, it may be best to practice a bit.
8. Spot Prime if Necessary
In some cases, you’ll need to spot prime over any spots that aren’t painting well. This helps seal discolored areas, especially those caused by crayons and markers. In many cases, these markings are harder to remove than plain paint and they can bleed through the finished product. Therefore, it is vital that you reseal the trim as necessary.
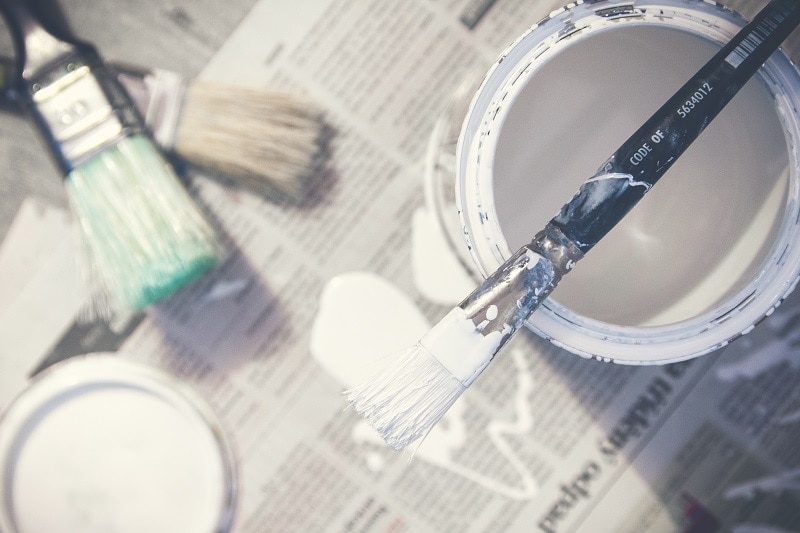
Oil vs Latex-Based Paint
One of the more important decisions to make is what kind of paint to use on your trim. Many professionals use oil-based paint because it doesn’t dry as quickly, which allows them more time to apply the paint. Furthermore, they also level out easier so the last job looks smooth.
However, there are many pros to water-based paints as well. For instance, they are more environmentally friendly since they are water-based, plus, they are also less sticky and easier to clean.
You can make water-based paint perform a bit better by adding a paint conditioner. Floetrol is one such brand, but there are others. These conditioners simply make the paint flow easier without leaving all of the brush marks. Often, brands of paint will recommend a particular brand of conditioner.
Can Beginners Paint Trim?
Painting trim may seem complicated, but this isn’t necessarily the case. As long as you take it slowly and play your cards right, you can paint trim pretty easily. It just takes a little bit of know-how. With the right information, you’ll be able to easily paint trim without too much of a problem.
The main problem is keeping the paint smooth and spreading it around evenly. The sanding helps with this a little bit, but you’ll need to get the paint smooth as well. The sanding can’t fix everything. We highly recommend that you practice painting if you haven’t already and take your time. Trying to speed through it can easily lead to mistakes. Beginners will need more time to paint than a professionals.
- You might also like: 17 COMPANION PLANTS FOR THYME (WITH PICTURES)
Conclusion
Painting trim does take a lot of steps, but most of this is prep work. You may be tempted to skip on the prep work, but this is not recommended. If you do, the paint job will be more difficult and not look nearly as nice. You’ll need to spend all the necessary time and energy sanding the trim, as this is one of the more vital steps. Prime more than you think is necessary, and be sure to sand after the first coat.
Be very cautious about prepping the trim before you actually paint, and the process will be much easier overall.
Featured Image Credit: Tomas Mikl, Shutterstock
Contents
