

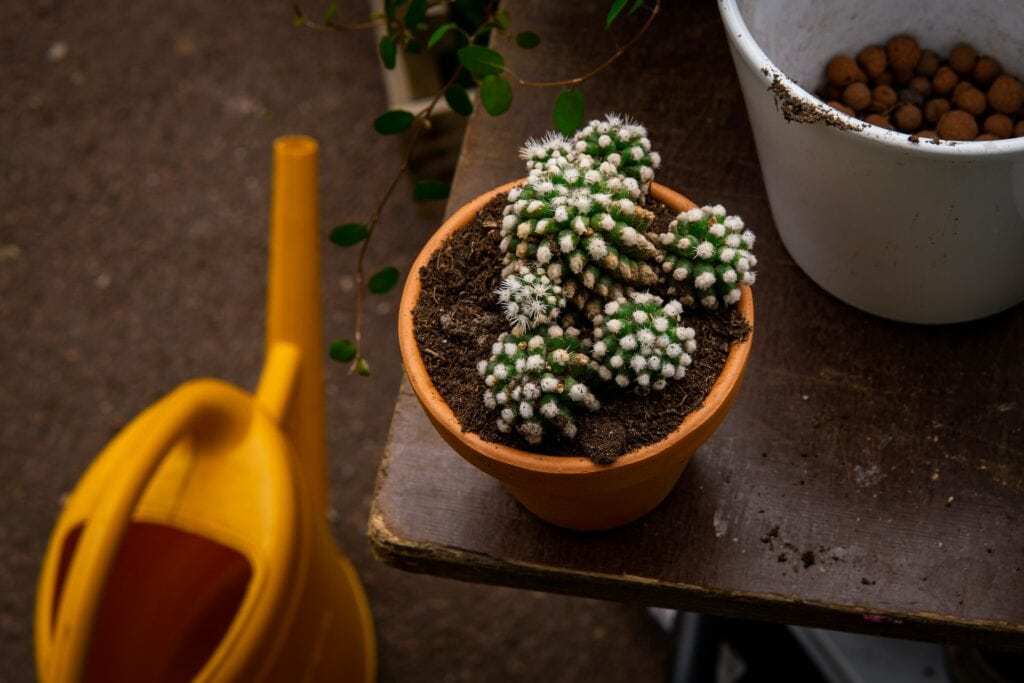
Cacti are a popular indoor plant because they do not require as frequent watering as other plants and tend to be easier to care for. Despite low maintenance requirements, they have a rugged beauty of their own, and other than dealing with the sharp spines, many cactus species are surprisingly easy to cut and propagate yourself, which means that you can create a whole forest of cacti from a handful of well-established parents.
Read on for details of how to propagate your cactus, including the different ways to cut certain types of cacti, and how to safely handle spines.

The 11 Tips & Tricks to Propagate a Cactus
1. Take Cuttings in Late Summer
If you live in a cold climate, you might struggle to grow cactus. Otherwise, the best time to take cuttings is when night-time temperatures are around 60°F and the weather is dry. Most people take cuttings between August and October for the best results.
2. Wear Protective Gloves
The spines really are the most difficult aspect of taking cuttings from cacti. They are sharp and can become lodged in the skin, and while your cactus will survive without any spines that become dislodged, they are part of the appeal of these incredible plants.
Wear protective gardening gloves or rubber gloves. If the cactus you are cutting is very well developed with extremely sharp and long spines, you may need to wear two pairs of rubber gloves to completely eliminate any chance of being stabbed.
3. Sterilize Your Cutting Knife
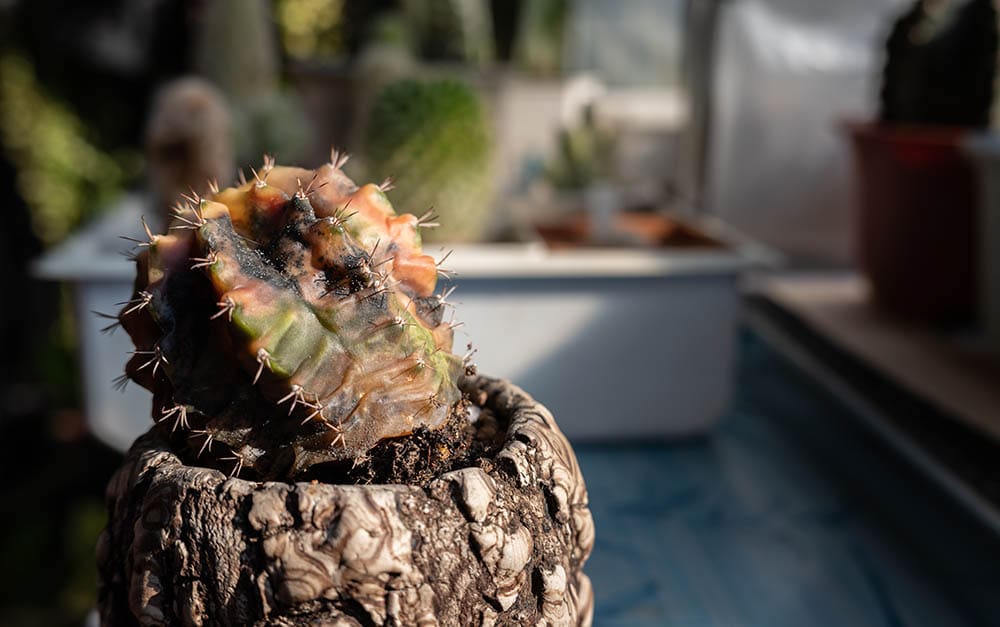
Taking a cutting from a cactus may require that you cut into the flesh of the cactus. This leaves the plant open and susceptible to bacteria. If you use a dirty or bacteria-riddled knife to take the cutting, bacteria can get in straightaway, causing the parent cactus to get ill and potentially die.
Create a diluted bleach solution by mixing one part bleach with 10 parts water. Wipe the knife down thoroughly with this mixture.
4. Cut the Cactus
Depending on the type of cactus, take your cutting using the knife you just cleaned. Barrel cacti should be cut at ground level. With padded cacti, you can cut a single pad off and use this as your cutting. With a columnar cactus, cut a length of approximately 4 inches from the top of the column and cut at a 45-degree angle to give the cutting and the parent the best chance of survival.
Once you’ve taken the cutting, remove any leaves or spines at the bottom of the cutting. This will make it easier when it is time to plant.
5. Use Rooting Compound
A rooting compound is a chemical that encourages root growth. Your cutting may root and grow without this chemical but using it will enhance your chances of successful growth.
Cover the cut end of the cutting with the powder. This is best done by putting the compound in a bowl and dipping the cactus cutting in the powder.
6. Let Your Cutting Dry
Once powdered, leave the cutting out to air dry for a few days. The exposed end should harden as the cut heals. The callus might form in a few days, or it could take several weeks, but the cutting needs to be kept dry throughout this process. Light level doesn’t matter, however, but you do need to ensure dryness.
7. Use Cactus Soil
Use a cactus potting mix or cactus soil. This includes organic and inorganic compounds, both of which are essential to cacti if you want them to take root and start to grow. Pour the soil into your chosen pot, leaving a small amount of room at the top of the pot.
8. Plant the Cutting
Make a hole in the soil and place the bottom third of your cutting in the hole. Push the soil gently around the cactus to ensure it is firmly in place. Don’t push too tight or be too vigorous as you could damage the plant but do ensure it is firmly fixed in place. With some cacti, you may need to bury as much as half of the cutting under the soil to make sure it doesn’t topple.
Once you’ve transplanted your cutting, water it immediately. This will help the roots grow and ensure stability more quickly.
9. Place the Cactus
Your newly planted cactus needs partial sunlight and partial shade, and it should get a consistent amount during the day. If you have a spot indoors where your cacti already grow well, you can try placing the pot here. Alternatively, place it outside under a tree with good foliage.
10. Water When the Soil Is Dry
Young cacti will need more watering than their parents, but you still need to take care not to overwater this type of plant. Check the soil every few days and, if it feels dry, give a little water.
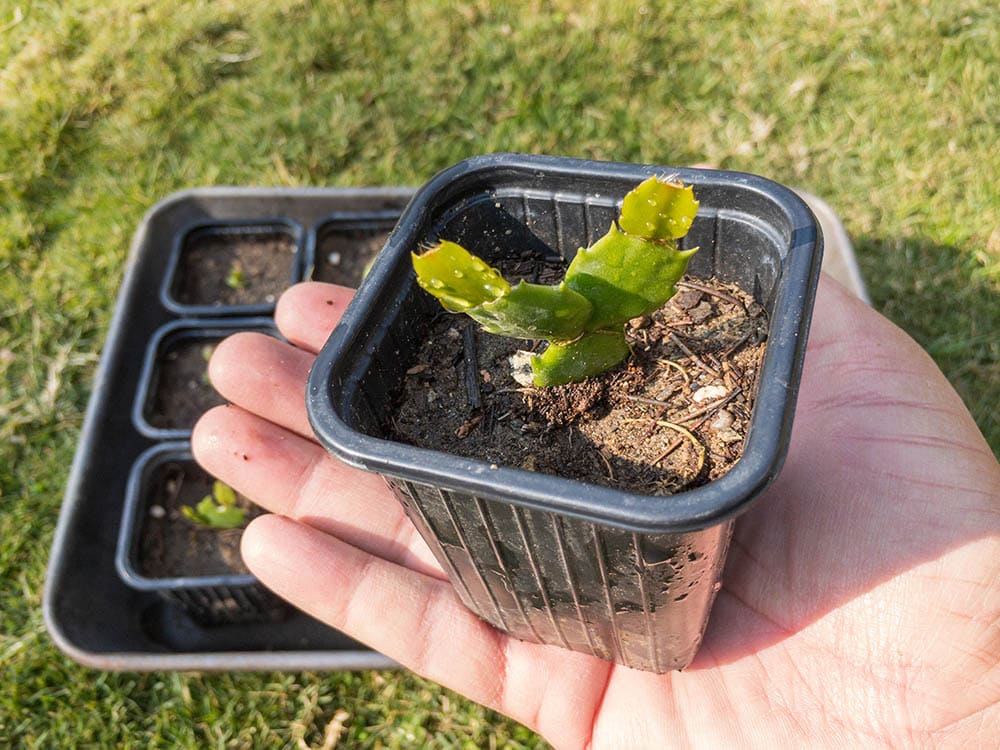
11. Replant in a Bigger Pot
While some cacti are quick growers, others may develop very slowly. Monitor your new baby over the course of the next few weeks, and once it has developed and started to grow to be too large for its current home, replant it into a larger pot. To do this, you want to remove the whole cactus, including the roots it has developed, and place it into a hole in a mixture of cactus compost and pumice.
In Conclusion
Cacti are an especially popular choice of house plant for those who are looking for a low-maintenance plant that is easy to care for. There are many species and variants of cactus, with their own growing habits and appearance, but most can be propagated successfully at home to yield young, small cacti that will develop over time.
Featured Image Credit: Earl Wilcox, Unsplash
Contents
