
For generations, the Camellia Japonica (commonly known as the Camellia) has been treated as royalty. This broad-leaved shrub has graced the grounds of various temples in Japan where the gods of the Shinto religion were worshiped and served as an ornamental species in gardens of nobility.
In this article, we’ll teach you how to propagate one of the most revered plants in different cultures.

Preparation
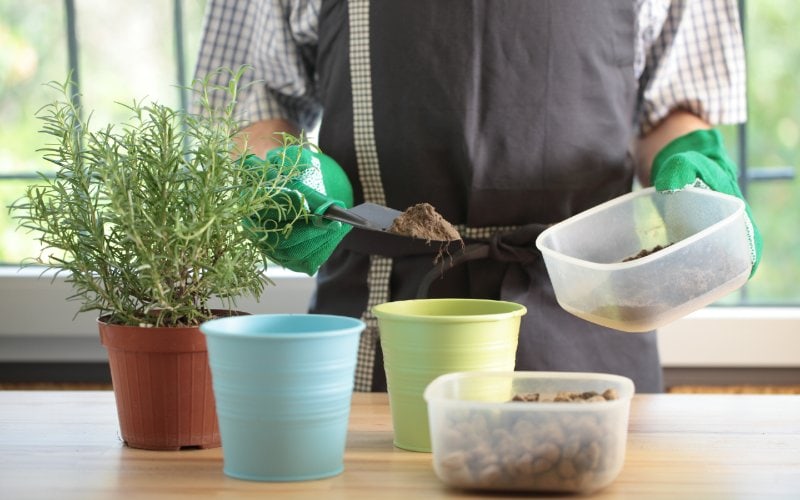
Like all things, you have to be prepared for this process. And part of preparation is making sure that you have all of the following items:
- Spray bottle
- Gloves, apron, protective eyewear
- Rooting powder, gel, liquid
- Garden heat mat
- Peat moss
- Pruning shears
- Clear plastic bag
- Containers
- Coarse sand
The 8 Expert Tips on Growing Camellias From Cuttings
First off, we feel obligated to remind you that this species can be propagated using different methods. But they don’t yield the same result. If you think you’ll be successful with the cuttings, this is how to go about it:
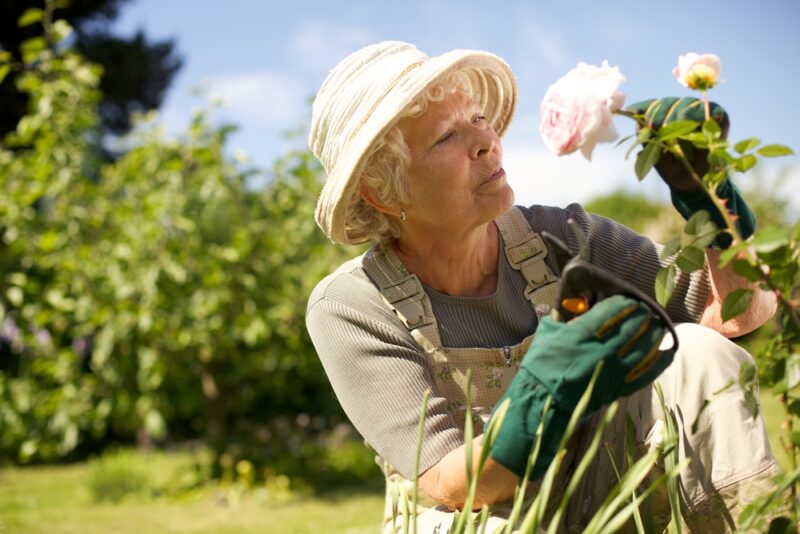
1. Wear Protective Gear
This is a requirement as it ensures that you’re not only safe, but also comfortable. A hat will protect your scalp from the sun, the apron will protect your inner clothes from spills, dirt, and dust, and the gloves will protect your hands. Rooting hormones are notorious for causing skin and eye irritation, so you’ll have to put on your goggles.
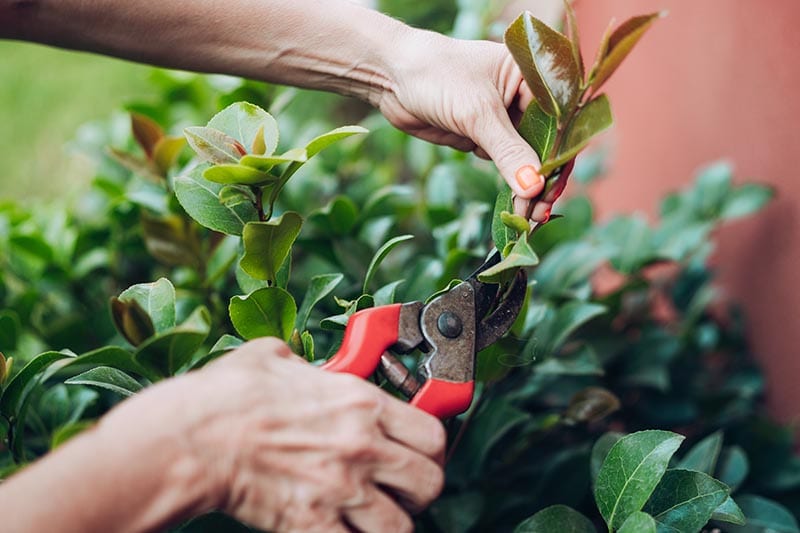
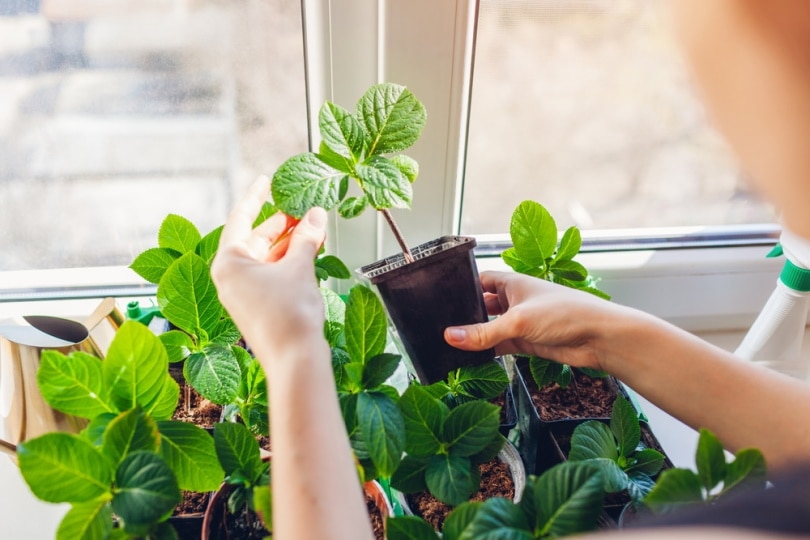
2. Picking Out Stems
To successfully propagate a healthy plant, you’ll need healthy stems. And the best time to harvest the said stems is during spring, or early summer. There’s a technique for cutting its stem, by the way. You can just make cuts anywhere you feel like, as this would traumatize or stress the plant.
What you first need to do is to locate the tip of the stem. Once you see it, start counting back to the fifth leaf node, and then make a diagonal cut. We always make sure it’s slanted or diagonal to help the young plant absorb nutrients and water. Also, the cut must be behind and not in front of the node. The node is the part of the stem where the mature Camellia species grows its leaves. However, it serves a different function on the cuttings, as it’s the point where the roots start developing.
Don’t make the mistake of getting rid of all the leaves on the cutting. You’re supposed to leave the top two leaves, to give the new plant an opportunity to make its own food. In botany 101, you’ll get to learn that the chief function of the leaf is to help the plant produce food through photosynthesis.
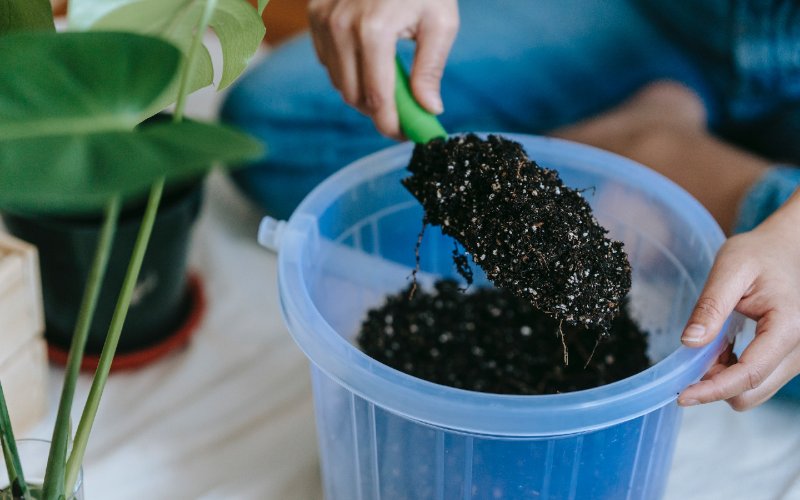
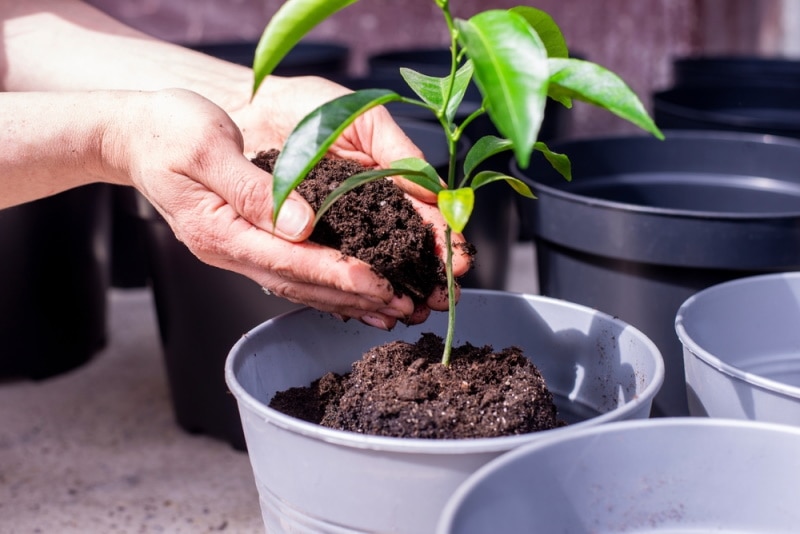
3. Fill a Container with Peat Moss and Coarse Sand
The Camellia is one of those species that require an acid soil to thrive or to avoid stunted growth. So, peat moss will assist us to manage and maintain our soil’s pH, to ensure it’s not too alkaline. When it comes to choosing the ideal soil, we like to go with coarse sand. The type of soil that’s always dry but not too dry, soft but not too soft, and gritty to the touch.
Coarse sand has the ability to retain the required amount of water as well as nutrients, and promote remarkable aeration. Using a ratio of 1:1, evenly mix the two potting-mediums, and then transfer the mixture to a container that’s at least 4 inches deep. After you’re done, add some water to wet everything, but not too much water. All the excess water has to be drained out before planting starts.
If you think the mixture is ready, start making holes in it using a stick that’s the size of your fingers. The distance between the holes should be about 2 inches.
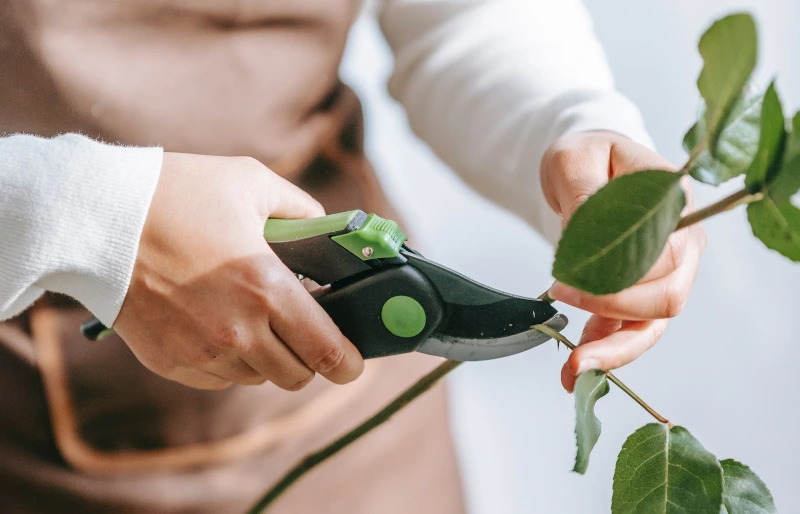
4. Applying a Rooting Hormone
We usually have three types of rooting hormones. There’s the rooting powder, rooting gel, and liquid rooting hormone. Needless to say, even in their different forms, they are still the same synthetic chemical substance applied to various leaf or stem cuttings, to promote the growth of their roots.
Look for a container that’s disposable, add 2 to 3 tablespoons in there, and then dip your cuttings for a couple of seconds. When you’re ready to start planting, remove all of them, shake off the excess hormone, then stick each one of them into the hole you previously made. They should be at least 3 inches deep.
To prevent the cuttings from tipping over, firm the medium around them using your hands or any tool you find effective.
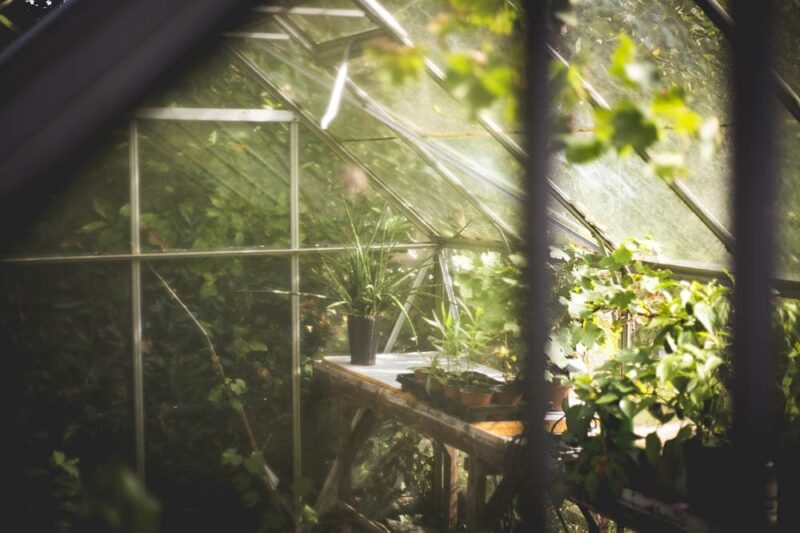
5. Create a Makeshift Greenhouse
Creating a greenhouse environment for your cuttings is a breeze. All you need to do is to cover the container using a clear plastic bag and that’s it! Don’t forget to seal it in, as this will help you mimic the high humidity levels of a real greenhouse chamber. The role played by the humidity is considered vital, since it facilitates the presence of moisture in the surrounding air.
That being said, to prevent the growth of pests, pathogens, or bacteria, you have to constantly check the levels, to be sure they are optimal/balanced.
6. Allow the Cutting to Access Sunlight
Assuming you’re working outside, you need to set the container on a heat mat that you’ve laid under a shade—preferably under a tree, away from direct sunlight. Unless the plan is to cook the cuttings, your setup should be protected from the unregulated heat of the sun. Preset the heat mat’s temperature to 75ºF.
7. Open the Plastic Bag
You’ll have to open the bag four to six times per day, to mist your cuttings with clear water. Just don’t make the soil soggy.
You’ll also use that as an opportunity to check for any bacterial or mold growth. If there’s a cutting that’s not doing so well, or if it has traces of mold on the surface, discard it.
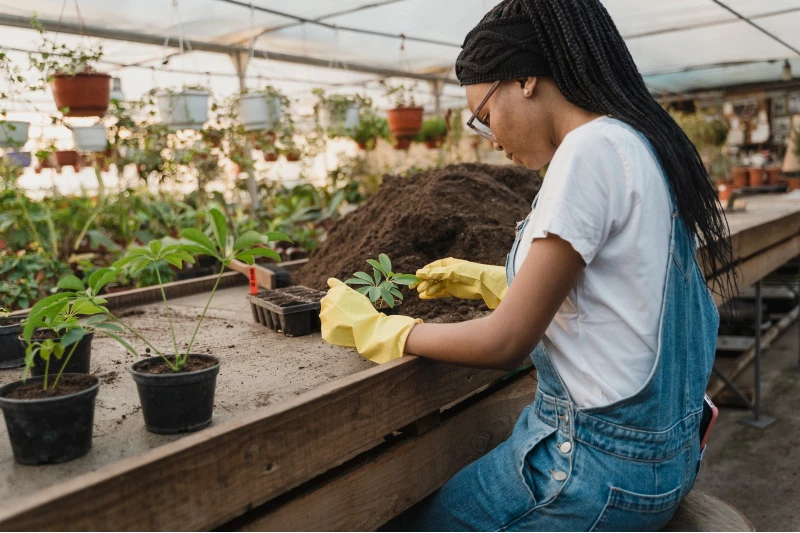
8. Keep Checking the Cuttings
Your cuttings should have roots already developing after 3 months. Try to gently pull the leaves to gauge if there’s some sort of resistance. If there is, look for more containers. You’ll have to transplant some of the new plants to provide them with more room for growth.
Other Methods of Growing Camellia Japonica
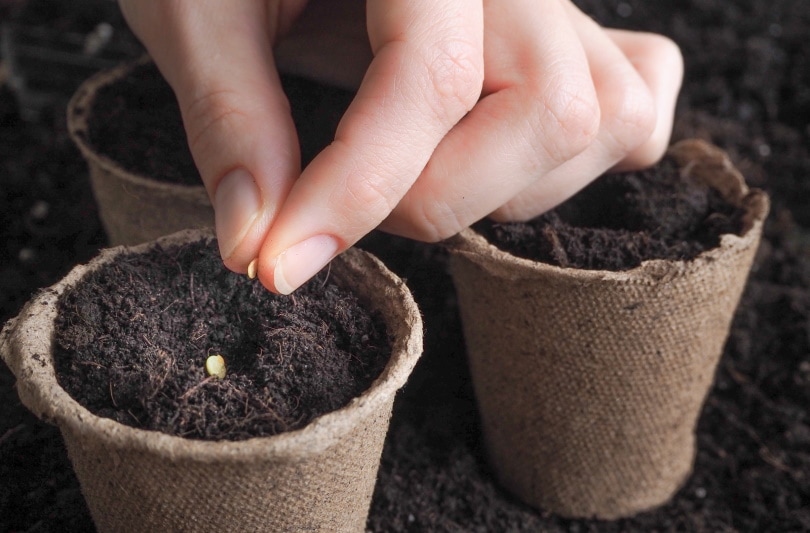
Seeds
Seeds are used by gardeners who don’t wish to grow camellias that resemble the parent. So, if your primary goal is to propagate a plant that has the same unique traits as the parent species, you’ll have to explore another avenue. Obviously, the cutting option is one of those methods.
Seedlings
Camellias are known to inadvertently drop seeds every now and then whenever their pods split open. Sometimes, the “droppings” sprout too close to the parent plant, consequently competing for nutrients and moisture. If you’d like to have more Camellias filling up your garden space, you could transplant them to a new location.
Grafting
In gardening, there’s a propagation technique that often leads to the creation of a chimera—a species created when the severed parts of different plants are connected. The upper section of one plant (scion) can be connected to the lower section of another plant (rootstock), to create a new plant.
This technique can be applied to plants of the same genus and species, or to plants of the same genus but different species.
Layering
With this method, you’ll allow your parent camellia plant to grow roots on its branch. Once the roots are fully developed, you’ll make a clean slit around the circumference, to free the new plant from the parent species. So technically, layering is similar to the cutting method, except in this case, the roots have to develop first.
In Conclusion
The beauty of the Camellia has been used for centuries as an inspiration for artists from all walks of life. They can help you turn your garden space into paradise, without spending a dime. We hope this guide will be useful in helping you propagate Camellias at home.
If you feel like the cuttings are too much of a hassle, try planting seeds instead.
Featured Image Credit: samuel perales, Shutterstock
Contents
