
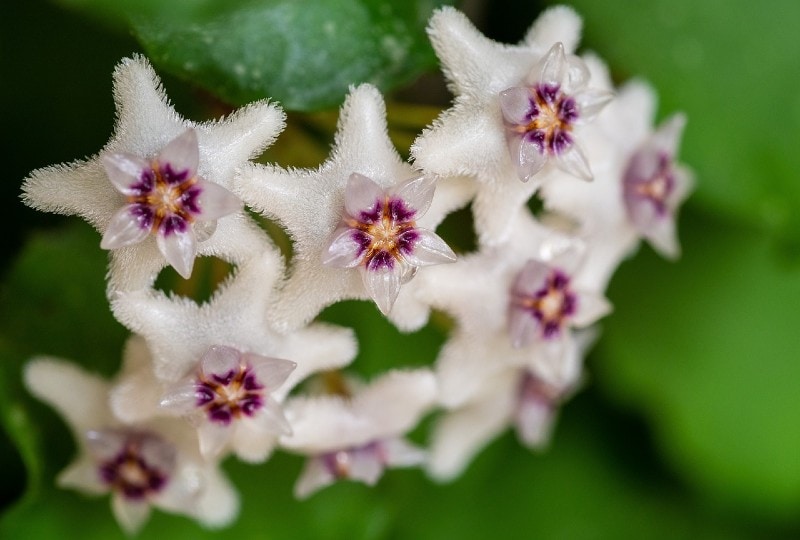
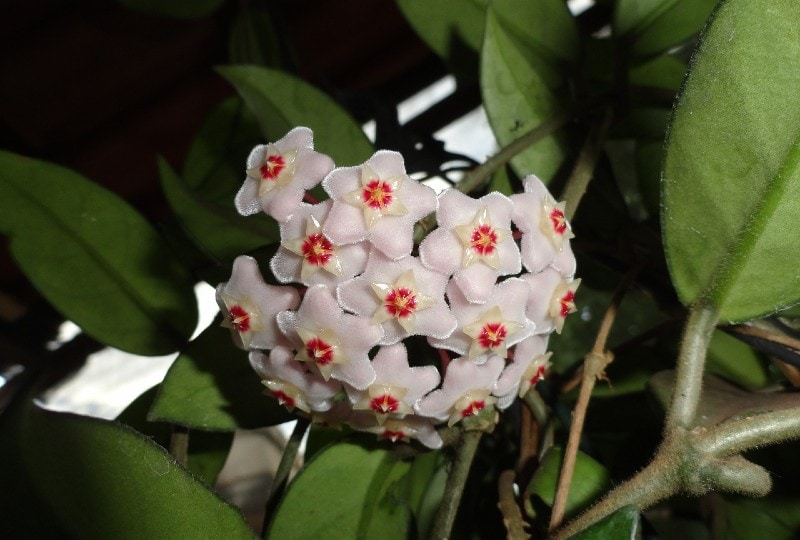
Having one hoya plant is great, but what about having two or more? Sure, you can go out and purchase more, but where’s the fun in that? Not only is it more fun to try and propagate the plant on your own, but it will also save you some money.
Even better, if you figure out how to do it you can get as many hoyas plants as you’d like. So, if you’re looking to propagate hoya keep reading. Our 12 expert tips will walk you through everything you need to know to have a successful experience and multiply your hoyas collection in no time!

The 12 Expert Tips for Propagating Hoyas
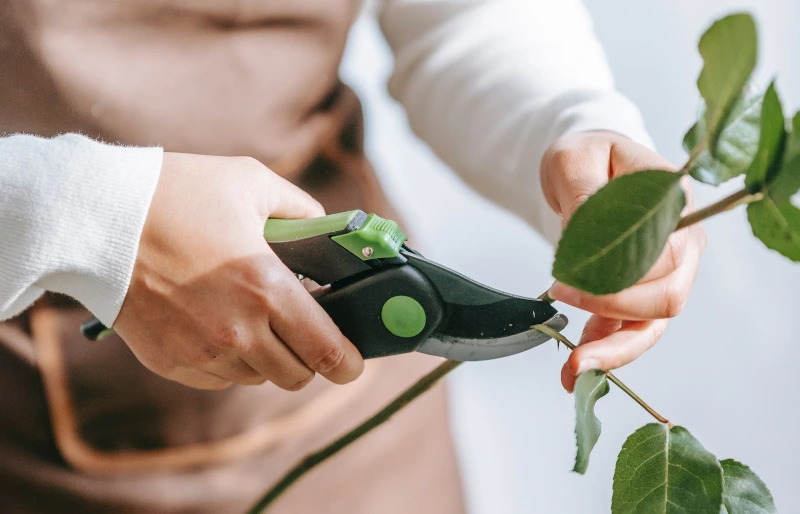
1. Use Cuttings
While some people say you can propagate from leaves, the easiest and most effective way to propagate hoya is with cuttings. Cuttings provide a more defined structure and are much easier to grow roots from.
Take a cutting during the growing season in the spring and aim for a cutting that’s four to six inches long with between two and six leaves for the best results.
2. Develop Roots
Once you get the perfect cutting it’s time to start developing the roots for your new plant. You can stimulate root growth in either a water or soil medium to stimulate root growth. If you choose a water medium, wait until the roots grow between 2 and 4 inches before transplanting it to a soil mixture.
Give the roots plenty of time to develop before moving them, the roots are the backbone of the entire plant even if you can’t see them!
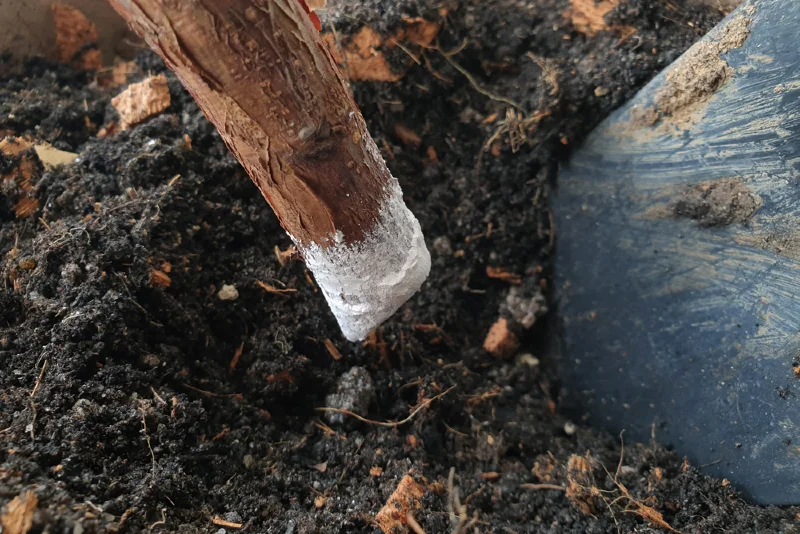
3. Use a Rooting Hormone
If you plan on using a soil method to help develop the roots of hoya, then a rooting hormone will be your best friend. Rooting hormones help stimulate the necessary development of the plant to grow roots, which is a big help!
Use a high-quality rooting hormone and coat it on the base of the cutting. Plant the cutting with the rooting hormone then give it time and the roots should grow!
4. Use Sharp Shears
When you’re doing your cutting, you need to use sharp shears to get a clean cut. This will give you a clean slice across the stem without crushing anything, which makes it much easier for the cutting to grow roots and absorb all the nutrients it needs.
Dull shears might break off the cutting, but if it crushes the stem in the process, it can ruin the propagation process right at the start.
5. Clean Your Tools
It’s one of the easiest, most crucial, and often most overlooked steps in the propagation process. When you’re cutting the plant, you’re getting to some of the most sensitive parts of the plant. Moreover, when cutting you’re taking a collection of everything on the plant.
If one plant has a disease and you take a cutting from another, there’s a good chance you will spread the disease to that plant. Finally, bacteria can grow on your shears between uses, so you need to take the time to clean them before you use them on any new plants.
6. Use the Right Soil
There are tons of different soil options out there, and for hoya, there are two common options for you to pick from. Both sphagnum moss and a standard potting mix are outstanding choices.
These soil options provide all the nutrients your plant needs to propagate and thrive once the root structure develops. Ensure the soil drains well, and the pot you choose has a drain hole, so the soil doesn’t end up waterlogged.
7. Keep It Warm and Humid
Hoya likes warm and humid temperatures and meeting all the requirements the plant needs is especially important during propagation. Always keep temperatures above 60 degrees Fahrenheit and consider putting a humidifier near the plant or misting regularly throughout the day.
Meeting all these conditions is extremely important early on, but even as the plants mature you want to keep up with all these requirements to get the best results.
8. Use Indirect Sunlight
Hoya loves sunlight and needs plenty of it, but it needs indirect sunlight. Direct sunlight will overwhelm the plant, stunt its growth, and potentially kill it. The fact that hoya thrives off indirect sunlight is a big reason why hoya is such an excellent houseplant option.
Find a place by a northern or southern-facing window or place the plant a little farther in the house so it’s not getting direct sunlight.
9. Use Enough Water
Too much water and you’ll create root rot, but too little water and the plant will dry up and die. It’s a fine balance, but if you’re looking to propagate and grow hoya you need to find it.
Mist the plant to increase the humidity levels and water when the top layer of soil dries out. Ensure the pot has a drainage hole too. This will ensure there’s not a ton of water sitting below the surface while the top layer dries out.
10. Use Fertilizer
This isn’t a completely necessary step but using fertilizer will help ensure the plant gets all the nutrients it needs to grow and thrive. During propagation only use a very small amount of fertilizer, but as the plants mature and develop you can move onto a standard usage amount.
You still don’t want to overfertilize, but keeping the soil packed full of all the nutrients hoya needs is a good idea.
11. Create a Dome
Keeping humidity levels high enough to encourage propagation can be more than a little challenging. Putting a dome over the plant will help trap the moisture inside which will keep humidity levels sky-high.
Just ensure the dome you use will still allow in sunlight, otherwise, you’re meeting one requirement at the expense of another!
12. Stay Patient
This might be the simplest but most challenging piece of advice to follow when propagating any plant. Plants don’t grow overnight and if you’re trying to multiply your collection it takes time.
Don’t give up after a few days or even a week or two if it’s not giving you the exact results you want. Propagating plants takes time, and sometimes the plants you don’t think are going to make it early on are the ones that give you the best results!

Conclusion
Not only is propagating hoyas challenging and fun, but you can get a ton of new plants out of it. Follow our tips, have some fun, and stay patient. Before too long, you’ll be an expert at hoya propagation, and you’ll have more plants than you know what to do with. It’s a process for sure, but it’s also a ton of fun!
Featured Image Credit: nmnatawan, Pixabay
Contents
