

It’s amazing how something so small can cause so much pain. We’re sure you are in agreement if you’ve ever had a microscopic cactus needle in your skin. If you have, you know that the spine did its job. Like a sliver, getting it out quickly is wise to avoid developing an infection. Fortunately, you have a few options for fast pain relief. It’s helpful to understand the purpose of cactus needs to dodge future encounters.

The How and Why of Cactus Needles
There’s a good reason why cacti don’t have leaves but needles. It has to do with water conservation. A plant produces sugars using the energy of the sun, water from the ground, and carbon dioxide in the air. Glucose and oxygen are the results of photosynthesis. Tiny openings or stomata on the underside of a plant’s leaves allow for gas and water exchange during the process.
Unfortunately, the stomata release a lot of moisture when they’re open, something desert plants can’t afford. To survive, cacti adapted by developing needles instead of leaves. Many are succulents that store water in their flesh. They also undergo photosynthesis. However, it happens at night instead of during the day to conserve this precious resource.
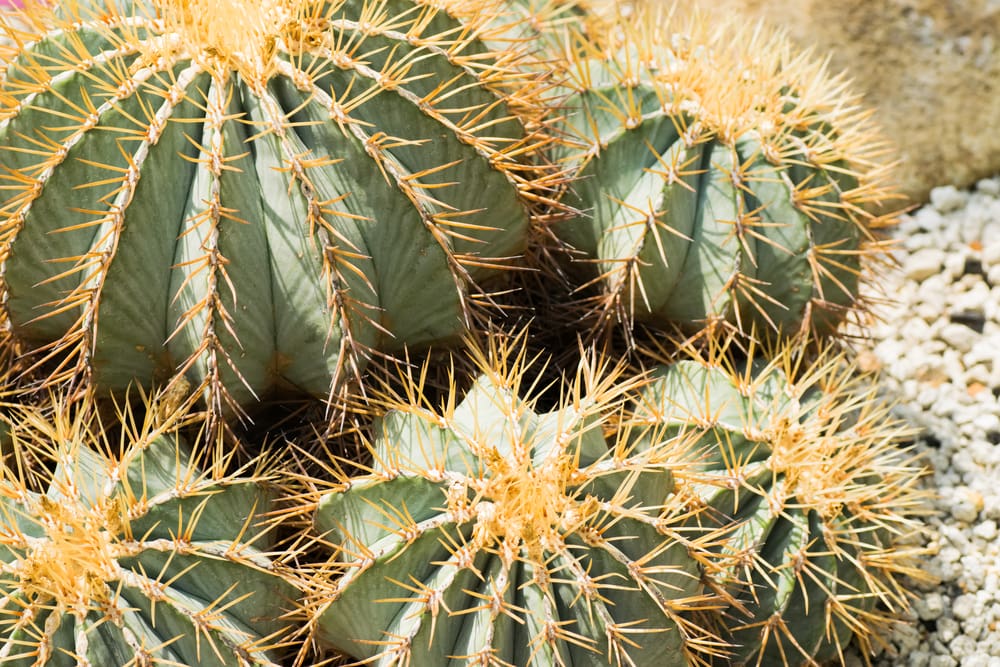
The needles serve several purposes. They protect the plant from animals that could pierce their flesh and release moisture, not unlike porcupine quills. Needles also provide some shade, albeit not much in a desert climate. They also play a role in the reproduction of the Jumping Cholla (Cylindropuntia fulgida), specifically for plant dispersal.
Cacti have two kinds of needles: spines and glochids. The former are the big ones that you can see. The latter are the devilish small ones that are hard to spot until you accidentally brush up against or step on a cactus.
Before You Start
It’s essential to understand the needles are either straight or barbed, like the porcupine quills we mentioned earlier. The former takes more pressure to penetrate your skin. However, they’re easier to remove if that’s any consolation. The latter are the sticklers. That minor difference in the top makes penetration a snap. The barb means it’s going to be difficult to remove.
Remember that your skin acts as a barrier to any potentially harmful pathogens. When a needle pierces it, you’re vulnerable to infection. Therefore, our guide will also cover aftercare. The things you’ll need to remove the needles include:
- Magnifying glass
- Marker
- Tweezers
- Clean cloth
- Craft glue
- Gauze
- Antibiotic ointment
- Antihistamine
- Lint roller
 The 12 Tips & Tricks To Remove Microscopic Cactus Needles
 The 12 Tips & Tricks To Remove Microscopic Cactus Needles
1. Take an Antihistamine (Optional)
You may find it helpful to take an antihistamine before you start, especially if you’re experiencing signs of inflammation or an allergic reaction, such as redness, swelling, and itching. If the needles have been in your skin for a while, they may have spurred your immune system into action. Unfortunately, swelling can make removal more difficult, hence, this step.
2. Carefully Remove Larger Spines if Present
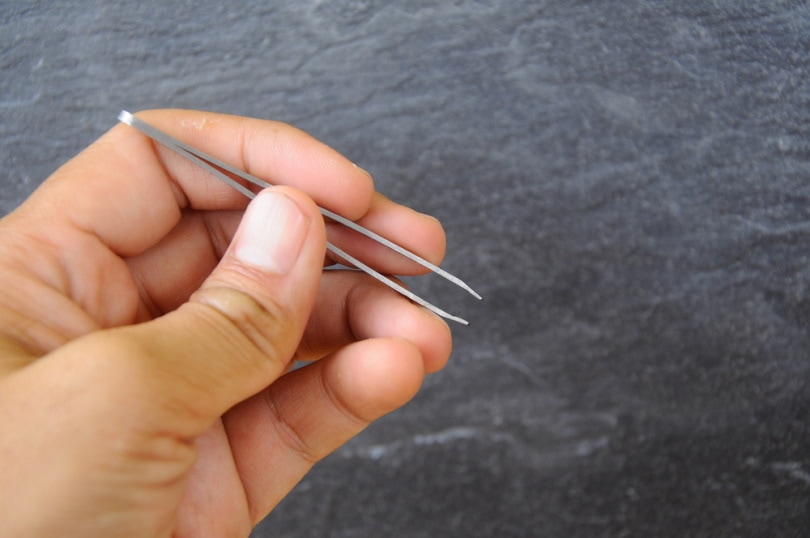
It’s imperative not to try and pull the spines out with your hands or teeth. The last thing you want to do is make the situation any worse. We suggest cleaning your tweezers with hydrogen peroxide or alcohol before removing the needles. Start with the larger ones, making sure to wipe the tweezer in between each removal.
3. Use a Magnifying Glass to Locate and Remove Any Visible Smaller Needles
You may find it helpful to use a magnifying glass to check the area for any glochids. Again, use your tweezers to remove them. Remember that they often have barbs. Fortunately, their smaller size will make their removal less painful. Recheck the area for any remaining needles.
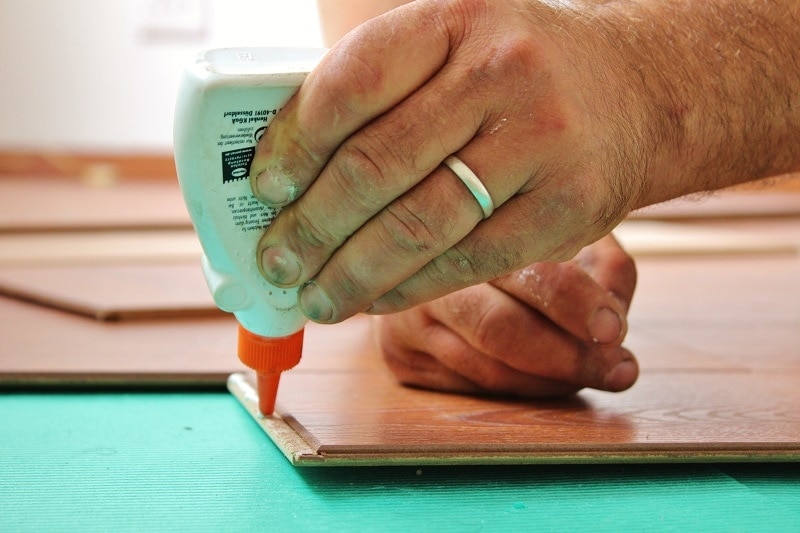
4. Apply a Thin Layer of Craft Glue to the Area
This next step might seem odd, but it has scientific backing as the best way to remove needles from your skin. Apply the glue to the place where you have removed the glochids. Place a piece of gauze cut to size over the area.
5. Allow the Glue to Dry
It’ll take about a half hour for the gauze to dry. If you’re wondering about using tape instead, the research we cited above found this method superior with a greater removal rate and less irritation. It makes sense when you consider that the liquid can cover the entire area more thoroughly than tape. The glue will also get a better hold of the needles.
6. Pull Off the Gauze
Once the glue is completely dry, pull off the gauze in one swift movement. It’s not unlike using wax strips to remove unwanted hair. The discomfort you’ll feel is comparable, but at least you’ll get rid of the microscopic cactus needles.
7. Check for Any Tenderness
It’s not unusual if you miss a few needles or they break off at the tip. Redness and tender spots are the best signs that something is still embedded in your skin. You can repeat the previous steps with the glue, as long as it isn’t painful. If some are deeply lodged in your skin, your body will work them out of your skin eventually, often causing a pus-filled blister to form. Remove them when they appear.
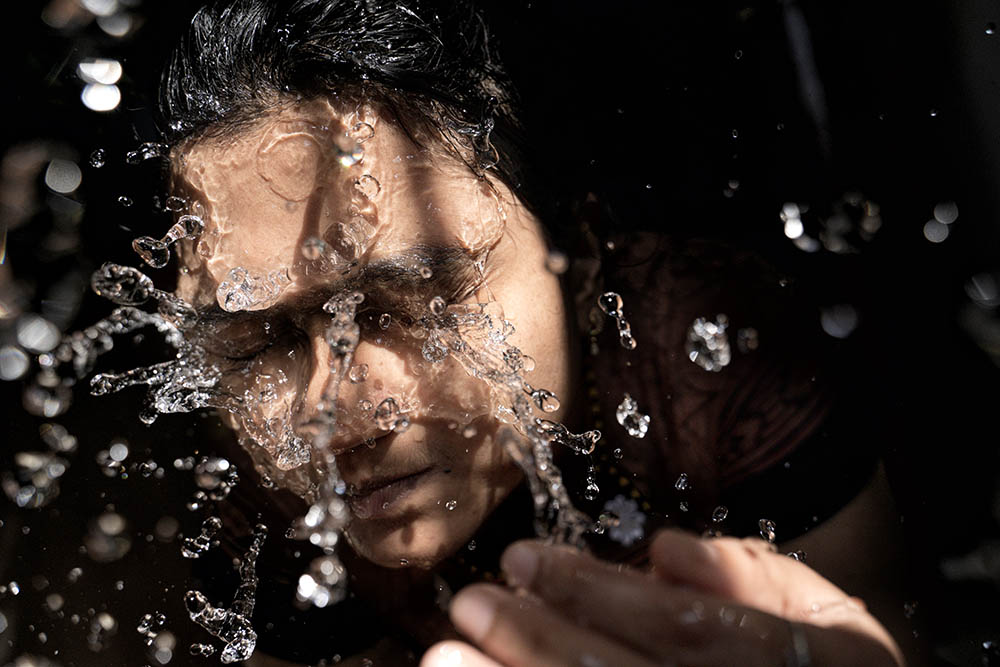
8. Gently Wash Your Skin and Apply Antibiotic Ointment
You should follow up on the needle removal with some first aid. Gently clean the site with soap and warm water. Apply an antibiotic ointment and cover it with a bandage.
9. Check Any Clothes or Socks for Needles
If the needles penetrate your skin, the chances are that they’re on your clothes, too. Inspect whatever you were wearing for spines and glochids.
10. Remove Spines and Glochids
You can use your tweezers or a comb to remove the larger spines from your clothes. A lint roller will do an excellent job of picking up any finer needles. Inspect your garments again and repeat as necessary.
11. Wash Your Clothes Separate From Any Others
Washing your clothes in the normal wash setting might dislodge any remaining needles. Just be sure to run them in a separate load. However, if you’re still seeing any glochids deeply embedded in the clothing, you might want to consider replacing the items.

12. Monitor the Site for Infection
Removing the needles is only the first step. It’s essential to keep an eye on the wound for any signs of infection. They include the things we mentioned earlier, such as redness. Keep applying the antibiotic ointment as directed until your skin heals.
- Related Read: How to Repot a Cactus: 6 Tips & Tricks
Final Thoughts
You can’t help but admire cacti that can tolerate such harsh conditions and thrive. They are gorgeous plants with fascinating adaptations to heat and dryness. Unfortunately, some are painful if you happen to brush up against a cactus. Fortunately, you can remove them easily using the method we’ve detailed here. The follow-up care will ensure that your discomfort will go away soon.
Featured Image Credit: Khoi Tran, Pixabay
Contents
