

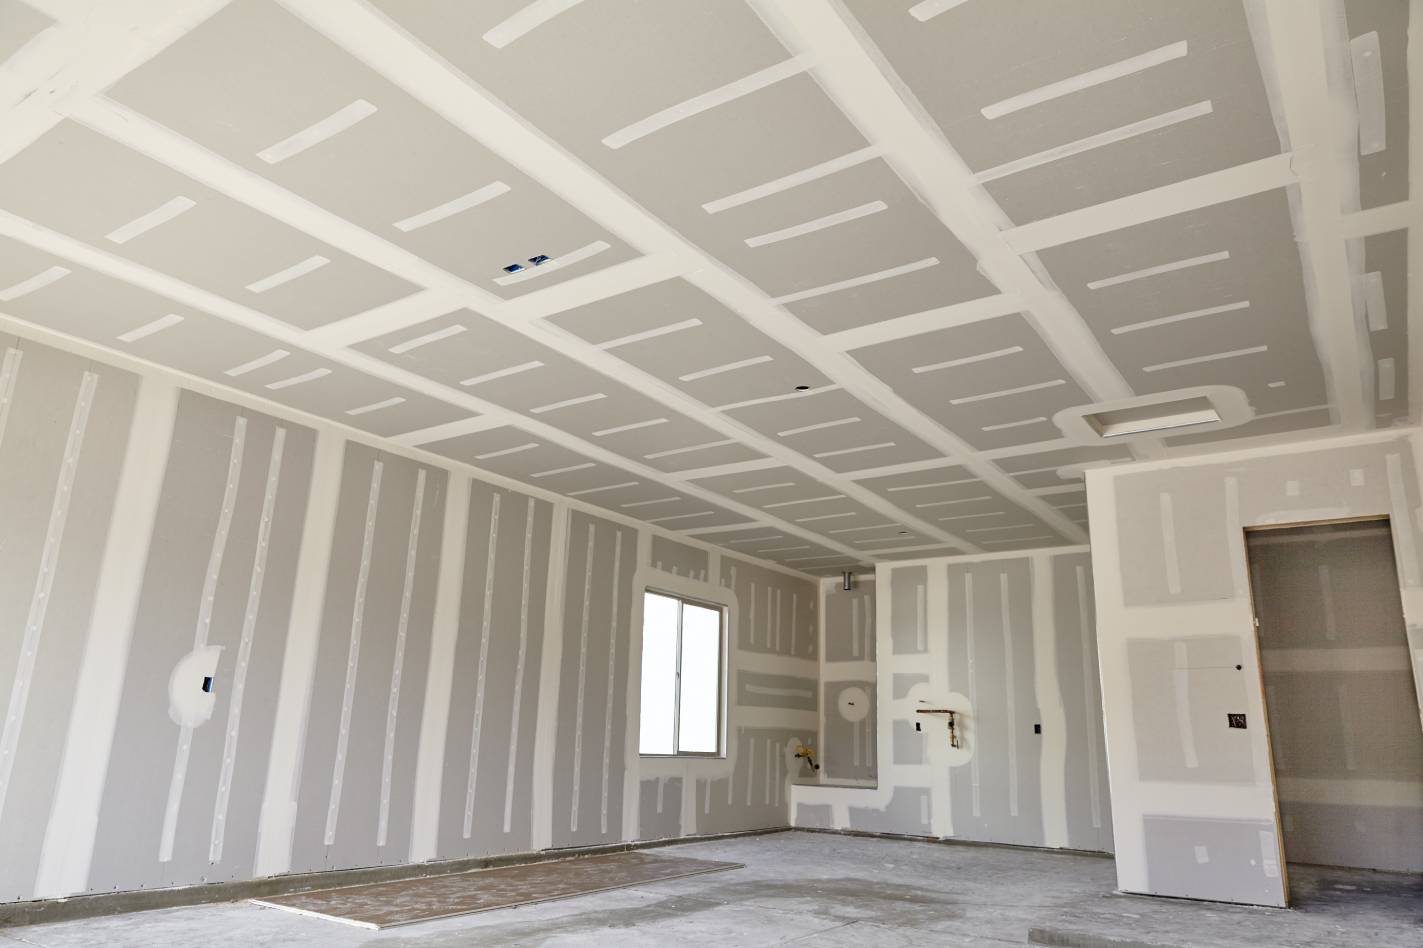
Taking down a ceiling drywall, and replacing it with one that’s aesthetically pleasing, is not exactly rocket science. Yes, it’s potentially hazardous, and kind of messy. However, if you think about it as a DIY project that’s supposed to be fun, it will be fun.

Why Would Anybody Think About Replacing a Ceiling Drywall?
Well, maybe it all got damaged by water leaking through the pipes. We all know that happens from time to time. Or maybe it is sagging, and the whole thing makes that space look terrible. The point is, that there are countless reasons as to why anybody would want to replace their ceiling drywall.
Needless to say, the “Why” isn’t important at the moment, as we will be focusing more on the “How.”
How to Prepare for a DIY Ceiling Drywall Project
We always like to say that preparation is important for two reasons:
One, you’ll have a strategy that will save time. And two, you’ll never find yourself in a situation where you have to stop midway, simply because you lack the essential tools to get the job done. Also, it kind of makes you look like a professional, if you think about it.
- A breathing mask
- Working gloves
- A pair of safety glasses
- Masking tape
- Power drill
- Stud finder
- Plastic drop sheets
- 1.25 inch screws
- Screwdriver
- Hammer
If you’ve been paying attention all this while, you’ve probably realized that at the top of that list, we had PPEs. ‘PPEs’ are Personal Protective Equipment that are meant to keep you safe while you work. Take the mask, for example. Without it, you’ll end up inhaling too much dust. And when that happens, you’ll develop something called hypersensitivity pneumonitis — a medical term that describes an allergic reaction to tiny dust particles. You’ll know it’s time to visit a physician, if you’ve been experiencing some shortness of breath and coughing.

Replacing a Ceiling Drywall (13 Steps)
1. Put on your safety apparel
That whole area will still look habitable after removing your household items. But the minute the banging starts, the air around you will have you thinking that you’ve just been teleported to some warzone. Tiny particles will be flying everywhere, and if you’re not careful, they’ll find their way to your eyes, throat, and lungs.
By the way, these are not the kind of particles that you’d want anywhere near your system. They might sound harmless, but those fiberglass and dust particles will certainly compromise your health one way or another. Hence, forcing you to break the bank, so as to get the best medical care treatment that money can buy.
And those are just short-term repercussions. Trust us when we say, the long-term health effects are unfathomable.
We’d encourage you to shop for your safety equipment online, if you’re apprehensive about leaving the house. There are so many department stores that offer online services out here, and because customer satisfaction is their number one priority, they’re always ready to answer whatever questions you might have before making a purchase.
Also, it’s important to remember to cover your arms and every other exposed body part. Skin irritation is actually a thing, if you never knew. So wear your old pair of jeans, and long sleeves. If you can find something to cover your neck region, good for you.
2. Ensure your attic is empty
It would be ridiculous to even think about replacing a ceiling drywall with items still in the attic. Removing all those old items should be the first order of business, seeing as they could drop and give you a concussion. Yes, you heard that right. Dropping items on your head can give you direct trauma, which is known to be one of the causes of concussions.
It’s also a good idea to work with someone when you’re removing those items. We don’t want you to pull a back muscle or slip and fall.
3. Remove the insulation
But only, and only if, the house was constructed after 1970. Homes built before the 70s had insulation that contained asbestos. Asbestos is a fibrous silicate mineral, which can be released to the atmosphere through abrasions or other processes. Various research studies have discovered that its ability to disintegrate into microscopically thin fibers makes it dangerous to human health. In fact, according to the CDC, it could cause ovarian and lung cancer, among other serious illnesses.
If you suspect the insulation may contain asbestos, pick up your phone and dial the asbestos removal services. They have equipment that can test the insulation to determine whether or not it’s safe for a non-professional. Just Google “asbestos services near me,” and the search engine will give you a long list of companies ready to offer their services.
If you’re positive the insulation doesn’t have any asbestos, go ahead and remove it.
Side note: There are two ways to get to the insulation. And it all depends on how your home was designed. If you don’t have an attic above the ceiling, you’ll first have to do away with the ceiling drywall. But if you do, you’ll first have to get rid of the flooring.
4. Remove any distractors in the room
Distractors are the things that make your work a tad bit more difficult. The kind of things that you’re forced to jump over while reaching for that screwdriver or hammer. Or those that force you to use the long route just because you don’t want to slip and inadvertently damage them.
They can be anything, including picture frames, furniture, décor, lamps, jugs, electronics, light fixtures, rugs, you name them.
This is where the screwdriver comes in handy. Use it to disconnect any electrical cable, and anything attached to the wall using screws. But don’t set the items in a room that’s in the far corner of the house because you’ll be too exhausted to bring them back once you’re done with the project.
Unless, of course, you’re planning to spend the next couple of days rearranging and cleaning the house.
5. Protect the walls and floor using drop sheets
The masking tape will hold it against the wall, along the edges where they come into contact with your ceiling. Ensuring those sheets are draped over the walls and floor is the only way that you’ll be able to guarantee that no debris or dust will cause any substantial damage.
If you can’t find plastic sheets, you could use plastic tarps. Just don’t use canvas drop cloths because they often absorb different forms of moisture and allow it to soak through.
6. Make sure there’s no power being supplied to that room
Because you’ll be exposed to electrical wires meant to supply power to the room, you’ll have to take precautions. The breaker box will have a breaker that cuts off all the electricity being channeled to your direction, thus ensuring you’re not accidentally shocked.
A spotlight or lamp will provide sufficient lighting, if the space is too dark.
7. Unscrew the fixtures in the ceiling
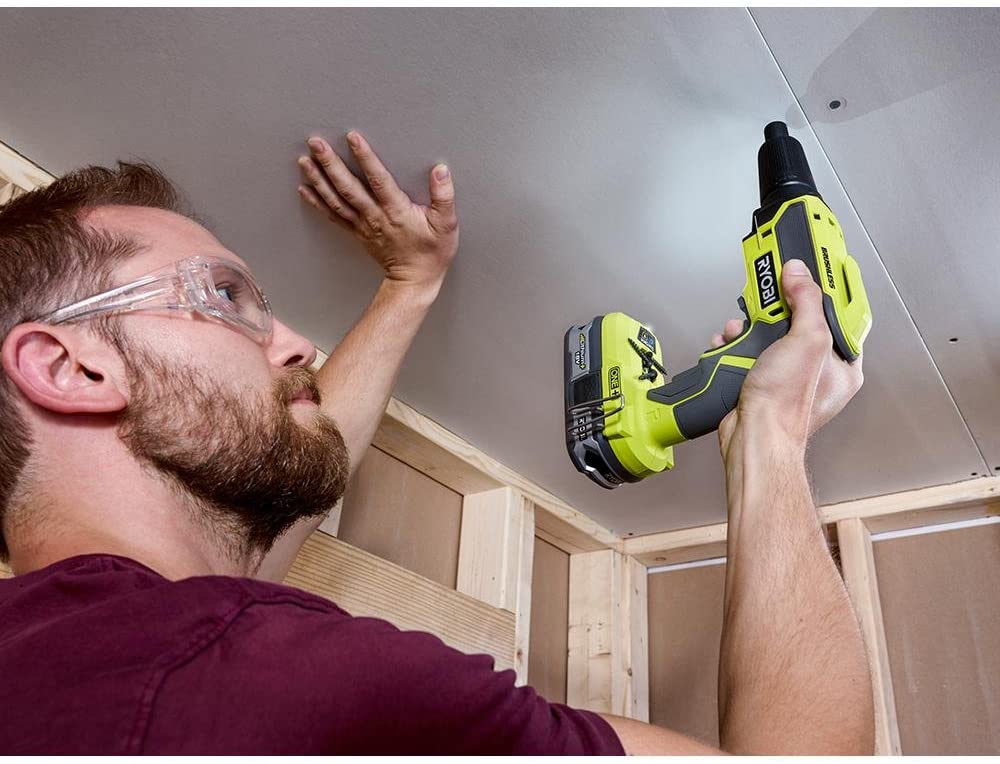
Using a screwdriver, remove all fixtures. Unscrew them, then disconnect the wires connecting them to the main electrical system. Try to be gentle and careful with them. We don’t want to start budgeting for new replacements.
8. Score the edges of the drywall, and locate two ceiling joists
The next step is to first ensure the wall and the ceiling are separated, so that when we take down the ceiling, the paint doesn’t peel off the wall. So use that sharp utility knife of yours to cut along those edges. Once you’re done, reach for the stud finder, and locate the ceiling joists. We have to know exactly where they are, so that we don’t damage any one of them in the process. You can use a pencil or marker to mark their spots.
9. Bash a hole between those two joists
Don’t go all macho, and start punching into the drywall. You could end up in the hospital with a fractured wrist. Use a hammer, and ensure the hole is large enough to fit your hand. You don’t have to worry about getting burns because the gloves will protect you.
The next step is to start pulling down the drywall. Don’t stop unless you’re exhausted, or done.
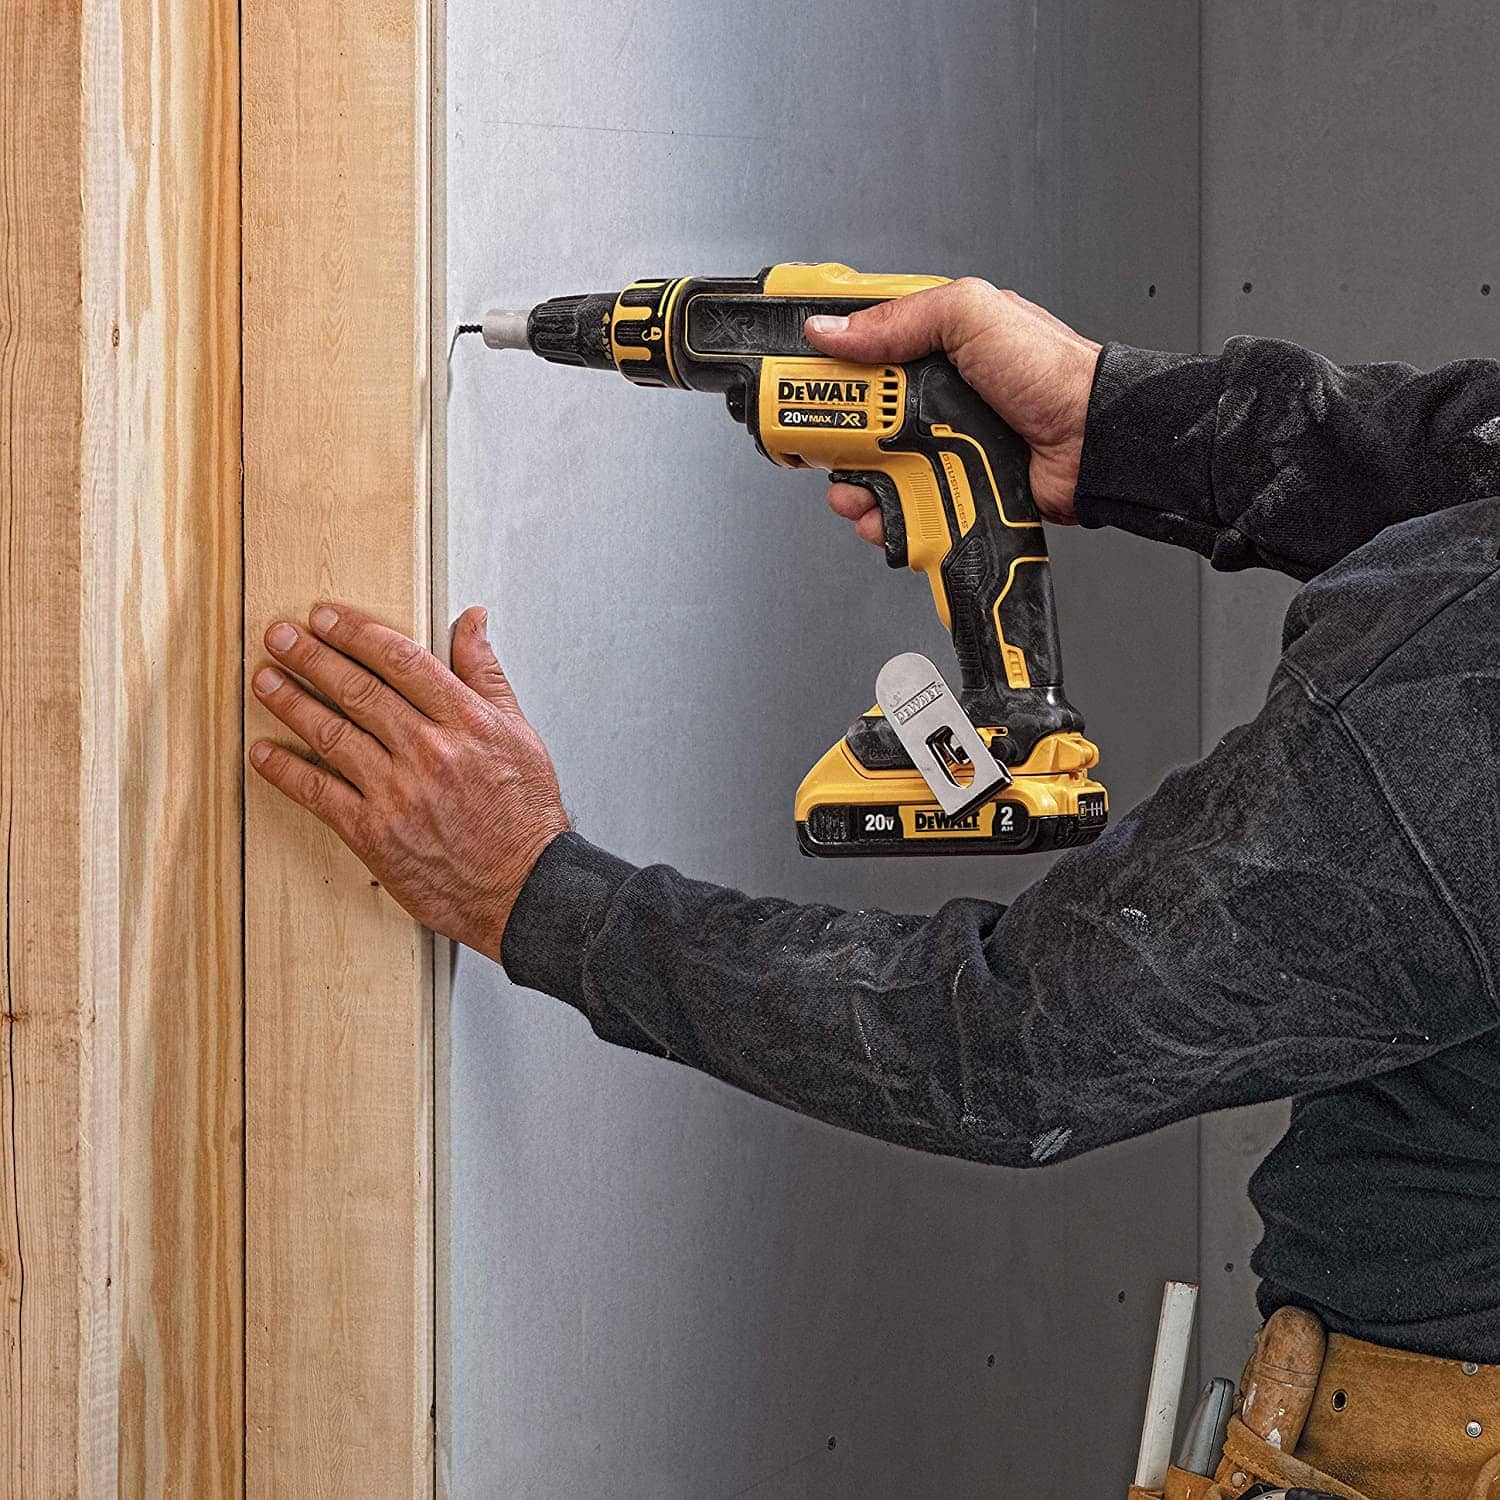
10. Install the new drywall
You can’t install an entire drywall by yourself. You’ll either need a drywall lift, or someone who’s strong enough to help you lift it. Drywall lifts can be rented at an affordable price, from any home improvement store.
When you’re ready to start, start from the corner that allows you to use a full sheet. By now you should have applied adhesive (glue-like substance) onto the joist edge. Not the edge facing the roof, but the one facing the floor. Apply it evenly and then use the lift to raise and press the new drywall against the joists for a couple of seconds. This will give them enough time to bond.
11. Replace the insulation
This is the stage where you return the insulation that we got out. So assuming you have an attic, you’ll have to return it the way you found it. If you don’t have an attic, reinstall it while installing the drywall.
12. Reinstall the fixtures
Mark the ceiling joists and start drilling. We now want to reinstall those fixtures that we uninstalled before taking down the old drywall. The screws should be 1.25 inches, but you’re allowed to substitute them with 1.25 inch nails, if finding a reliable drill is a problem.
Carefully cut the slots using your utility knife, and start connecting the cords. You can always ask for help if the fixtures are too heavy to hold with one hand while working. And please make sure you’ve tightly screwed them back into the ceiling. The last thing you want is to hear something fall down with a loud bang, while you’re on the other side of the house attending to other things.
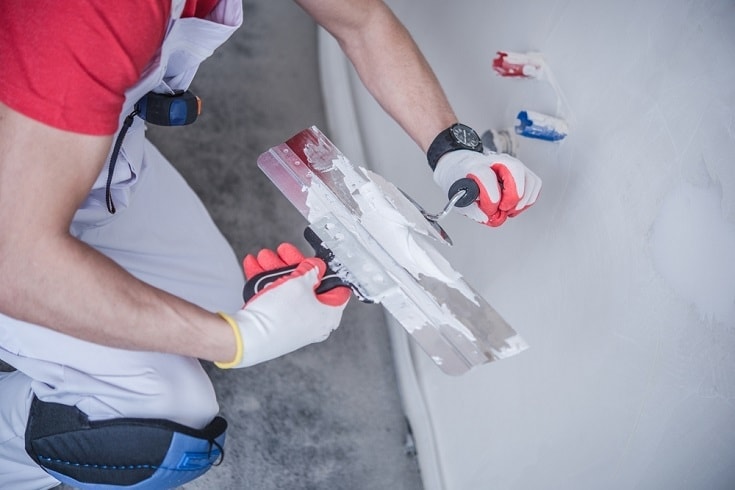
13. Clean after yourself
The final step is to first collect the debris into one huge pile, dispose of it, and then take down the plastic drop sheets. Sweep or mop the room and then move everything back to where they once were.
 Conclusion: Replace Ceiling Drywall
Replacing a ceiling drywall is one of those things that anybody can do. You don’t have to be a professional, or even experienced. Believe in yourself, follow these steps or instructions, and you’ll be good.
You can always reach out to us, if you have any suggestions, or need help with something.
Featured Image Credit: Virrage Images, Shutterstock
Contents
