
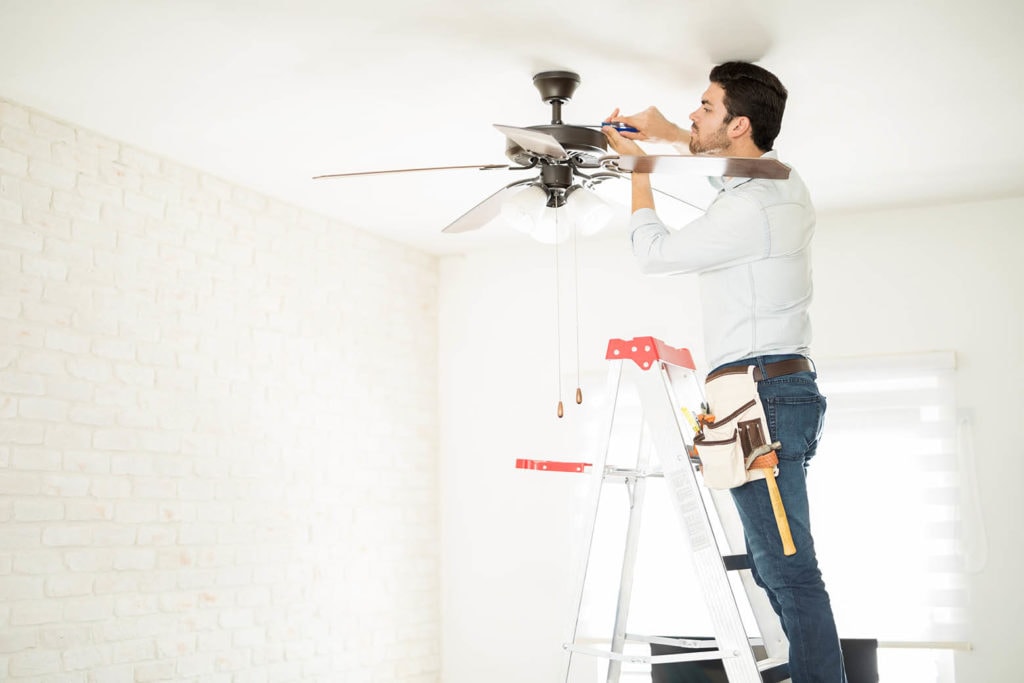
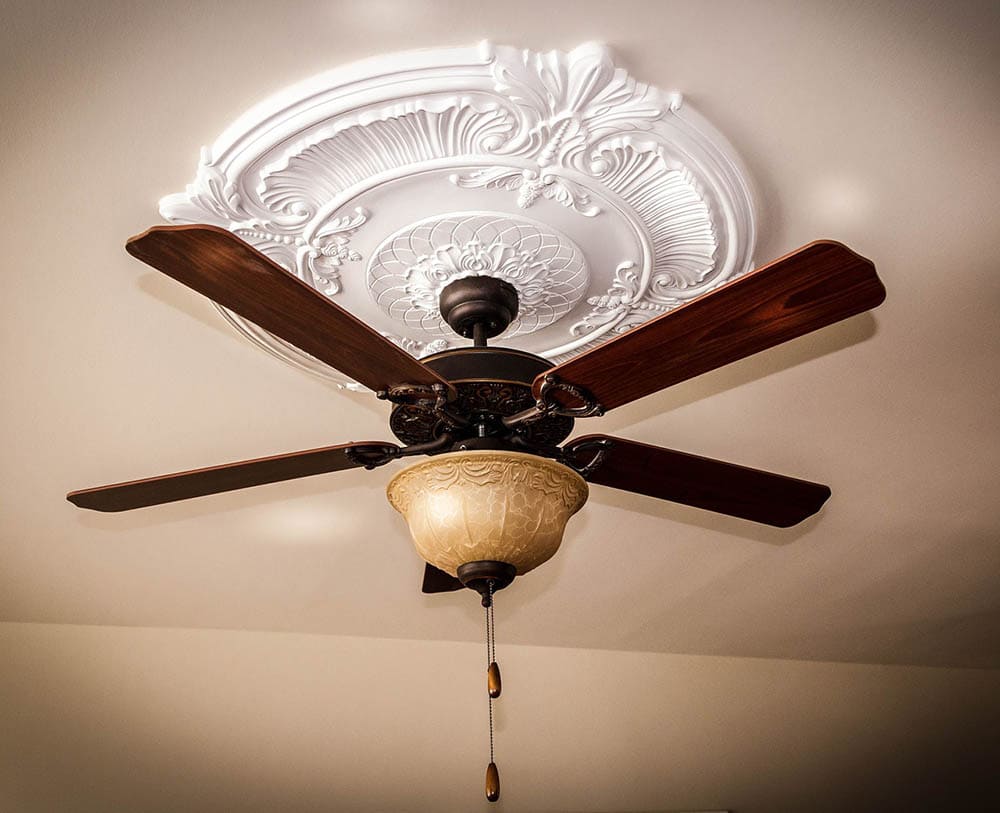
Ceiling fans are a smart addition to any room, giving you more ways to control the indoor climate at all times of the year. Whether you’re dealing with intense summer heat or cold winter air, keeping the air flowing with a fan is a convenient and energy-efficient path to comfort.
If your ceiling fan is ready for an update, installing a new unit is a fairly simple DIY project. With the right equipment, you can get a ceiling fan up and running in an hour or less. To get you started, we will show you the basics of how to replace a ceiling fan in nine simple steps.

Required Tools
- Phillips head screwdriver
- Wire cutters
- Wire strippers
- Stepladder
- Needle-nose pliers
How to Replace a Ceiling Fan (9 Steps)
1. Preparing to Replace a Ceiling Fan
Before taking down your old ceiling fan, you need to make sure the power is off. Turn the power off at the main circuit breaker. Flip the fan switch to test whether it’s off and use a non-contact voltage tester to ensure there’s no power running to it.
When replacing the ceiling fan, try to work with a partner who can help you support the weight as you work.
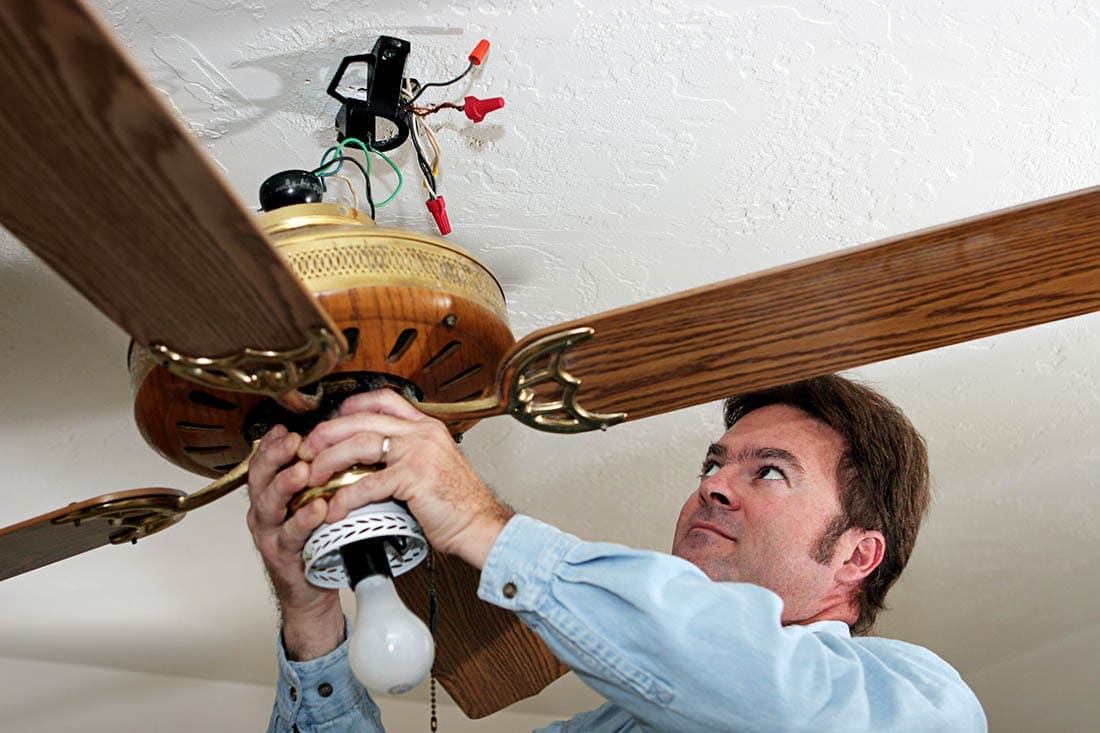
2. Remove the Old Fan
Begin removing the old fan by unscrewing the light housing and taking off the fan blades. Then, unscrew the canopy covering to expose the mounting bracket and the wiring.
Disconnect the fan wiring from the household wiring by removing the wire caps and twisting the wires apart. Once you separate the fan from the wiring, you can remove the canopy and motor housing. Finally, unscrew the bracket. There should be only the house wires and the fan box mounted in the ceiling.
3. Attach the New Fan Bracket
Start your new fan installation by attaching the mounting bracket for your new fan onto the fan box. Run the house wires through the middle of the bracket and screw the bracket into place on the box until it is secure.
4. Install the Canopy
Before putting the new fan together, you need to connect the canopy and motor to the bracket.
The new fan will need some assembly before you can put it on the ceiling. Feed the wires coming from the motor through the canopy and down rod if the fan has one. Attach the canopy or down rod to the motor housing with the supplied screws.
Remember that while the general assembly is consistent between most ceiling fans, you must follow the instructions supplied for your particular model.
Your new fan will either have a flush mount or a down rod. If it has a down rod, you can place the hanger ball in the mounting bracket to support the fan while you handle the wiring. Flush mounts usually have a hanging hook on the mounting bracket that can hold one side of the canopy as you work.
5. Prepare the Fan Wiring
Your fan will either have one or two sets of wires, depending on whether it has a remote.
If your fan uses pull cords, there will be three wires coming from the motor — white, black, and green (ground). For fans that use a remote, you’ll have another set of wires to hook up the wireless receiver, which sits in the housing near the motor. Follow the manufacturer’s instructions to wire the receiver.
Manufacturers usually supply long wire runs to their products, so you will have to cut down a decent portion of the wires before connecting them to the house wires. Like the wires coming from the ceiling, you should have about 6 to 7 inches of exposed wire coming out of the motor housing or down rod. Use wire strippers to strip off about 1 cm of sheathing to expose the bare wire.
6. Connect the Wiring
Connect the house wires to the wires from the fan — black to black, white to white, and green to the copper ground wire. Use needle-nose pliers to wrap the bare ends of the two wires together in a clockwise rotation, and secure them by twisting on a wire cap.
If you have no ground wire coming from the ceiling, you can still connect the hot and neutral wires to make the fan functional since the ground does not power the fan. You may see a green screw on your mounting bracket. Wrap the ground wire coming from the fan around that screw and tighten it to secure it in place.
The fan does not need a ground wire connection to be operational, but you lose a critical safety mechanism without it. Consider talking to your electrician about installing ground wires to add another layer of damage prevention to your home.
7. Secure the Canopy
After securing all of your electrical connections with wire caps, carefully tuck the wires into the canopy. Screw the canopy into place on the mounting bracket, completing the installation at the ceiling.
8. Attach the Blades
Everything from the canopy down to the motor housing should now be installed. At this point, you can attach the fan blades.
The blades attach to the motor under the light cover. Each blade requires 2-3 screws to hold them in place. Attach each blade to the fan assembly, screwing them in lightly until they are all attached. Then, finish tightening each screw until they are all secure.
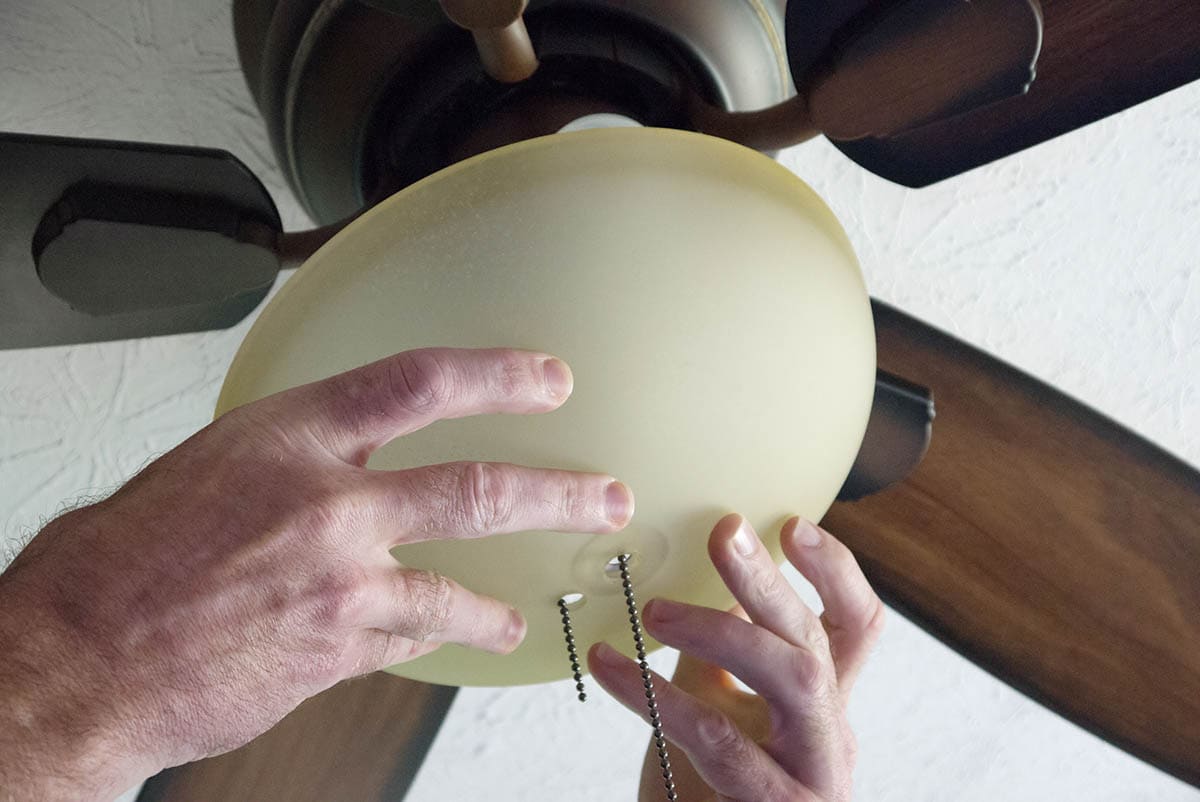
9. Connect Light Assembly and Finish Up
You usually need to attach a plug to the light in your ceiling fan. It’s often a simple process to secure two electrical connections under the motor housing to power the light. Follow the supplied instruction manual for details.
Once the light is in place, you only need to attach the light cover. Some covers twist on, while others use screws to hold them in place. When it is secure, turn your circuit breaker back on, and test the fan to ensure everything works properly.
Conclusion
A new ceiling fan is an excellent way to improve the decor of your room while adding to its comfort. With the proper tools and a helping hand, you can make quick work of the installation. Follow your manufacturer’s guidelines and these nine simple steps to replace your ceiling fan, and you’ll have a flawless installation in no time!
Featured Image Credit: antoniodiaz, Shutterstock
Contents
